

How to Create a Virtual Classroom with Your Bitmoji in Buncee!
Virtual Classrooms are a great way for educators to deliver content to students in a fun and engaging way. Educators can add a Bitmoji into a virtual classroom to create an animated experience for students. You can even organize the images in your “classroom” so that they hyperlink out to external sources! Our preferred tool to create virtual classrooms is Buncee. You can sign up for an account by clicking here!
In this tutorial, you learn:
💥 HOW TO ADD A VIRTUAL CLASSROOM BACKGROUND
💥 HOW TO ADD IMAGES TO YOUR VIRTUAL CLASSROOM
💥 HOW TO ADD TEXT IN YOUR VIRTUAL CLASSROOM
💥 HOW TO ADD HYPERLINKS IN YOUR VIRTUAL CLASSROOM
💥 HOW TO SHARE YOUR VIRTUAL CLASSROOM
💥 HOW TO ADD A VIRTUAL CLASSROOM BACKGROUND 💥
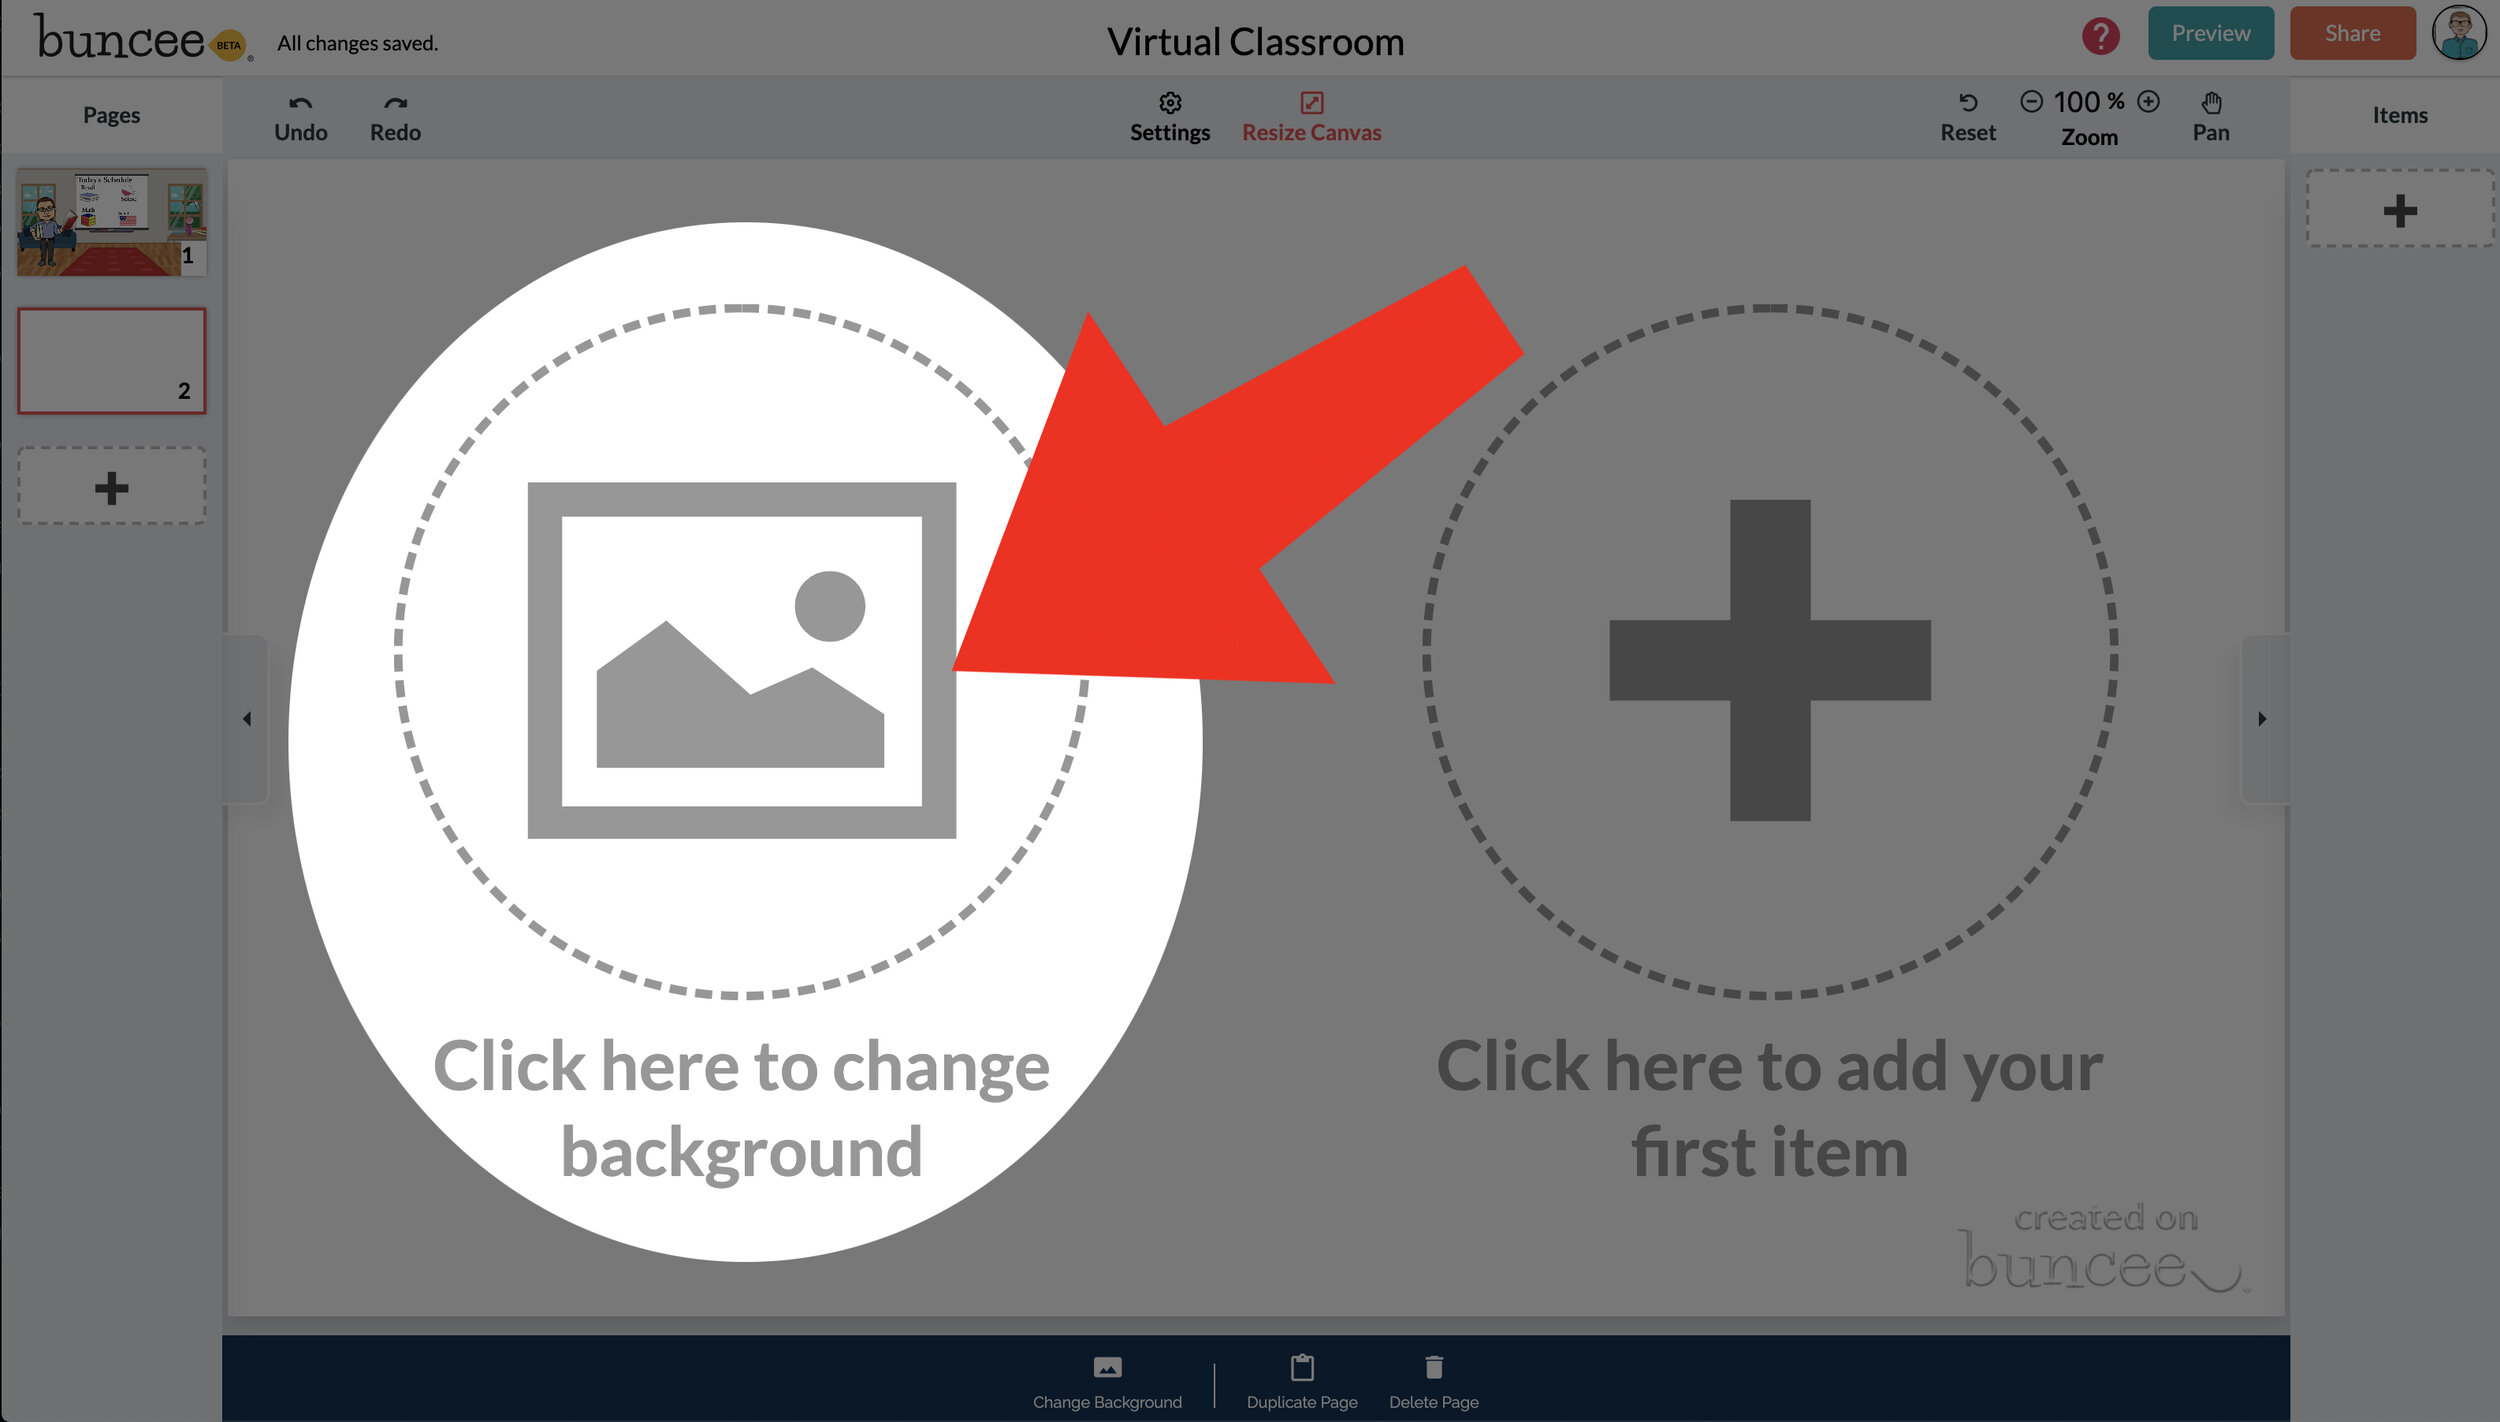

To get started, log into your Buncee account and create a new Buncee. Open the new Buncee and the first thing you’ll want to do is add a background. Follow these steps:
Tap the "click here to change background” option, then search for “class.”
Scroll through and find one that is right for you. There’s lots to choose from! You can find background images with smart boards, chalkboards, and more.
Once you find a background image that works for you, click it. Then, click the blue “add” button just to the right of the search bar. Now, your background is set and locked!
💥 HOW TO ADD IMAGES TO YOUR VIRTUAL CLASSROOM 💥
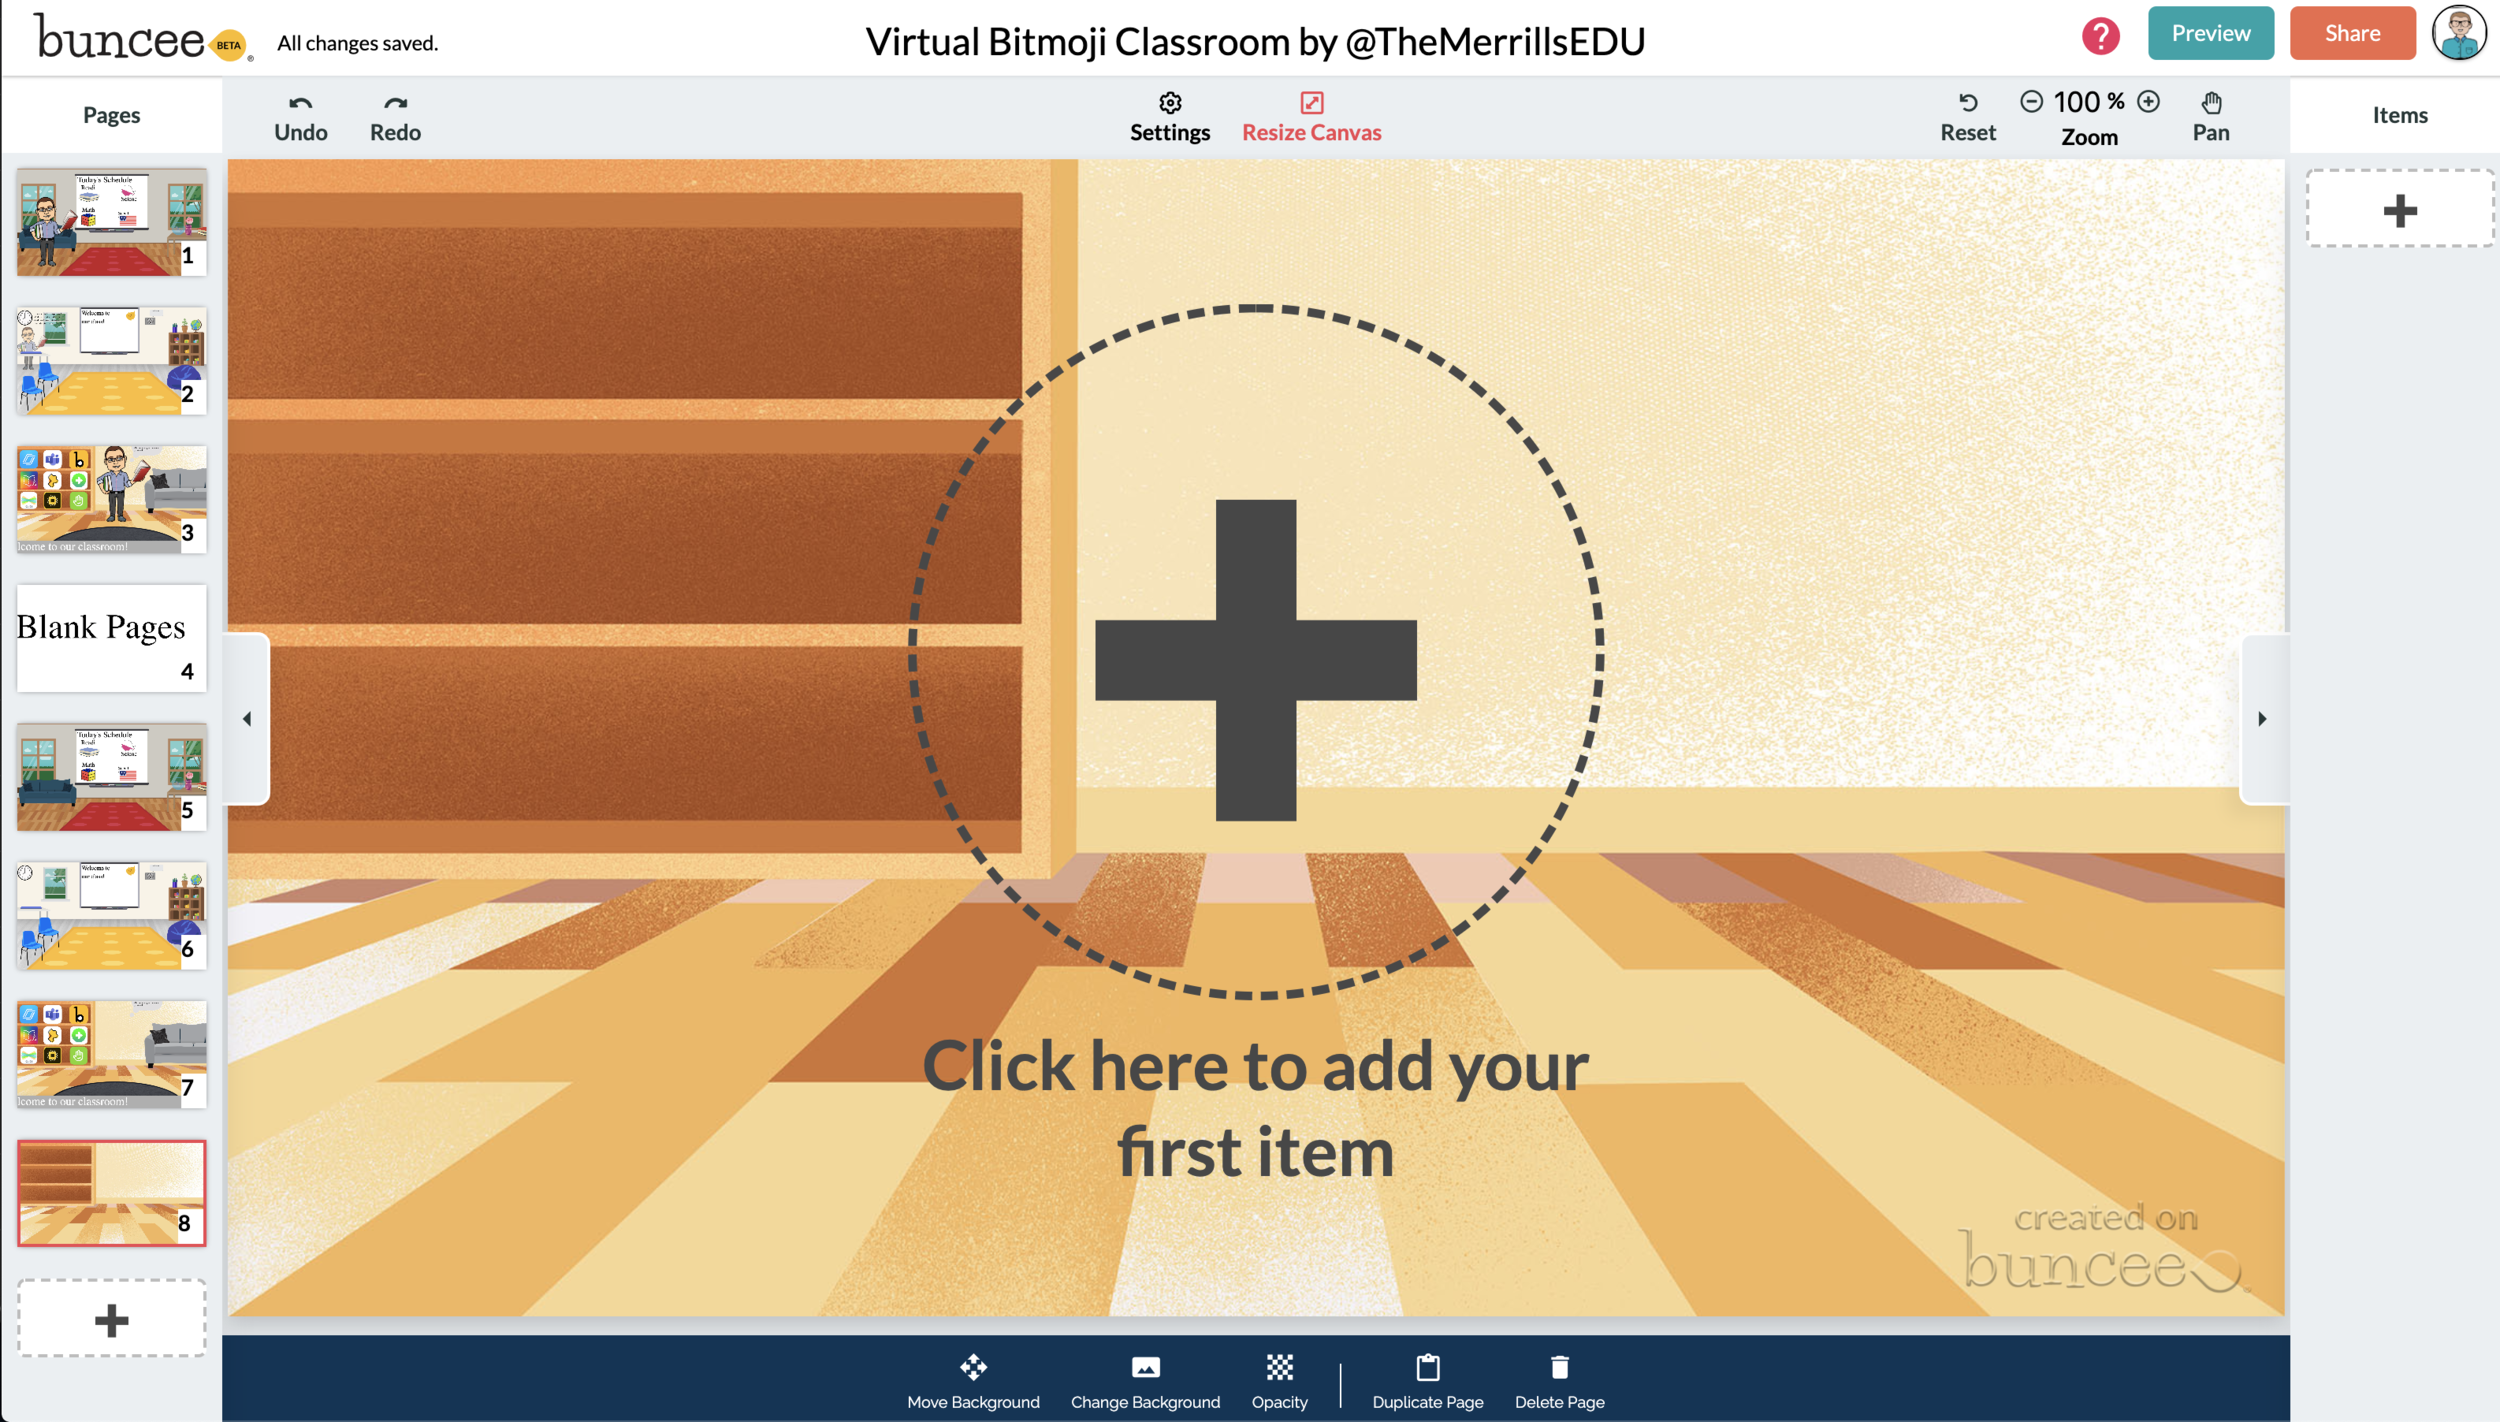

Now comes the fun part…Design your virtual classroom with some images! Click on the “+” sign to add an item. Use Buncee’s search tools to find items that you’d like to add to your classroom. Some fun things to search for include:
Smart Boards
Desks
Books
Clock
Computer
Bookshelf
Chair (you can even find a bean bag chair!)
Window
Couch
Speech (for a speech bubble)
If you’re having a hard time finding items to add, try typing “school” into the search bar. There are tons of item results that will pop up and you can use. You’ll find stickers, still images and moving gif images.
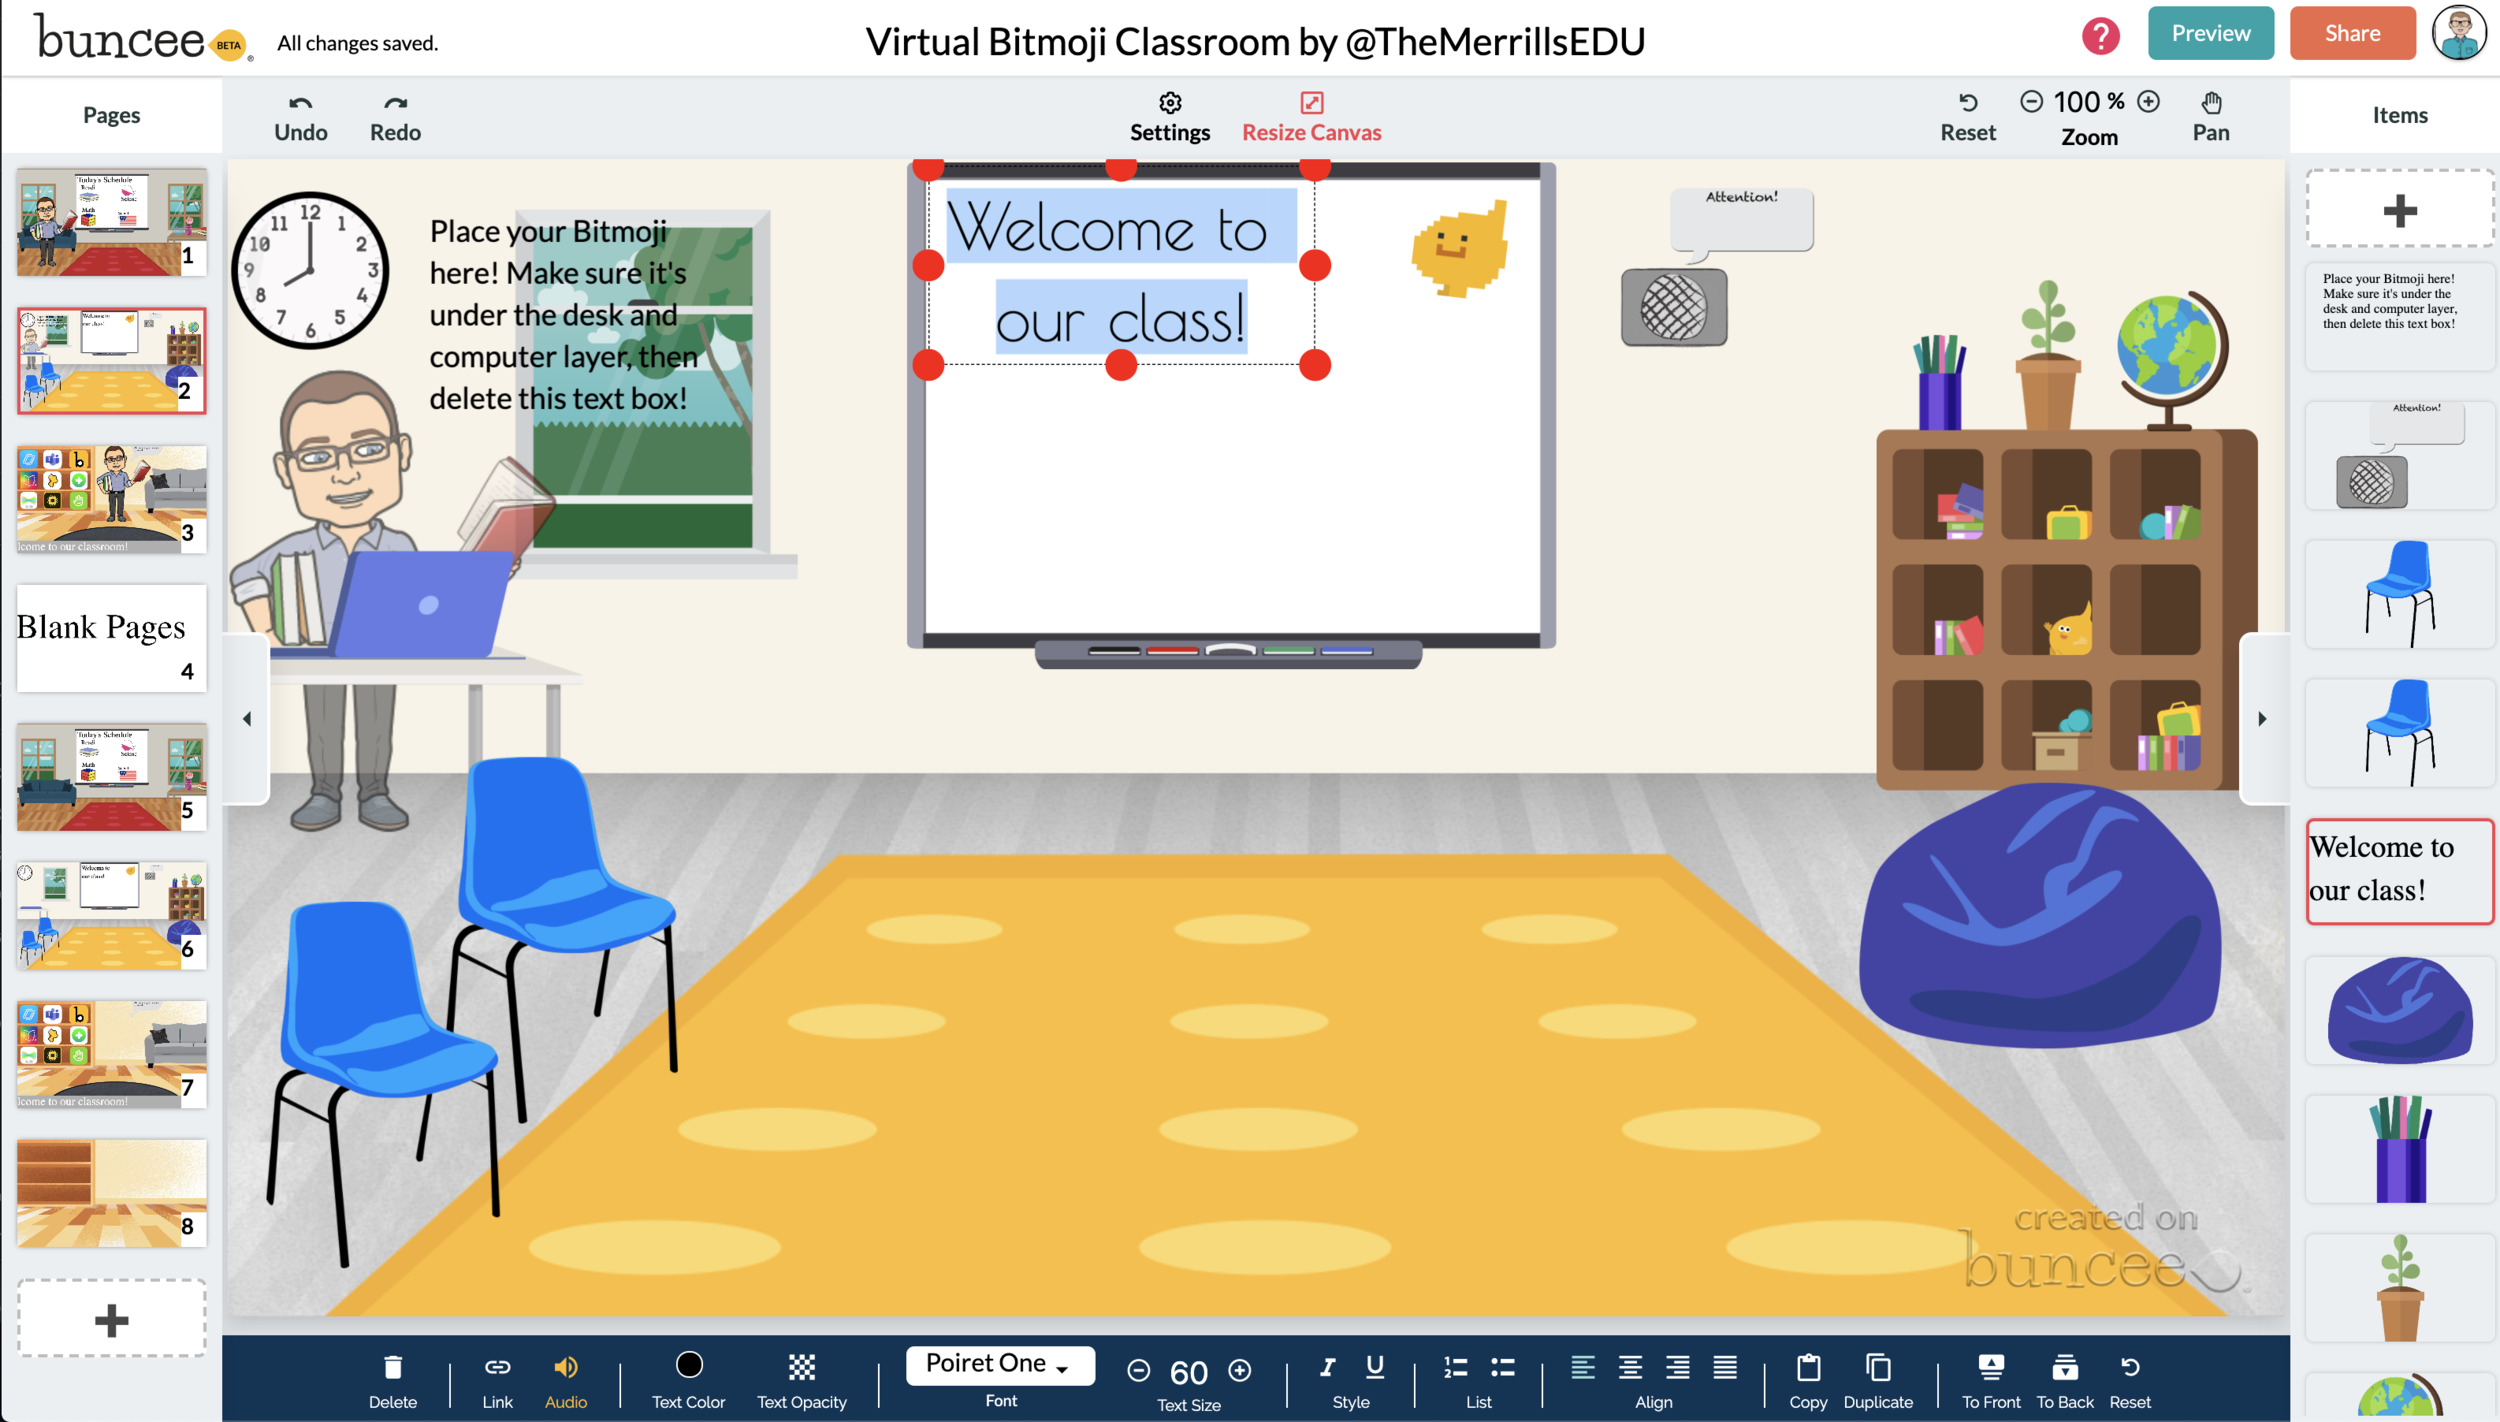
💥 HOW TO ADD TEXT TO YOUR VIRTUAL CLASSROOM 💥
After you’ve added all the items to you virtual classroom, you may want to add text. You can add text on top of items, like your smart board. This is a great way to deliver instructions for your students. To add text in Buncee:
Click on the “+” sign
After the Buncee features window will opens, click on the “text” icon (located to the left of the window)
Double click the new item to enter your text.
Once you have your text ready, you can change the font or font size by clicking the font options located on the bottom of the screen.
Move and place your text accordingly.

💥 HOW TO ADD HYPERLINKS IN YOUR VIRTUAL CLASSROOM 💥


After you have your items and text in place, now it’s time to start hyperlinking. When you hyperlink, your students will be able to click on the items (or text) that you have entered and it will take them to an external source. For example, if you use the Buncee logo, you can hyperlink it so that when it’s clicked, it will take you right to the Buncee login screen. Hyperlinks can be added to any item or text that you have added on Buncee. To add a hyperlink:
Click on the item or text that you want to hyperlink
Click on the “link” option on the bottom of the Buncee features toolbar
Enter the URL into the box
Press enter to “update” the item
💥 HOW TO SHARE YOUR VIRTUAL CLASSROOM 💥
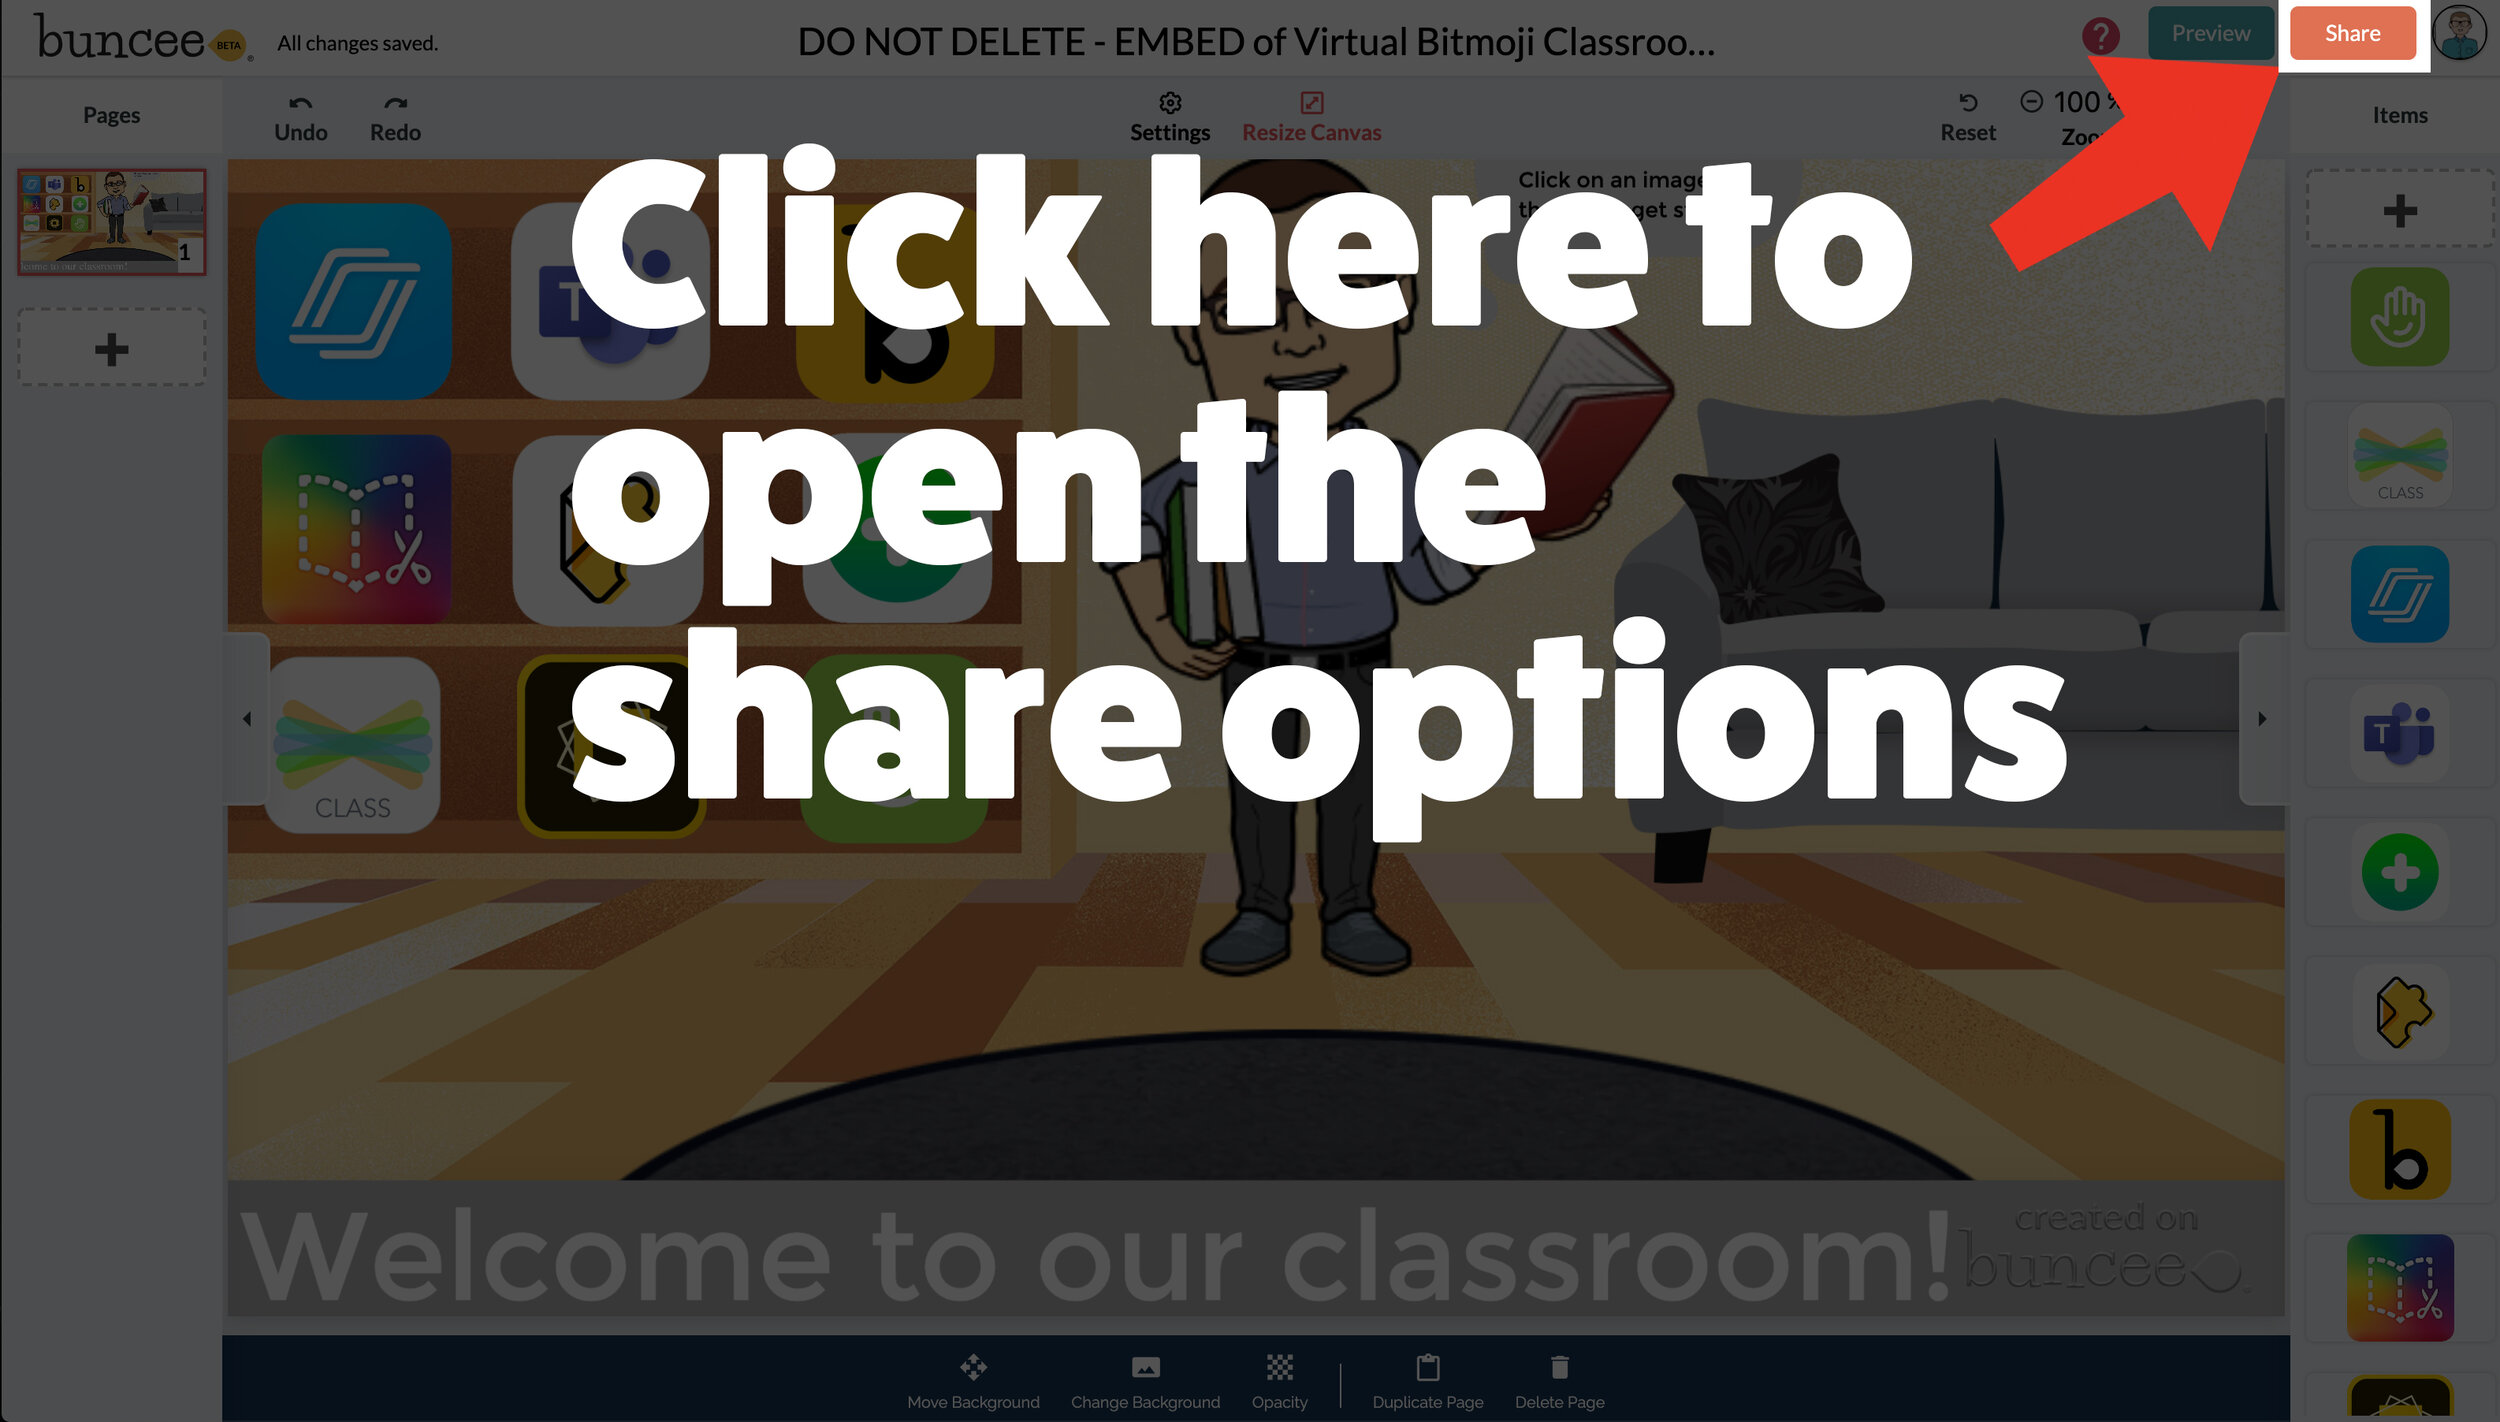

Now that your virtual classroom is ready, it’s time to share it with your students! There are several options to share in Buncee:
Share the Buncee slide deck link
Embed the Buncee slide deck into your LMS (Canvas, Schoology, Microsoft Teams, Google Classroom)
To share the Buncee slide deck link:
Click the red “Share” button
A new window will open. Click “Code” (second option from the top)
Next to the link box, click “Copy.” This will copy the URL to your Buncee.
Share the URL with your students
To embed the Buncee slide deck:
Click the red “Share” button
A new window will open. Click “Code” (second option from the top)
Next to the Embed Code box, click “Copy.” This will copy the embed code to your Buncee. (Tip: you can also click on “Show Options” to change the size of the embed)
Open your LMS (Canvas, Schoology, or anywhere you can embed) and click on the embed option. Paste the embed code from your Buncee, then hit save. Your Buncee will now be embedded into your page.
To share to Microsoft Teams, Google Classroom, or other social outlets:
Click the red “Share” button
A new window will open. Click “Social” (sixth option from the top)
Select the app that you are trying to share to, then follow the instructions

💥 FREE Templates! 💥
We’ve created several templates that you can download, copy, and edit. You can scroll through the different pages by clicking the arrow on the right. If you would like to download these, click here or the image below.

To view the templates, check out the embed of them below!
💥 YouTube Tutorial! 💥
Still not sure how it all works? We’ve got you covered! Check out this walkthrough!
For more #interACTIVE lesson ideas using Flipgrid, check out our book The InterACTIVE Class on Amazon!

