

6 InterACTIVE Ways to Use Microsoft Forms
There are many hidden gems within Microsoft EDU, and Microsoft Forms is one of them! Microsoft Forms was released in 2016 and since then, there have been may updates and features released that take it beyond simple question and answering.

There are many hidden gems within Microsoft EDU, and Microsoft Forms is one of them! Microsoft Forms was released in 2016 and since then, there have been may updates and features released that take it beyond simple question and answering.
Assessment is an important part of any classroom, even an InterACTIVE classroom, but it is imperative that when we do assess students we are using it to bridge the gap between our teaching and learning. We should not simply give and grade an assessment, but rather use it to gather, evaluate, and remediate the gaps between knowledge rendered and knowledge retained.
6 Features of Microsoft Forms
1. Uploading Files to a Microsoft Form
The ability to upload a file created outside of Microsoft Forms is one of our favorite, interACTIVE features. Students need the chance to demonstrate their understanding of a concept through creation, and this powerful feature allows students to create in programs such as Adobe Spark, Flipgrid, Microsoft PowerPoint, iMovie, and then share with the teacher through Forms.
*This feature is only available to users within the same organization.
2. Types of Questions
When creating a Form, you have several types of questions you can use to build it. Choose from these options to customize your Forms in ways that specifically meet the needs of the students you have in your classroom.
Multiple choice: When using this feature, Forms will even suggest possible answers based on the words used in the question or answer choices already submitted.
Text: Giving students the ability to write and explain their thinking is always good and in Forms, you can specify whether it’s going to be a long answer or a brief one.
Rating: You can specify both levels (numeric) and symbols (stars) when using this option. This is great for a book review or character rating after the end of a unit.
Ranking: This type of question is great when asking students to debate or justify an answer. For example, have students rank details in order of importance in regards to the theme of a story. Then, pair with a text question and have them explain their rankings and justify the order they chose.
Branching: Although this isn’t technically one of the types” of questions you can use, it is a great, interACTIVE feature in Forms that allows you to connect, or branch, questions based on a students answer. This allows you to redirect students to different questions based on correct or incorrect answers.

Net Promoter Score: Great for more survey-like type questions or can be used when looking for students’ opinion in regards to a topic.
3. Custom Controls
There are many hidden features in Forms that you may not know about at first glance. Simply head to the Settings in the Three Dot Menu and take advantage of features like shuffling question order, adding a start and end date, creating custom Thank You messages and adding email notification.

4. Peer Collaboration
Creating interACTIVE Forms can often be a two-person job or more, and for that, Microsoft Forms has given creators the ability to collaborate. To share a form with your friend or colleague, simply tap on the Share button in the top right corner of the screen and select the Share option from the right menu.

5. Ability to Analyze Responses
As with any assessment in an InterACTIVE Class, giving the assessment is just the beginning. Once students have finished, you need to review and reflect on the data given. When using Microsoft Forms, you simply head to the Responses tab and you will find the answers to your assessment in both a visual group format and individually.

6. Immersive Reader
The integration of Microsoft’s Immersive reader makes Forms so accessible to all students. Immersive Reader is a free tool that utilizes techniques proven to help people read more effectively, such as read aloud and translation. This feature allows questions and answer choices to be read aloud to students while working to help accommodate and give independence.

Additional Features and Resources for Microsoft Forms
There are so many other features that make Microsoft Forms a great tool to use in the classroom. Sharing with colleagues, the ability to send a copy, sharing with links an QR codes, customizing the themes and colors—this tool is one you will want to get to know before the next school year.
Interested in Microsoft Forms? Here are a few examples you can look at for more ideas.


For more interACTIVE ideas to use when integrating technology into the classroom, check out our book, The InterACTIVE Class.


How to Create a Virtual Classroom with Your Bitmoji in Buncee!
Virtual Classrooms are a great way for educators to deliver content to students in a fun and engaging way. Buncee makes creating one easy! You’ll learn how to create and share your virtual classroom to your students!
Virtual Classrooms are a great way for educators to deliver content to students in a fun and engaging way. Educators can add a Bitmoji into a virtual classroom to create an animated experience for students. You can even organize the images in your “classroom” so that they hyperlink out to external sources! Our preferred tool to create virtual classrooms is Buncee. You can sign up for an account by clicking here!
In this tutorial, you learn:
💥 HOW TO ADD A VIRTUAL CLASSROOM BACKGROUND
💥 HOW TO ADD IMAGES TO YOUR VIRTUAL CLASSROOM
💥 HOW TO ADD TEXT IN YOUR VIRTUAL CLASSROOM
💥 HOW TO ADD HYPERLINKS IN YOUR VIRTUAL CLASSROOM
💥 HOW TO SHARE YOUR VIRTUAL CLASSROOM
💥 HOW TO ADD A VIRTUAL CLASSROOM BACKGROUND 💥
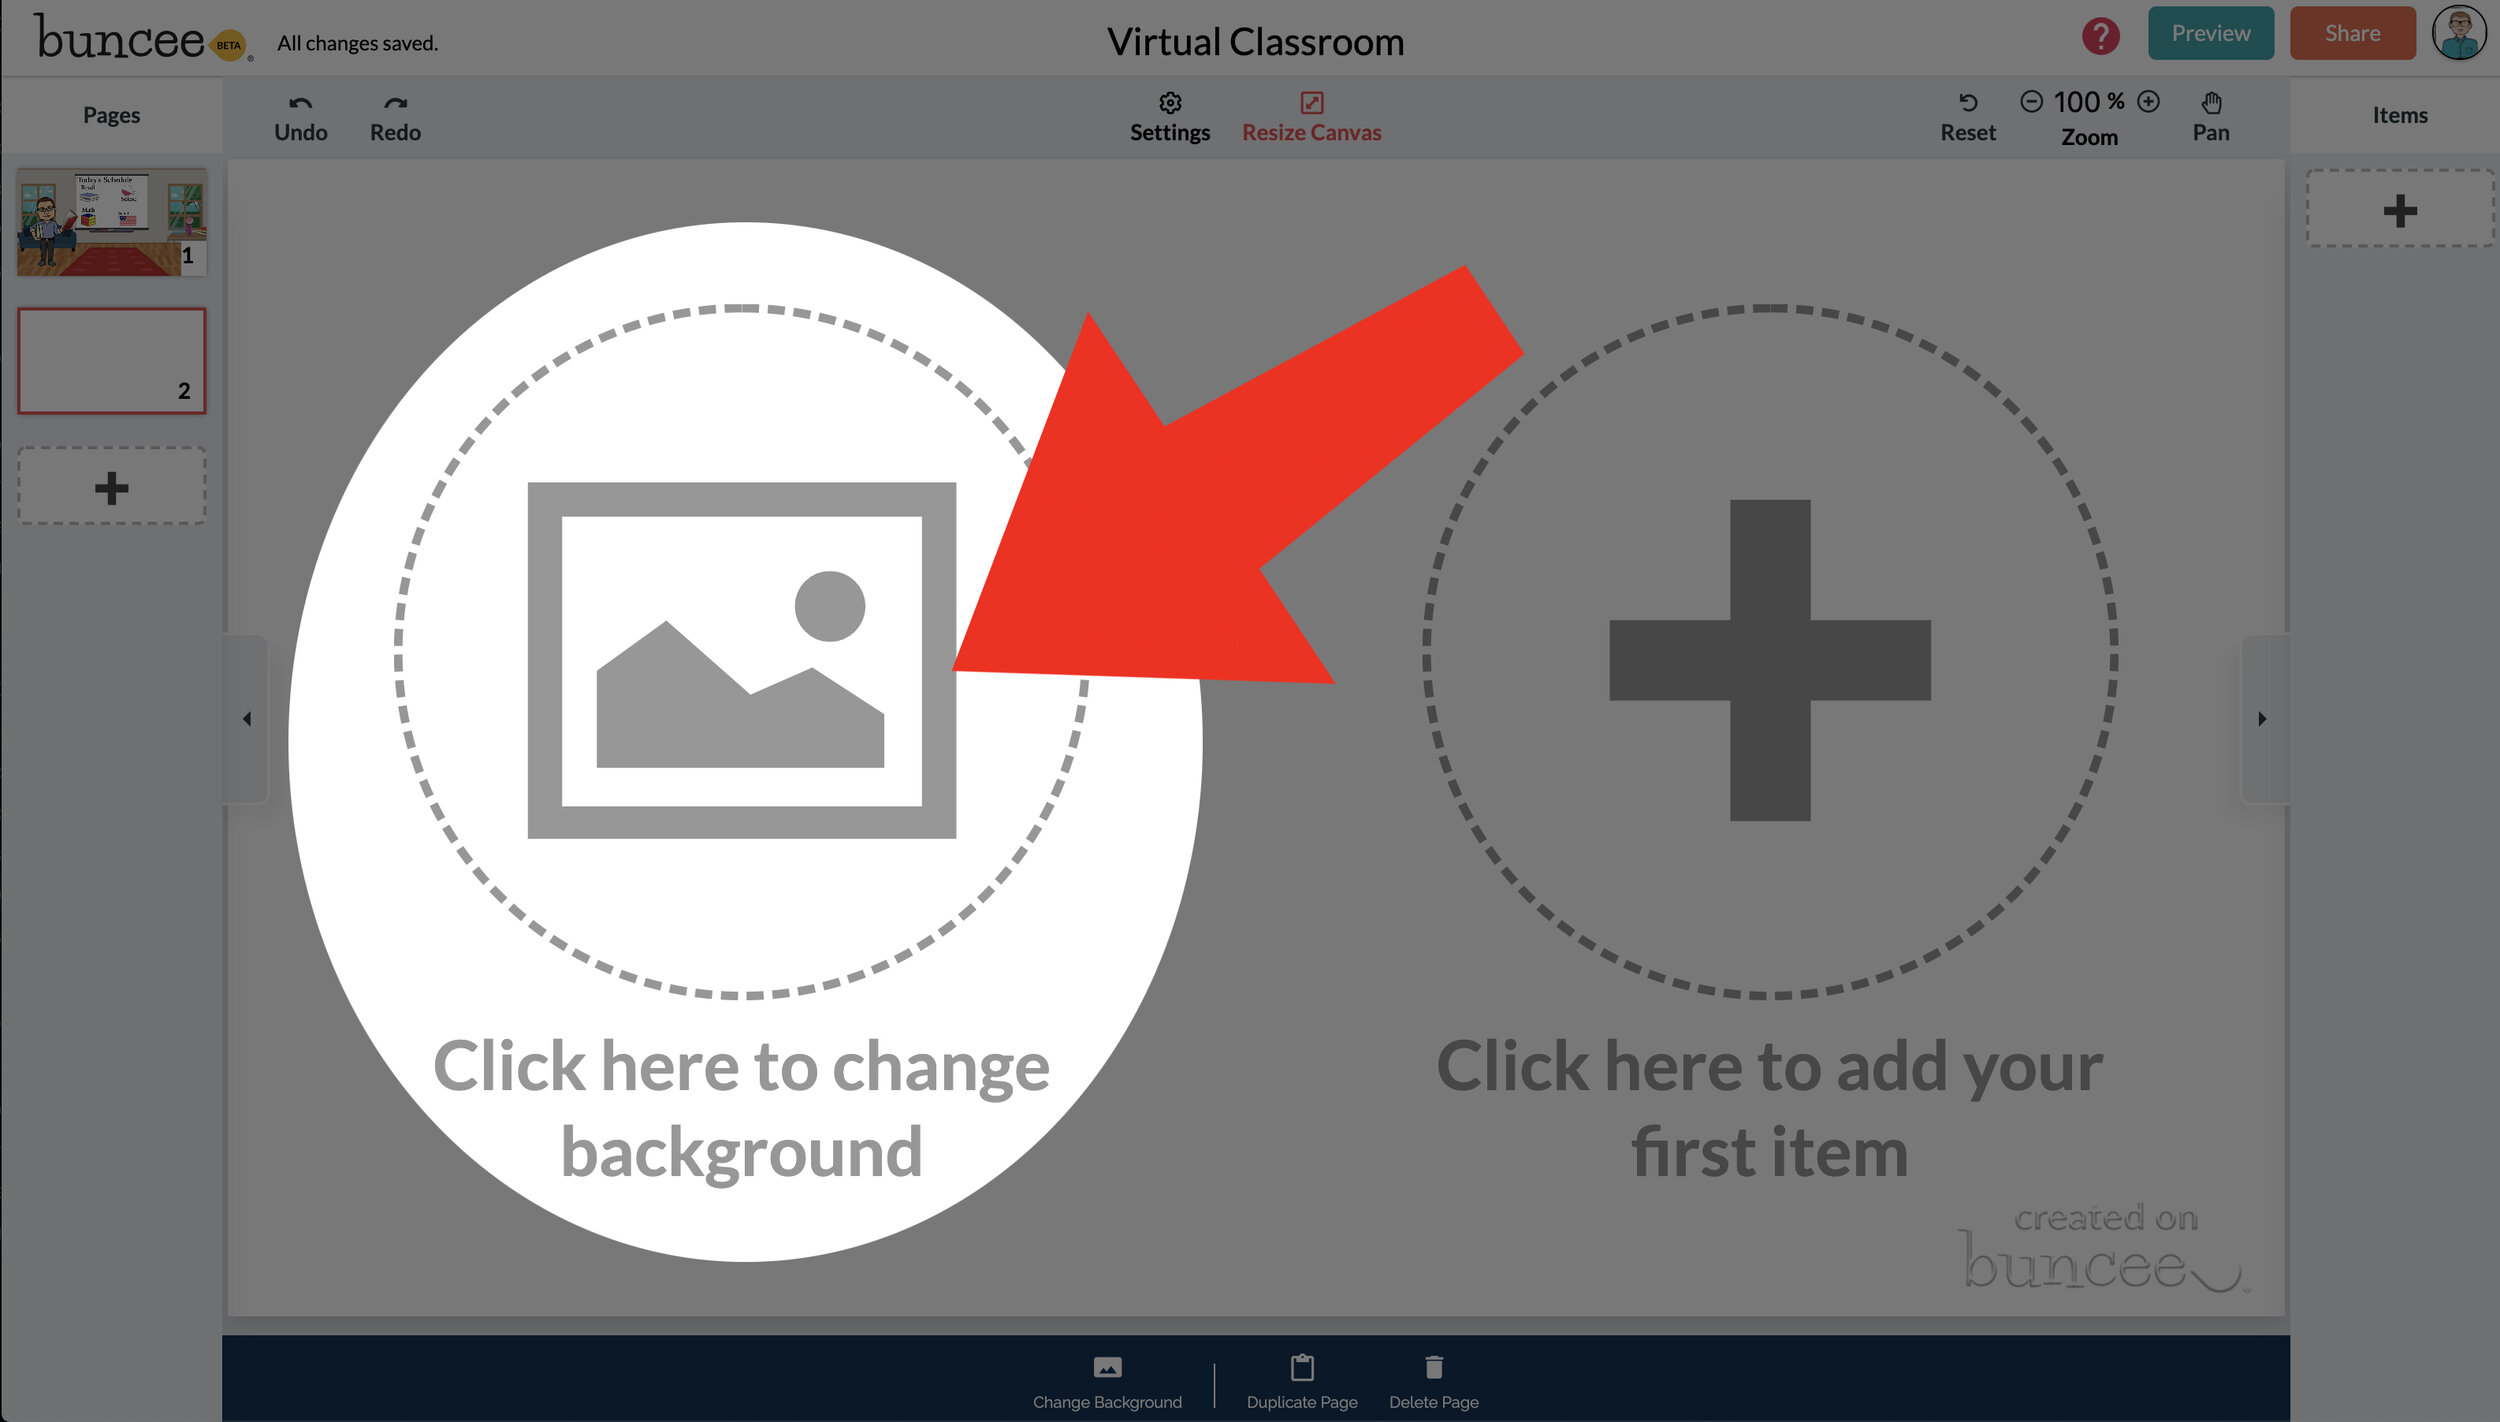

To get started, log into your Buncee account and create a new Buncee. Open the new Buncee and the first thing you’ll want to do is add a background. Follow these steps:
Tap the "click here to change background” option, then search for “class.”
Scroll through and find one that is right for you. There’s lots to choose from! You can find background images with smart boards, chalkboards, and more.
Once you find a background image that works for you, click it. Then, click the blue “add” button just to the right of the search bar. Now, your background is set and locked!
💥 HOW TO ADD IMAGES TO YOUR VIRTUAL CLASSROOM 💥
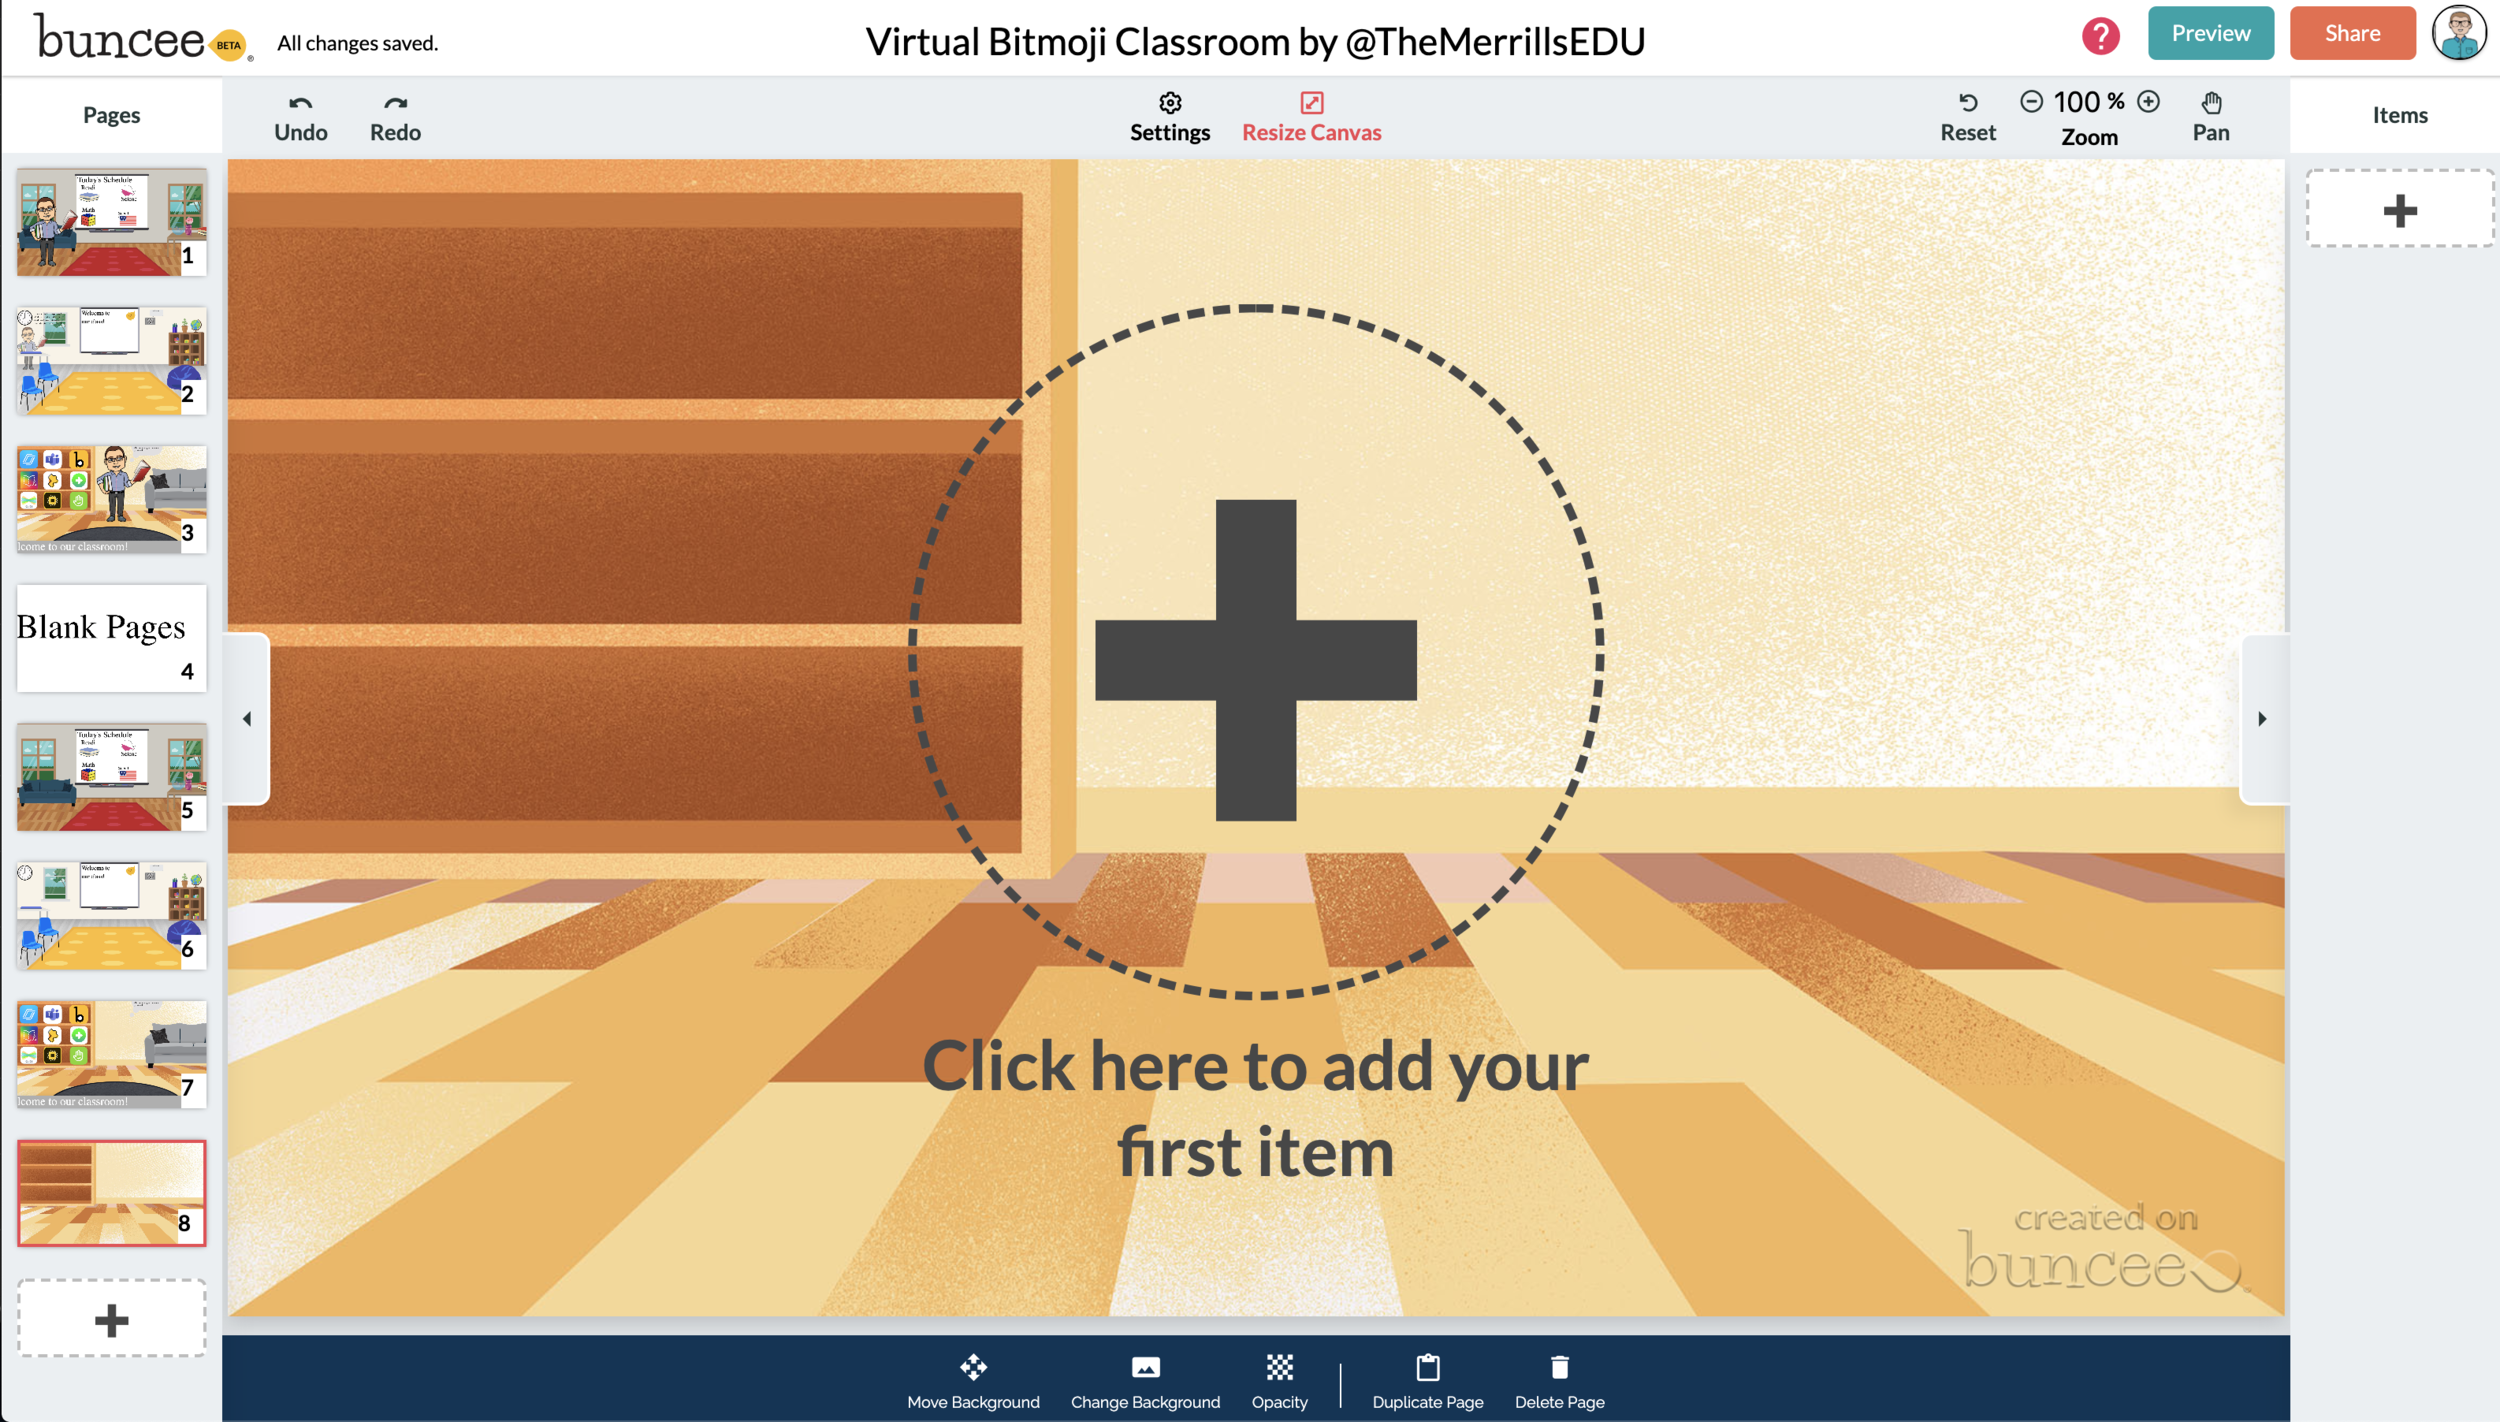

Now comes the fun part…Design your virtual classroom with some images! Click on the “+” sign to add an item. Use Buncee’s search tools to find items that you’d like to add to your classroom. Some fun things to search for include:
Smart Boards
Desks
Books
Clock
Computer
Bookshelf
Chair (you can even find a bean bag chair!)
Window
Couch
Speech (for a speech bubble)
If you’re having a hard time finding items to add, try typing “school” into the search bar. There are tons of item results that will pop up and you can use. You’ll find stickers, still images and moving gif images.
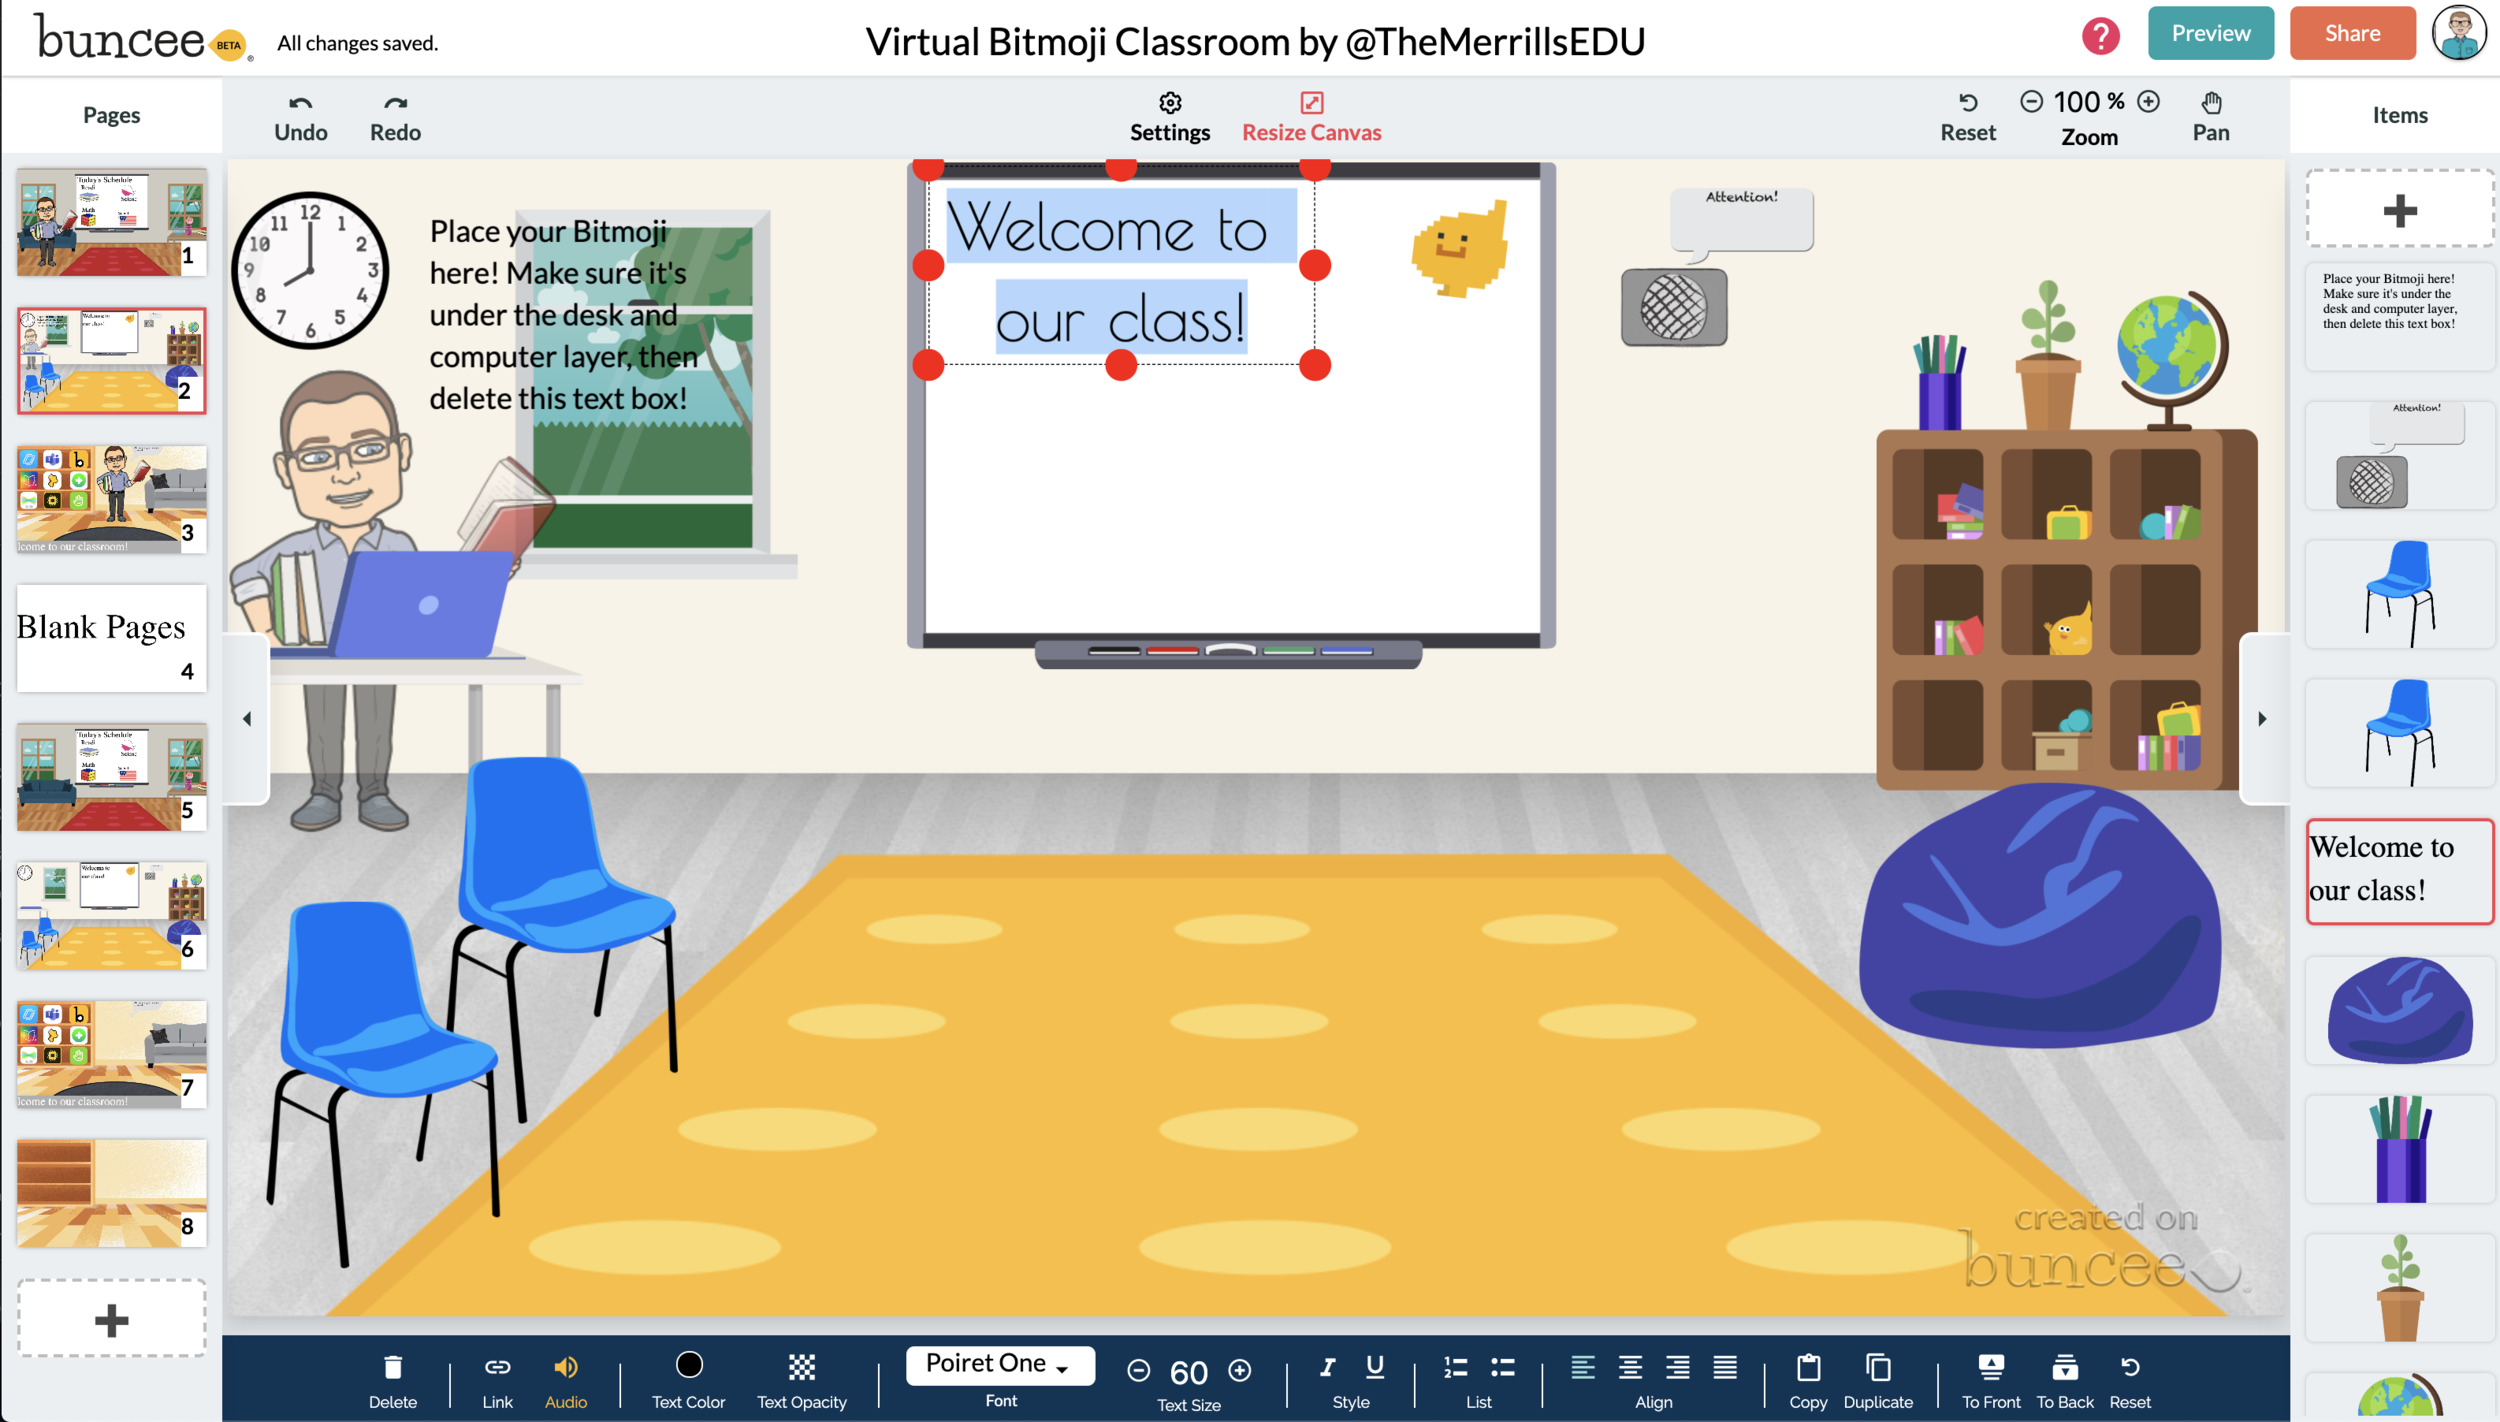
💥 HOW TO ADD TEXT TO YOUR VIRTUAL CLASSROOM 💥
After you’ve added all the items to you virtual classroom, you may want to add text. You can add text on top of items, like your smart board. This is a great way to deliver instructions for your students. To add text in Buncee:
Click on the “+” sign
After the Buncee features window will opens, click on the “text” icon (located to the left of the window)
Double click the new item to enter your text.
Once you have your text ready, you can change the font or font size by clicking the font options located on the bottom of the screen.
Move and place your text accordingly.

💥 HOW TO ADD HYPERLINKS IN YOUR VIRTUAL CLASSROOM 💥


After you have your items and text in place, now it’s time to start hyperlinking. When you hyperlink, your students will be able to click on the items (or text) that you have entered and it will take them to an external source. For example, if you use the Buncee logo, you can hyperlink it so that when it’s clicked, it will take you right to the Buncee login screen. Hyperlinks can be added to any item or text that you have added on Buncee. To add a hyperlink:
Click on the item or text that you want to hyperlink
Click on the “link” option on the bottom of the Buncee features toolbar
Enter the URL into the box
Press enter to “update” the item
💥 HOW TO SHARE YOUR VIRTUAL CLASSROOM 💥
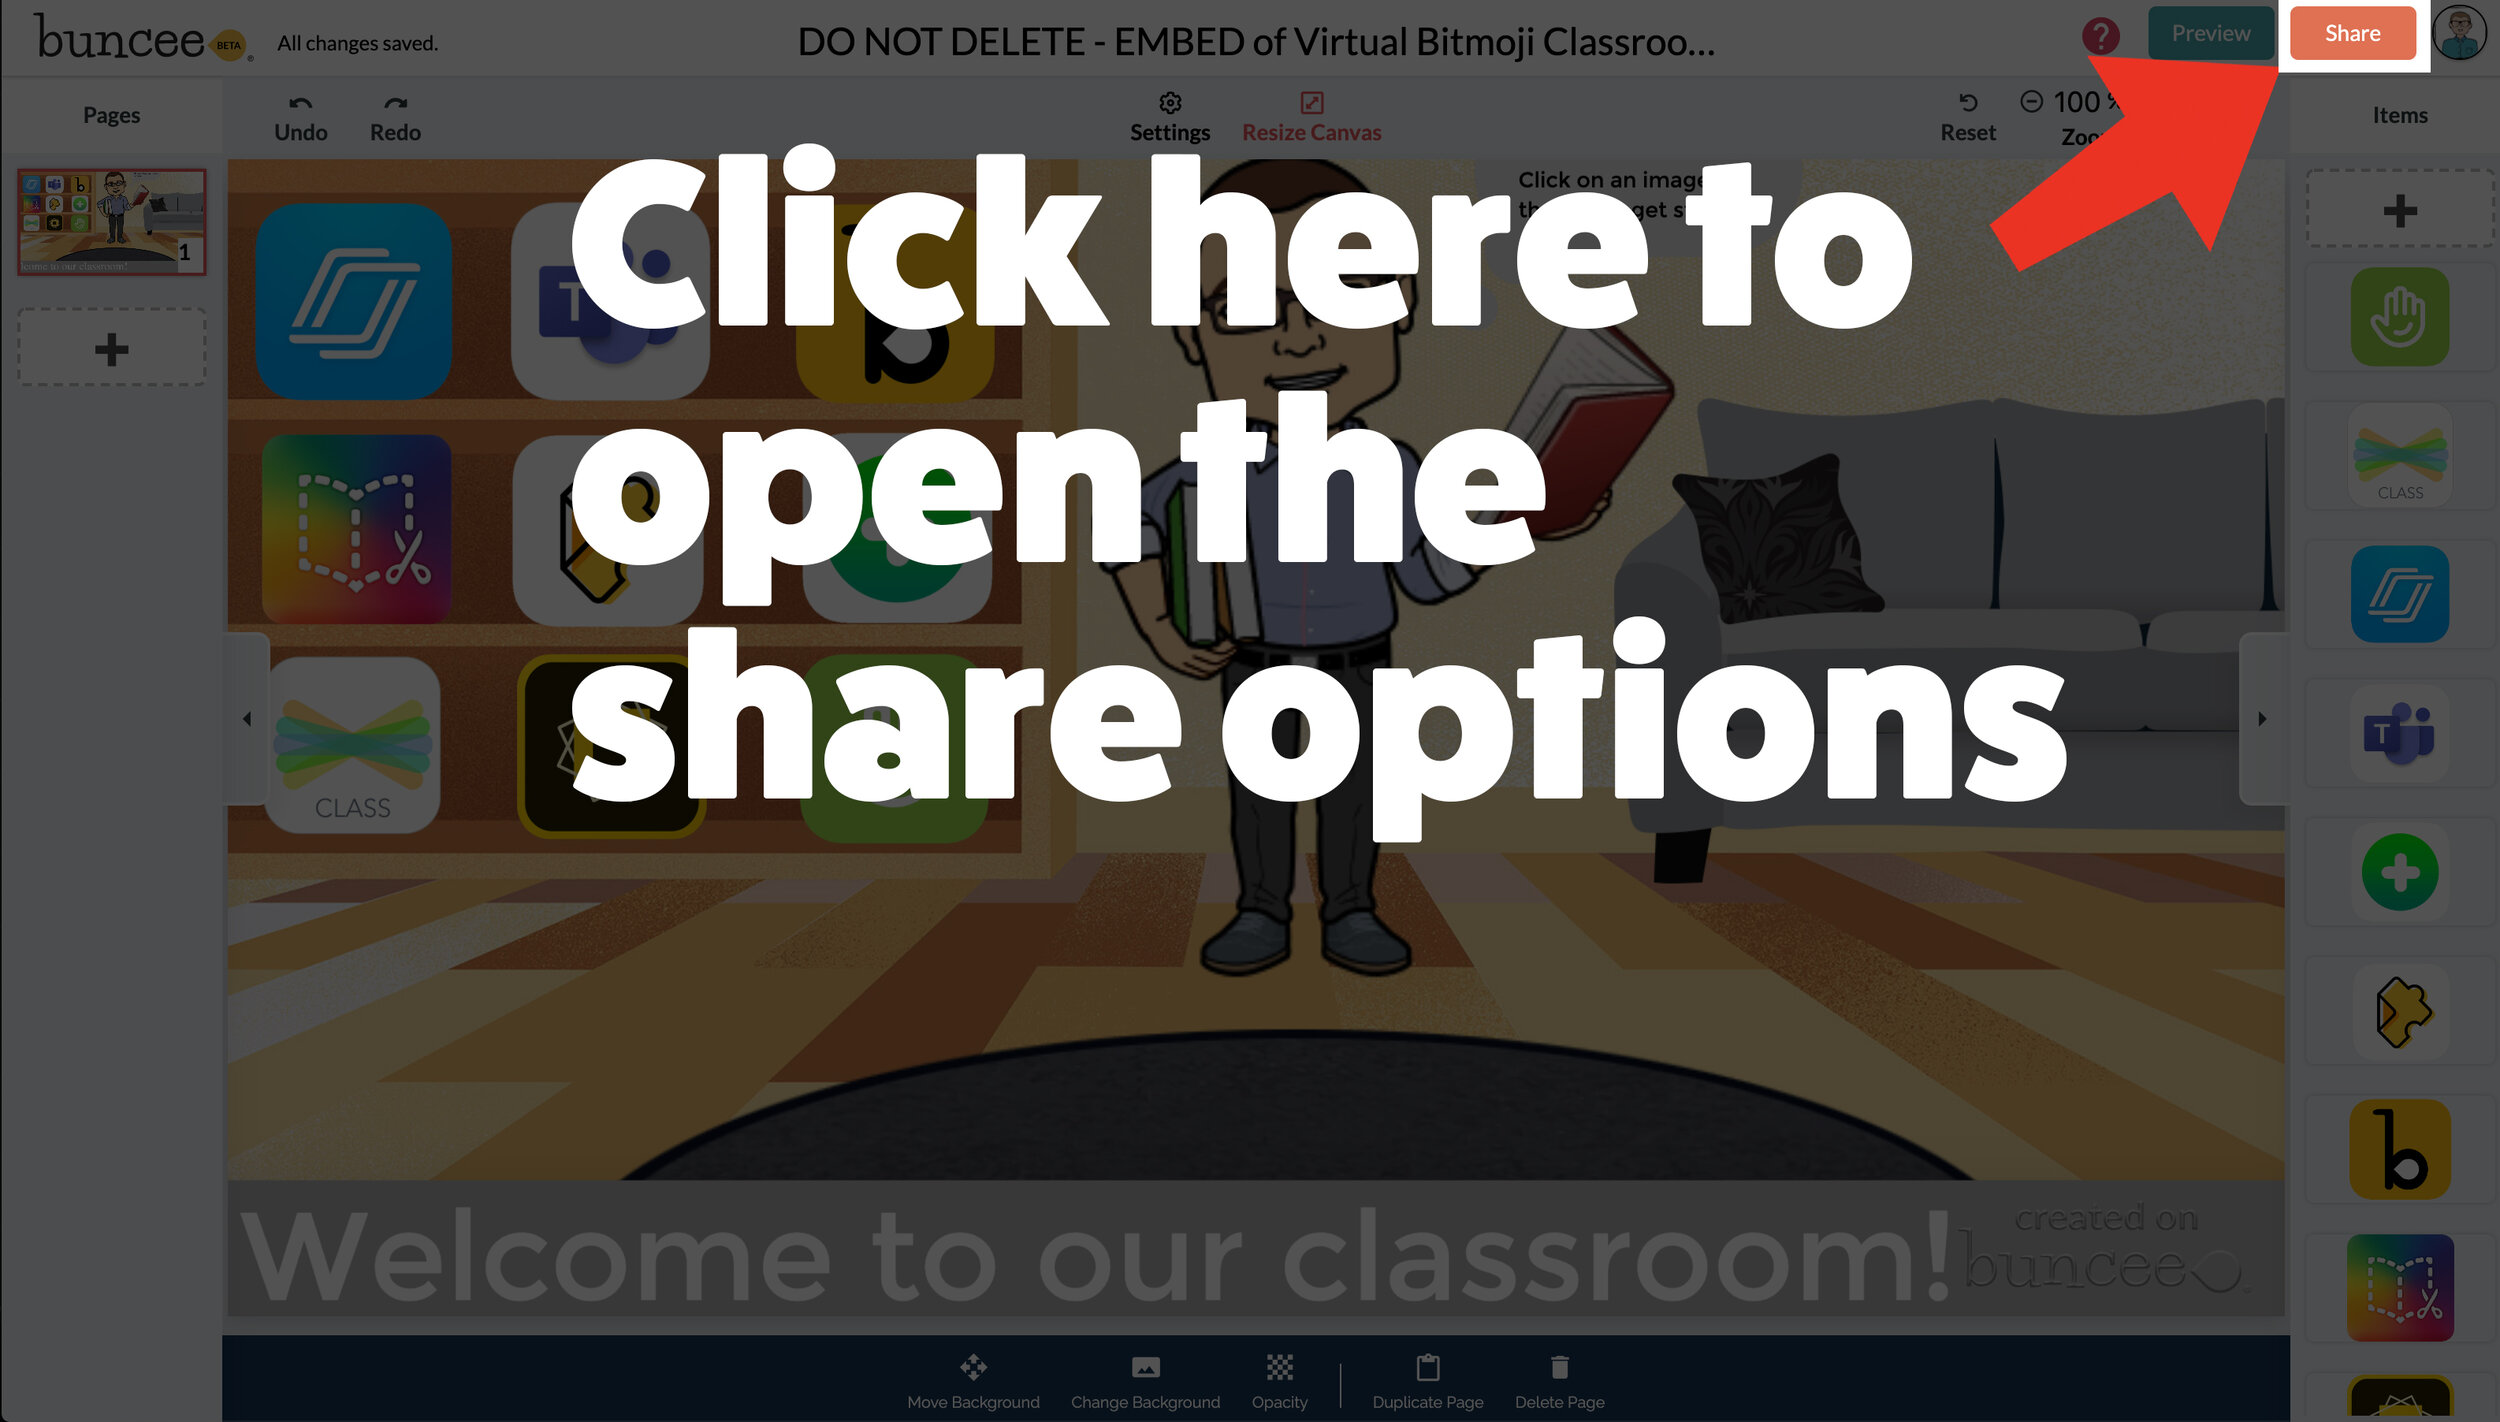

Now that your virtual classroom is ready, it’s time to share it with your students! There are several options to share in Buncee:
Share the Buncee slide deck link
Embed the Buncee slide deck into your LMS (Canvas, Schoology, Microsoft Teams, Google Classroom)
To share the Buncee slide deck link:
Click the red “Share” button
A new window will open. Click “Code” (second option from the top)
Next to the link box, click “Copy.” This will copy the URL to your Buncee.
Share the URL with your students
To embed the Buncee slide deck:
Click the red “Share” button
A new window will open. Click “Code” (second option from the top)
Next to the Embed Code box, click “Copy.” This will copy the embed code to your Buncee. (Tip: you can also click on “Show Options” to change the size of the embed)
Open your LMS (Canvas, Schoology, or anywhere you can embed) and click on the embed option. Paste the embed code from your Buncee, then hit save. Your Buncee will now be embedded into your page.
To share to Microsoft Teams, Google Classroom, or other social outlets:
Click the red “Share” button
A new window will open. Click “Social” (sixth option from the top)
Select the app that you are trying to share to, then follow the instructions

💥 FREE Templates! 💥
We’ve created several templates that you can download, copy, and edit. You can scroll through the different pages by clicking the arrow on the right. If you would like to download these, click here or the image below.

To view the templates, check out the embed of them below!
💥 YouTube Tutorial! 💥
Still not sure how it all works? We’ve got you covered! Check out this walkthrough!
For more #interACTIVE lesson ideas using Flipgrid, check out our book The InterACTIVE Class on Amazon!


💥S💥U💥R💥P💥I💥S💥E💥! Introducing our new web series!
We’re honored to announce our new @YouTube series: “Journey to Microsoft” is now LIVE!
We’re honored to announce our new @YouTube series: “Journey to Microsoft” is now LIVE! Check out episode 1 below!

Immersive Reader in a Primary Classroom (part 2)
The power and possibilities from Microsoft’s Immersive Reader are endless. So where do you start? How can we get this into the hands of “littles,” who will definitely benefit from it?
The power and possibilities from Microsoft’s Immersive Reader are endless. So where do you start? How can we get this into the hands of “littles,” who will definitely benefit from it?
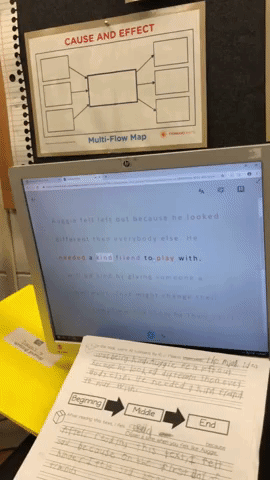
Teaching writing in primary grades is a tough job. Every student is in a different place, and more often than not, the first student done hasn’t used complete sentences. It’s times like this that we wish we could clone ourselves. If you’ve ever had to deal with this, then you know the feeling. So, during one our recent writing assignments, I had the students take their rough draft, and then type it into Word Online. I didn’t check the drafts, I didn’t ask anyone to show me ahead of time, I just explained that they were to type it once they finished. This was a pretty edgy idea, and I was nervous watching it all go down. Once the kids had everything typed out, I taught them how to open Immersive Reader. This allowed them to hear back exactly what they wrote. If there were mistakes, they could hear them being read. Then I showed them how to go back and make edits. Here’s an example of how it looked:
But wait...it gets better. Each student in my class has a copy of this desk sized guide. We use this with crayons, so the kids can see if they are working towards a “4” (or an A+) in writing. So now that they have fixed their mistakes, they can check to see if they have used things like adjectives to enhance their work. Click here, or the image below to download a copy for free!

The students change the colors to match the rubric, and then Immersive Reader will identify the various parts of speech. It’s amazing!

Now my students have a piece that has been edited, and it’s ready to be “published,” all done independently. But, if you know me, you know I LOVE app smashing. So, I taught my students to transform the Word file to a webpage, which “app smashes” the work into Microsoft Sway. What started out as a simple writing piece, turned into a published website, completely designed by first graders.
These projects were then shared out on Seesaw for my families to see. Now, my class engagement during writing is up, and the students are excited about being able to share their work with the world - all thanks to Microsoft. If you have any questions about Immersive Reader, or how we completed this process, please don’t hesitate to reach out!
👓 - J
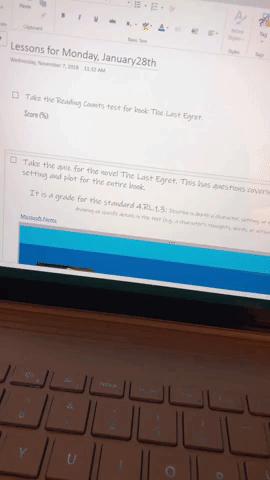
Simple Sub Plans with MicrosoftEdu
As as I prepared to leave for FETC, I had to account for all the minutes in all the days (3 to be exact!) and if you’re like me, I hate giving busy work. I value my students’ time and their talents and I don’t want my time away to be wasted. So I turned to Microsoft Teams and OneNote.
You don’t give yourself enough credit. Teachers work hard...and we are reminded of this as we prepare to be away from our class. you know what this reference is to-the dreaded sub plans.
Lunch times.
Specials.
Centers.
It all has to be explained and planned for. Every minute of the day accounted for. This can be a daunting task and it’s often joked that being away is more work than just staying put. But not anymore!
As as I prepared to leave for FETC, I had to account for all the minutes in all the days (3 to be exact!) and if you’re like me, I hate giving busy work. I value my students’ time and their talents and I don’t want my time away to be wasted. So I turned to Microsoft Teams and OneNote.
Through OneNote I was able to create an assignment for my kids that picked up right where we left off on Friday. I could embed video and audio directions to accompany the various assignments I crafted around our most recent novel study. The platform is so flexible that if I’m being completely honest I didn’t even finish editing the tasks until Sunday night—long after my sub plans were printed and laid out on Friday. Once the OneNote assignment was complete I attached it in an assignment created on Teams and viola! Flexible, explicit lessons prepared and I saved the best for last....I can check in throughout the day as my students work to leave comments, answer questions, trouble shoot or simply leave small notes of encouragement.

Little did I know that my students would do the same for me!
👗 -K