


Using Flipgrid's "Ideas" in a Primary Classroom
One of Flipgrid’s most powerful features is often overlooked. “Ideas” has a similar feel to Instagram or Facebooks’ “Stories.” You can even swipe from left to right!
One of Flipgrid’s most powerful features is often overlooked. “Ideas” has a similar feel to Instagram or Facebooks’ “Stories.” You can even swipe from left to right!
These quick bursts of thinking can help to ignite a larger conversation in your topics. But, if you’re looking for an efficient and easy way to integrate “Ideas,” don’t think about it too hard…let your students do the thinking!
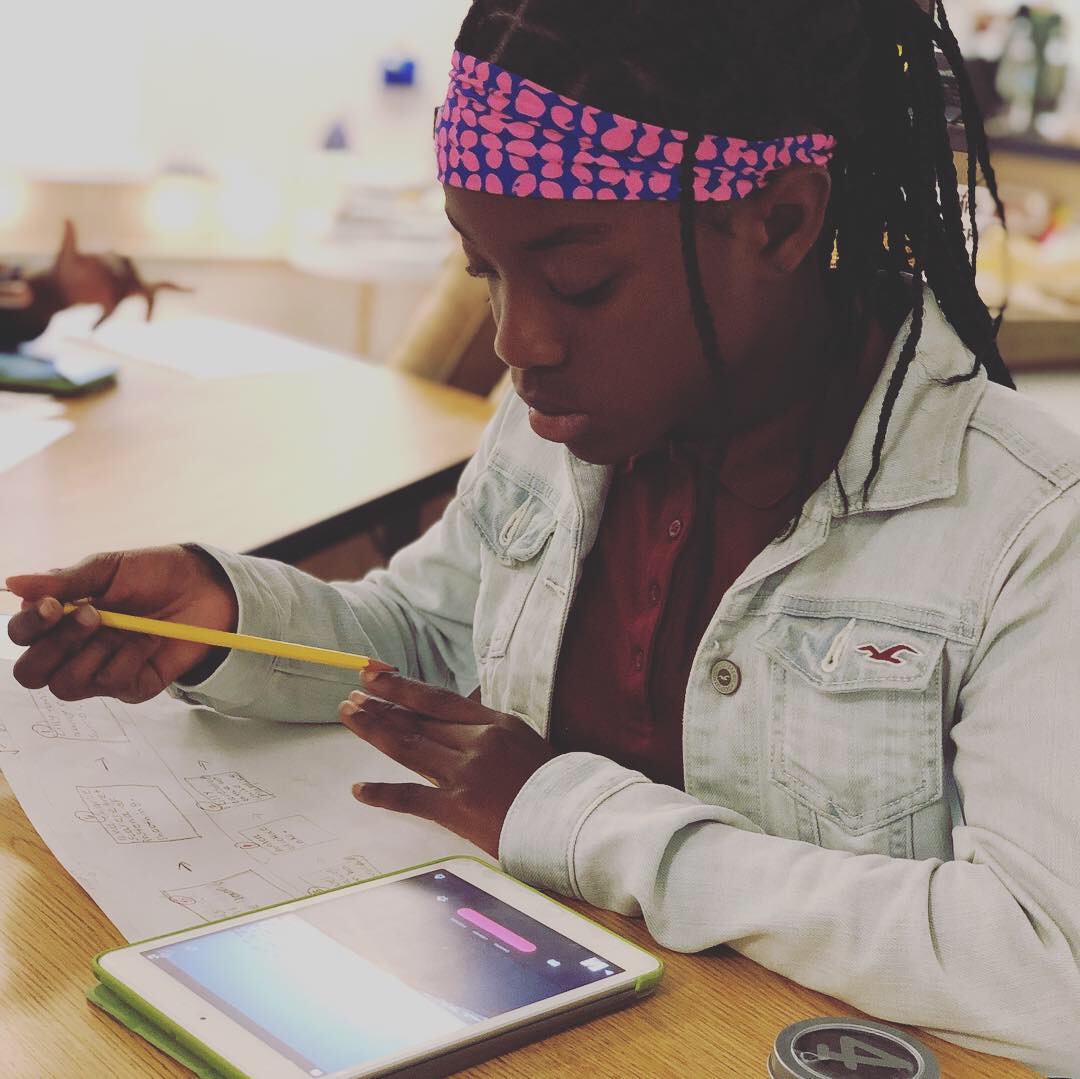
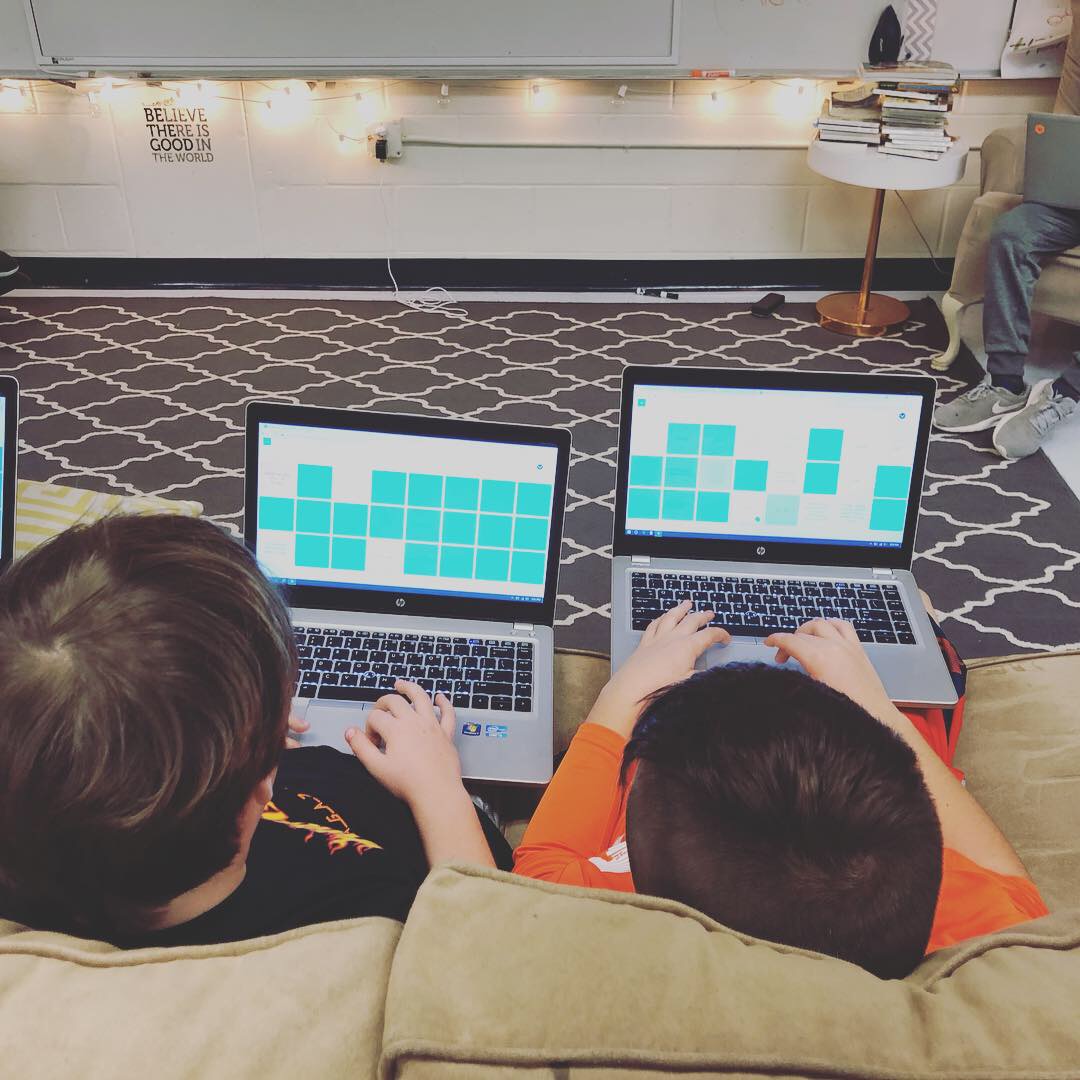
Above is an example of a lesson I recently did with my first graders. I prompted them with a word problem, then asked the entire class to attempt to solve the problem using only mental math. I knew that only a few kids would be able to handle solving it - but that was exactly what I wanted. So, after about a minute, I asked anyone who thought they knew the answer to raise their hand. Once I had a student who was able to answer correctly, I gave them permission to go and record an “Idea” on Flipgrid. In the “Idea” video, they simply stated what the answer was to the problem - nothing more. So now, all of my students understood where they needed end up - but the real question was could they explain how to get there? So, this is where they worked out the problem on a whiteboard. After practicing what to say, the entire class went onto Flipgrid and started explaining their thinking and strategies. The students knew if they didn’t end up with the answer in the “Idea,” then they were incorrect and had to keep trying. It was neat to see was how the class worked everything out. There were 2-3 similar strategies used to solve, but not one was used more than the other. We all arrived at the same answer, but with “Ideas,” we reached a higher level of thinking. — 👓

Summarizing Scenes-Designing Creative Assessments
Students needed to show that they were able to summarize a story and then use that summary to tell the theme. I referred back to that quote—if I were a child, how would I want to show my ability to retell a story? In today’s digital world, retelling and summarizing happens in 30 sec clips, 7 sec vines and numerous other forms of visual media. So when I looked at it through my students’ eyes the answer was crystal clear!
One of the first things to often be “taken away” from teachers is unfortunately the right to choose what is taught and with what materials. Many districts have mandated curriculum that is to be used that goes along with specific state standards that are to be taught. At first glance, this can be a hard thing for teachers to adjust to and is challenging to do well while also keeping creativity alive in the classroom.
I remember reading a quote a while back that went “A creative adult is a child who survived.” This really resonated with me and I am often reminded of it when I get stuck trying to plan a lesson. You know those lessons I’m talking about—the ones that aren’t engaging or #interACTIVE and the ones that both you and the students dread. Even worse are when those activities culminate into boring and uneventful assessments.
Assessments are the worst—or at least the traditional ones can be. Now, don’t get me wrong, I am a HUGE proponent of data driven instruction and in my classroom this comes in both summative and formative forms. But, there are only so many multiple choice, fill in the blank, short response answers to go around in . one room. The purpose of an assessment is to see what students know and what knowledge they have gained and what better way to showcase this than through some form of new, creative context. If a student has truly mastered specific content, then they should be able to take that knowledge and transfer it into some form of personally created work.
This past week this came to fruition in my classroom with a classic standard—summarization and theme. Students needed to show that they were able to summarize a story and then use that summary to tell the theme. We had just finished reading a novel as a class and as I procrastinated writing my weekly lessons I racked my brain trying to come up with a creative way form them to show mastery. I referred back to that quote—if I were a child, how would I want to show my ability to retell a story? In today’s digital world, retelling and summarizing happens in 30 sec clips, 7 sec vines and numerous other forms of visual media. So when I looked at it through my students’ eyes the answer was crystal clear!
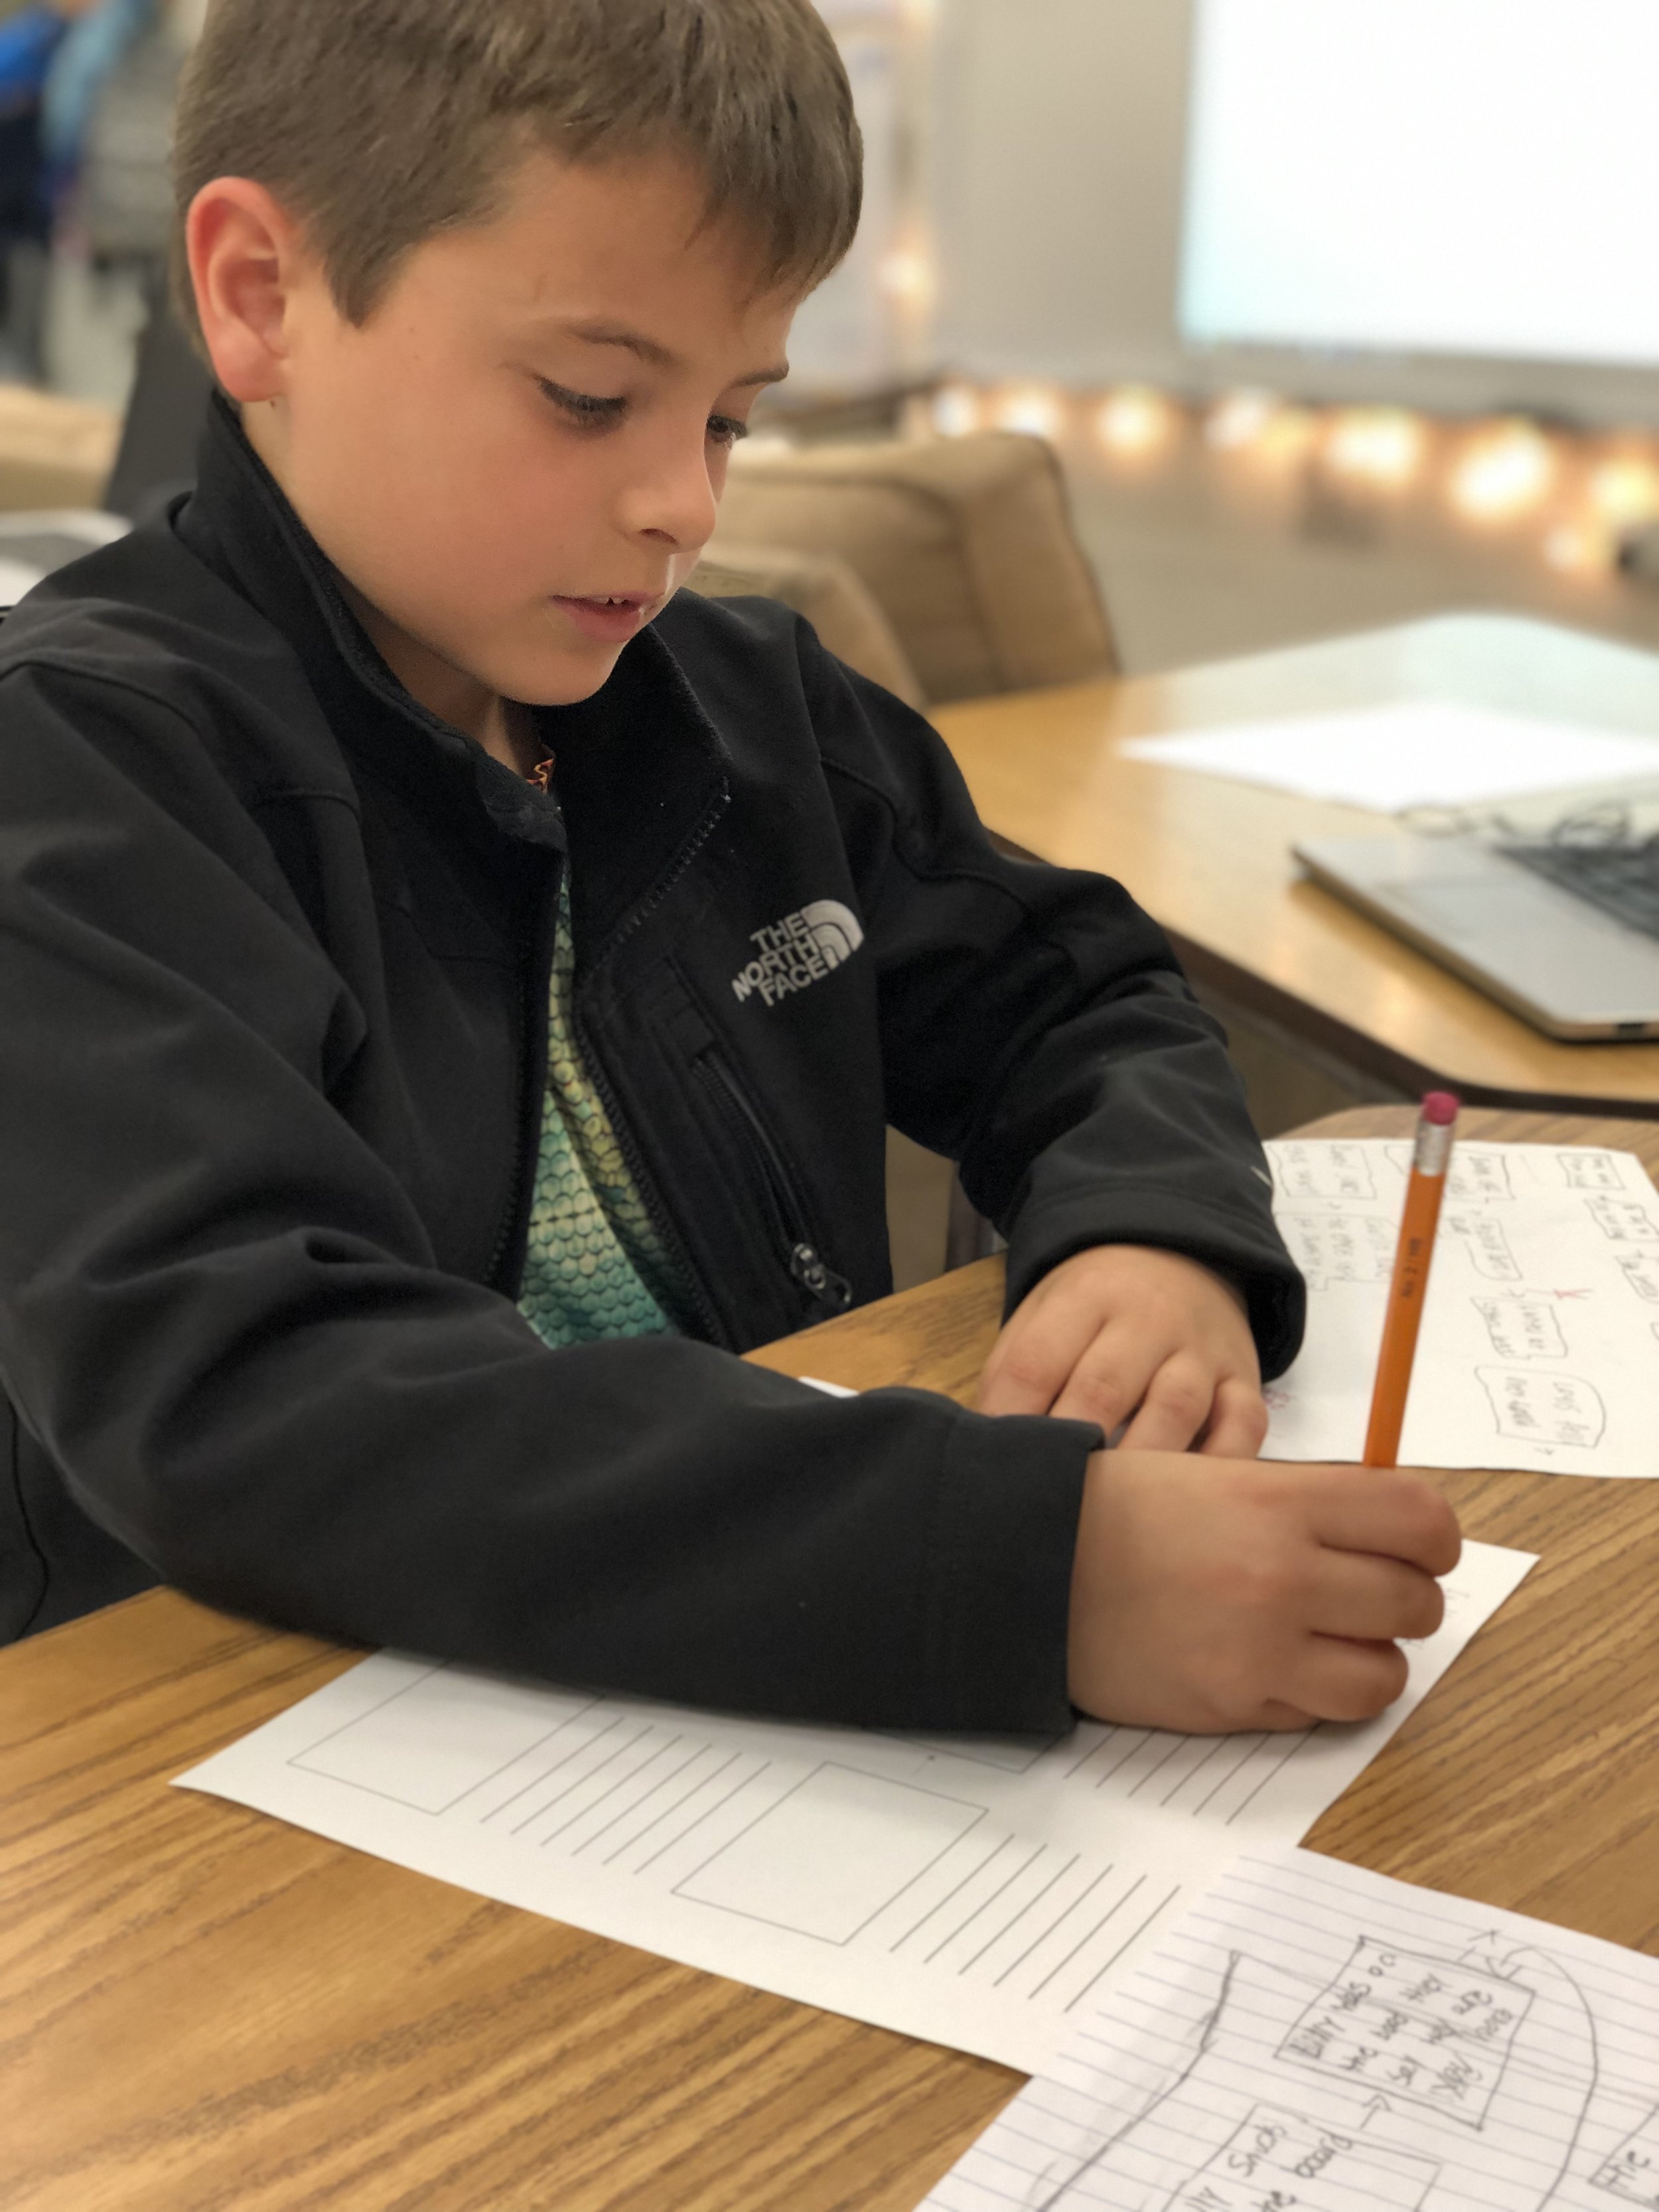
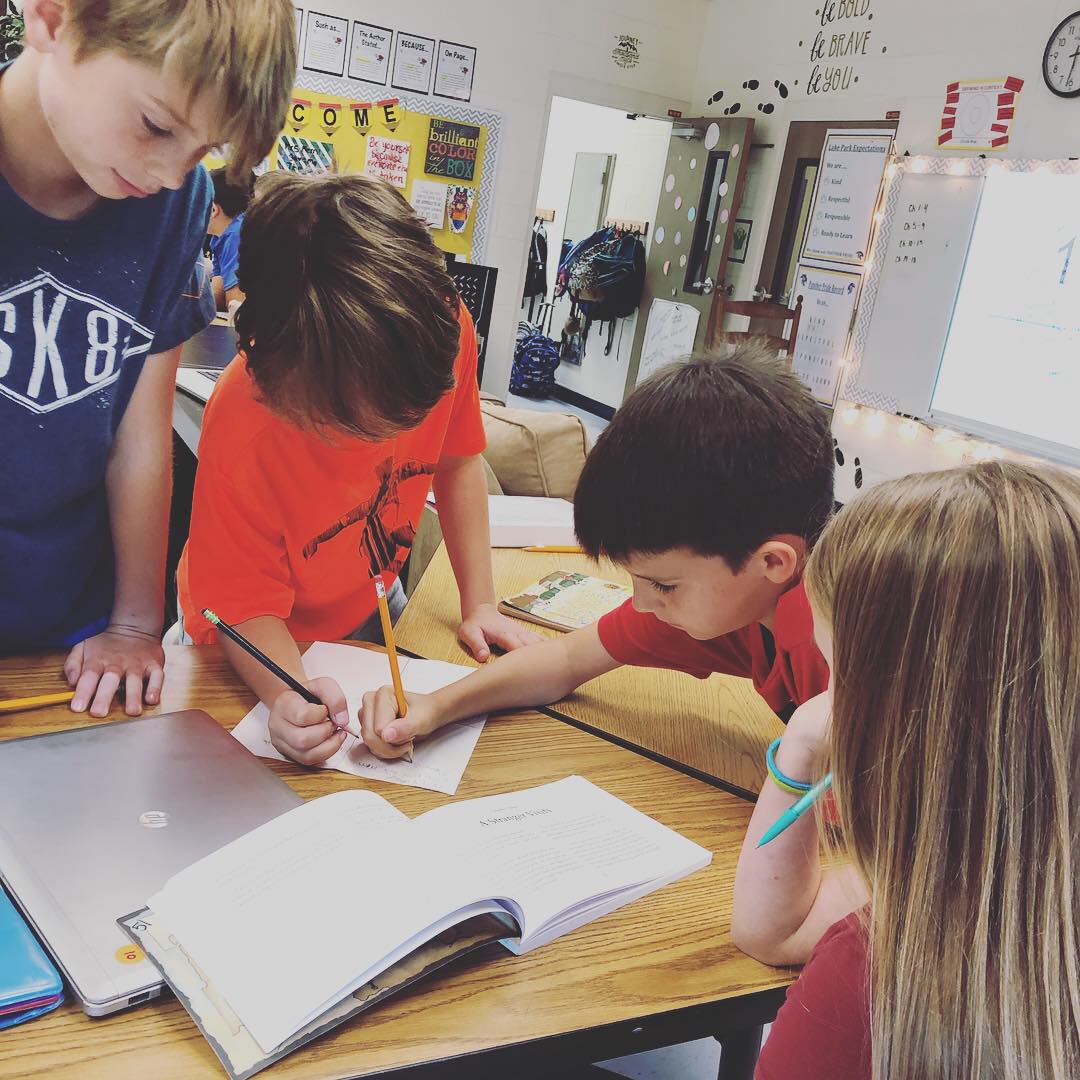
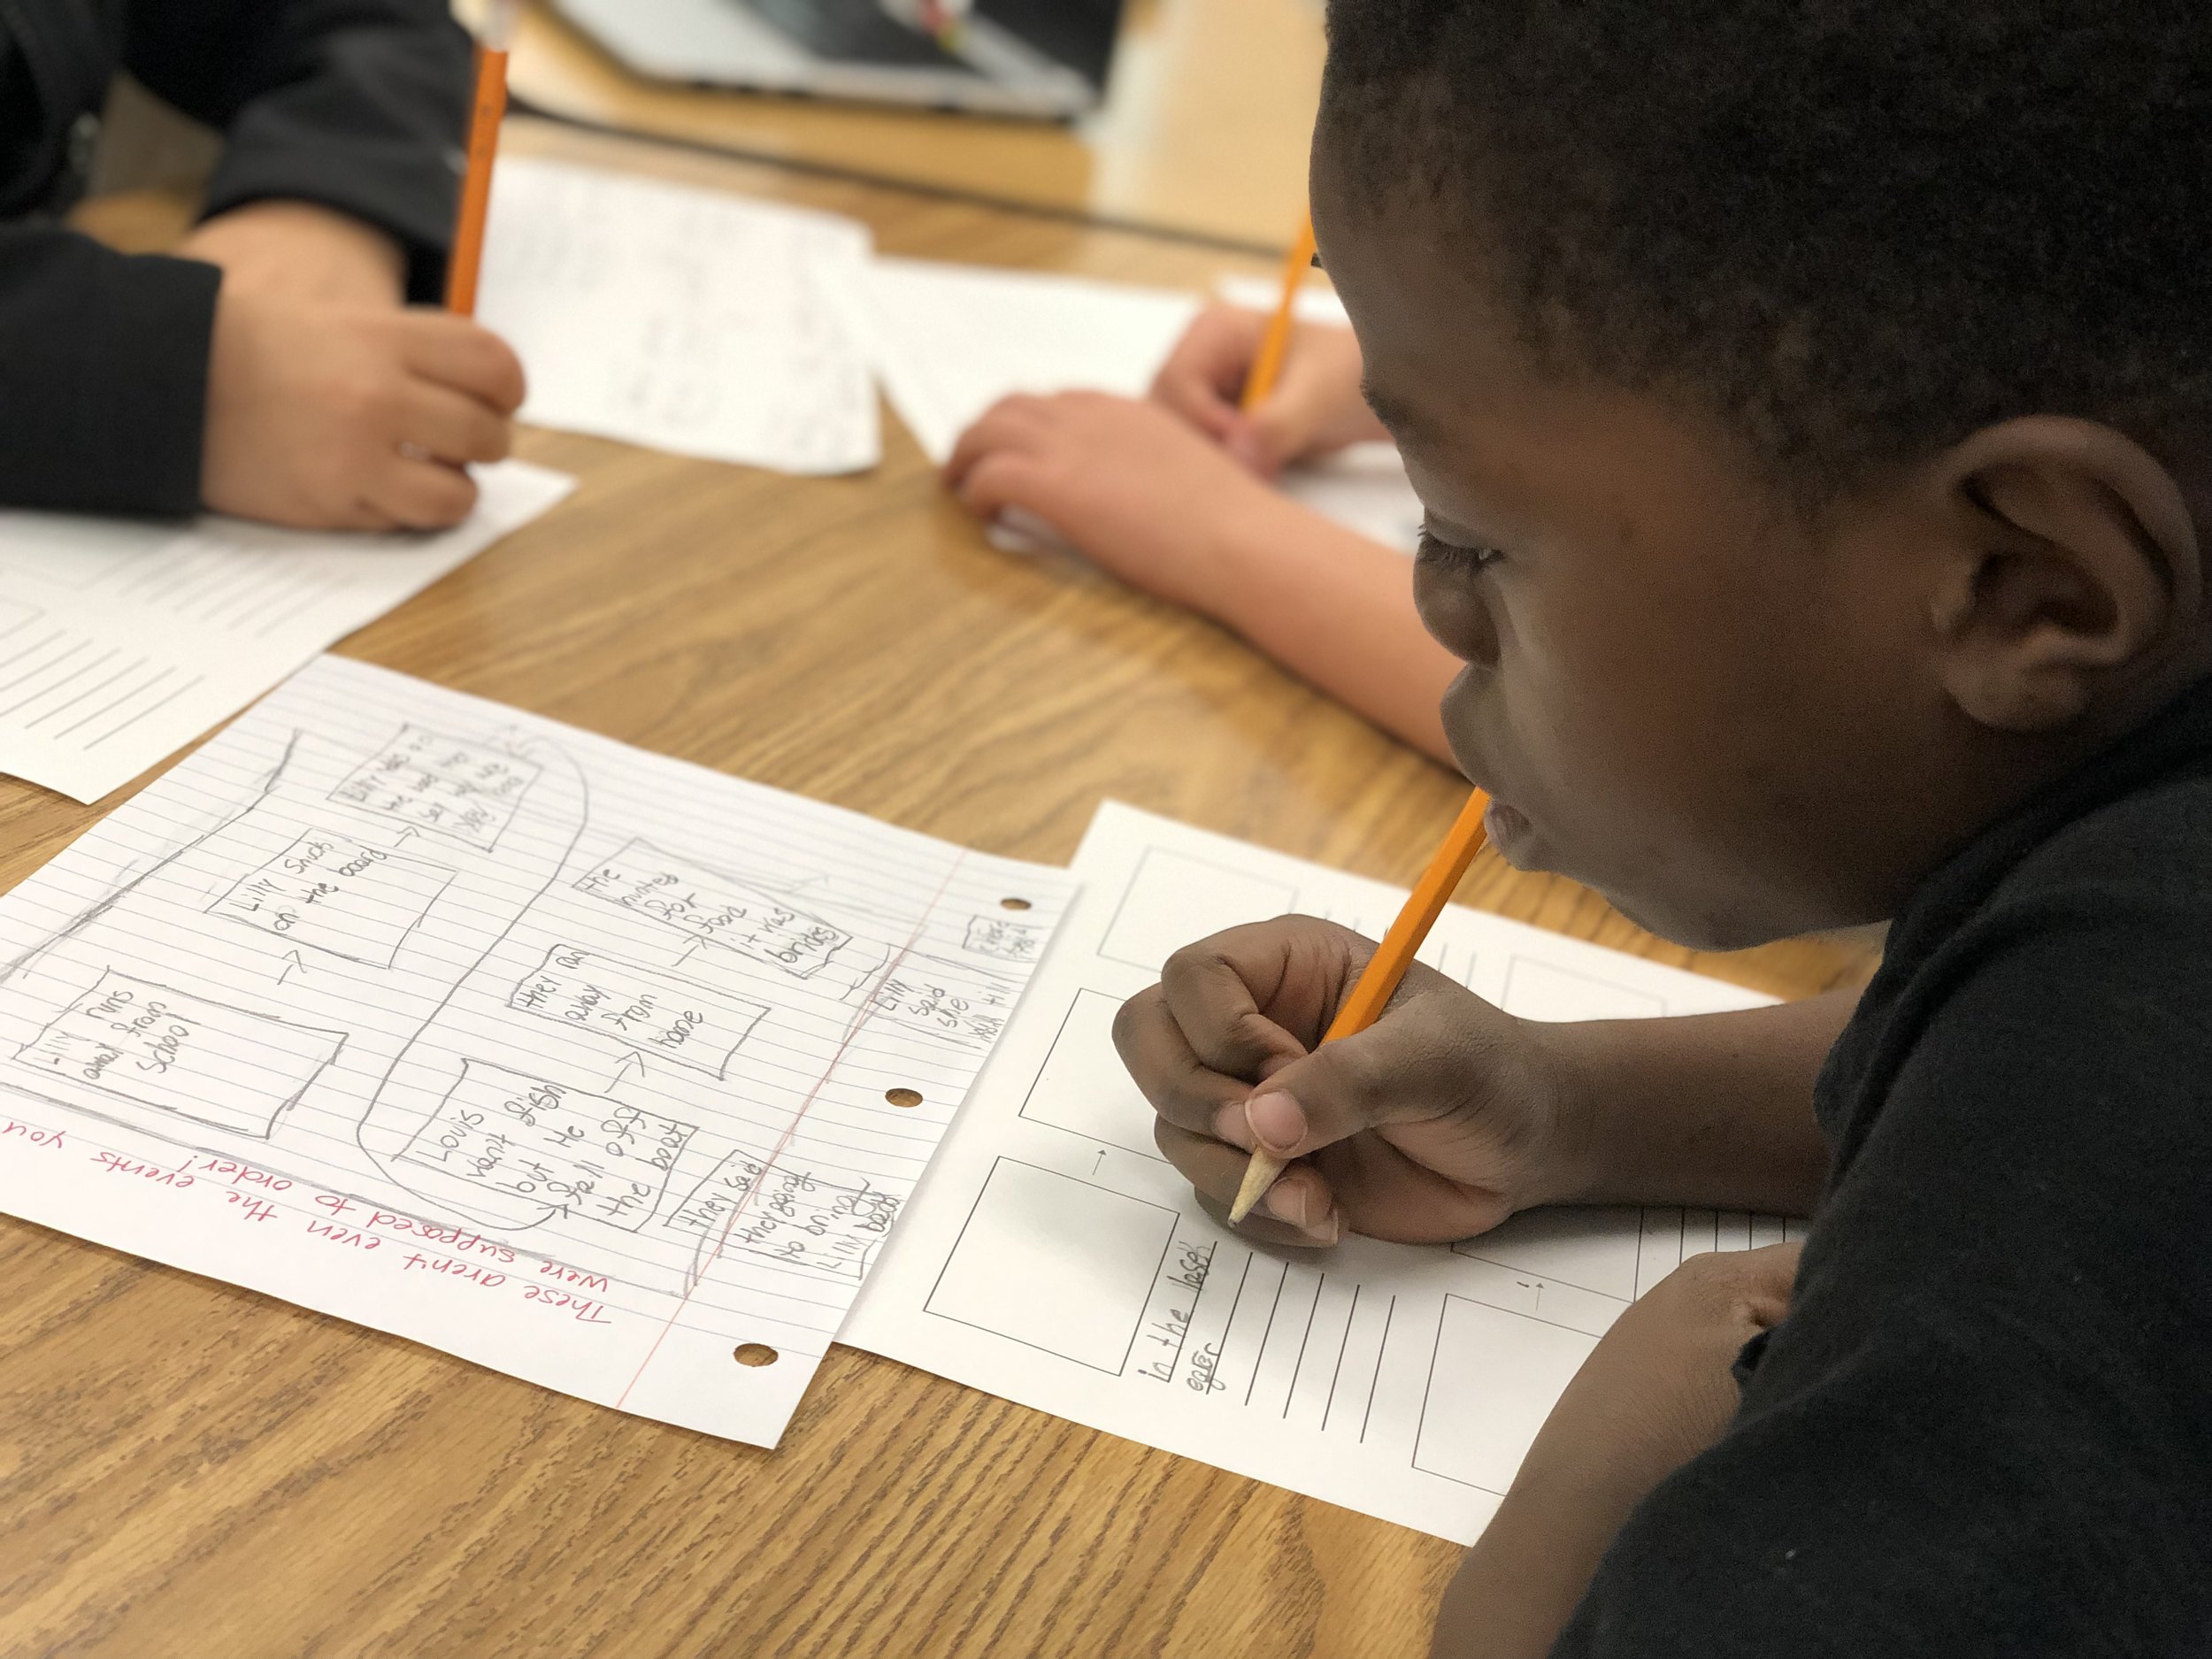
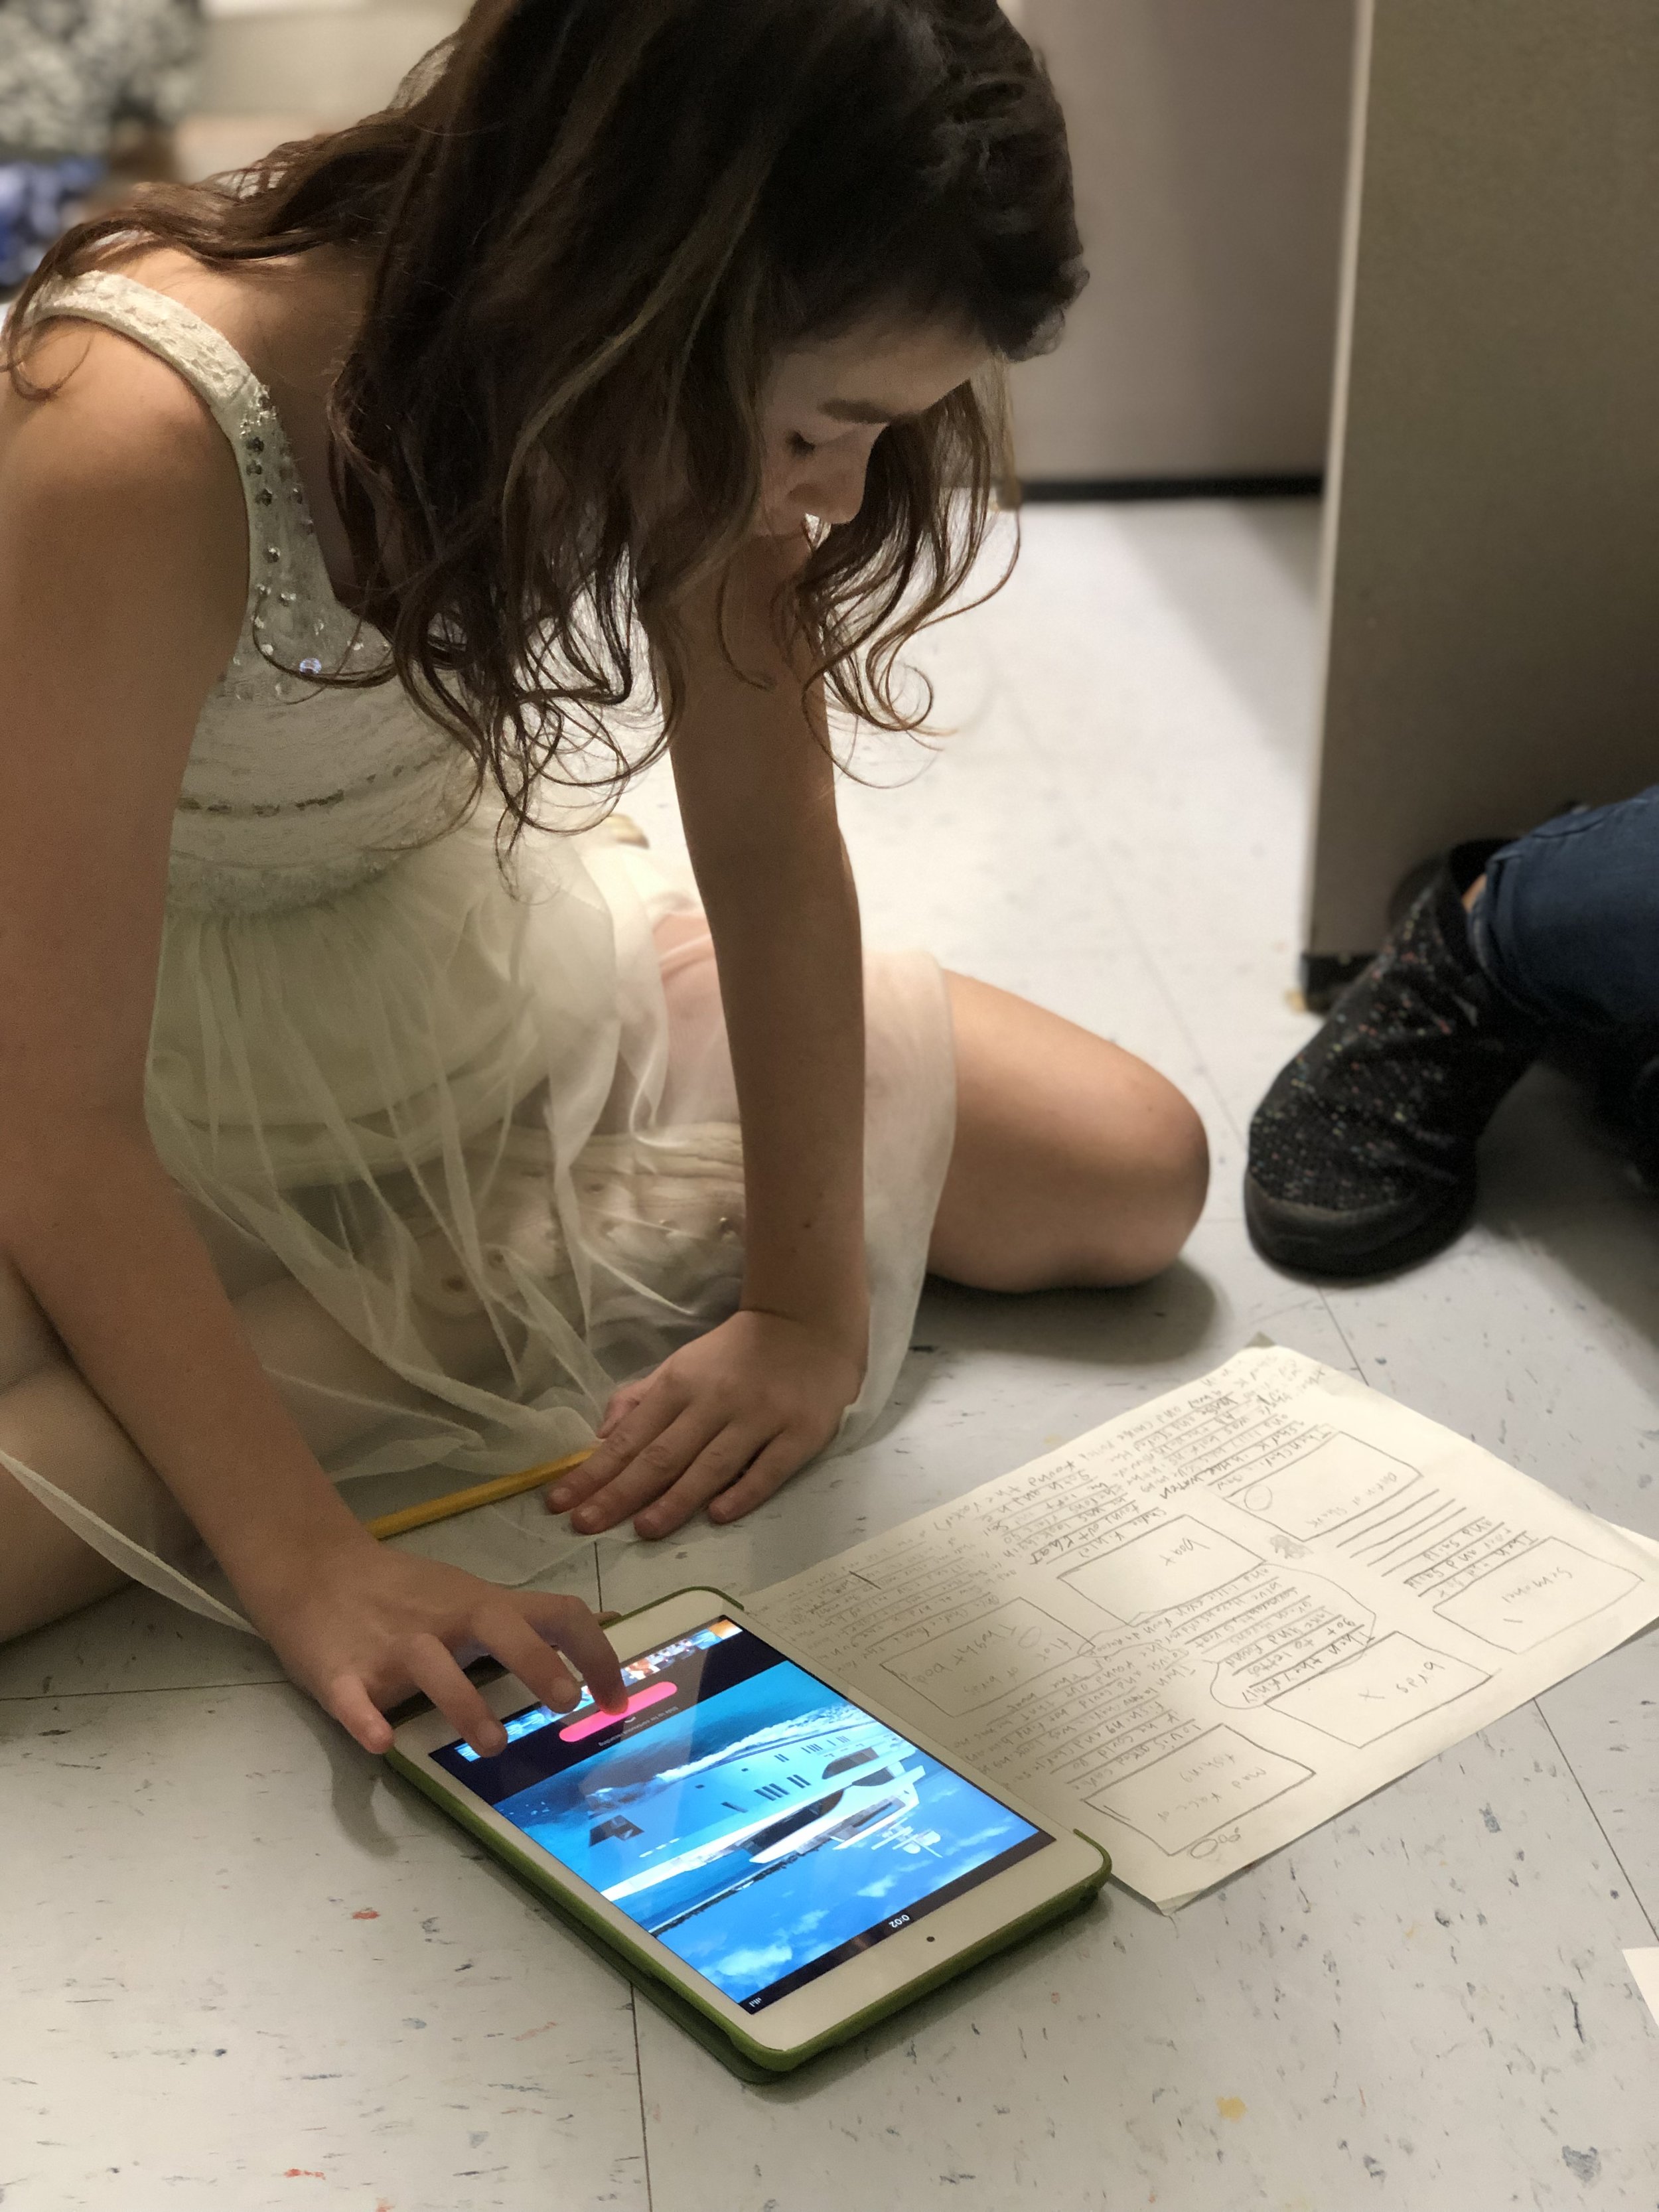
In the morning class we started out by brainstorming main events from the story and then they were given time to discuss the importance of each and to revise the list until only the most important, most relevant events remained. Students then took those main events and reordered them until they were in the correct chronological order creating if you will their own version of a “story board.” Next, students worked on finding visuals to correspond with each main event and for these Gen Z learners—-we chose emojis! When all the emojis were selected, the students smashed all their events, emojis and explanations together to create their own video summaries using Apple Clips.
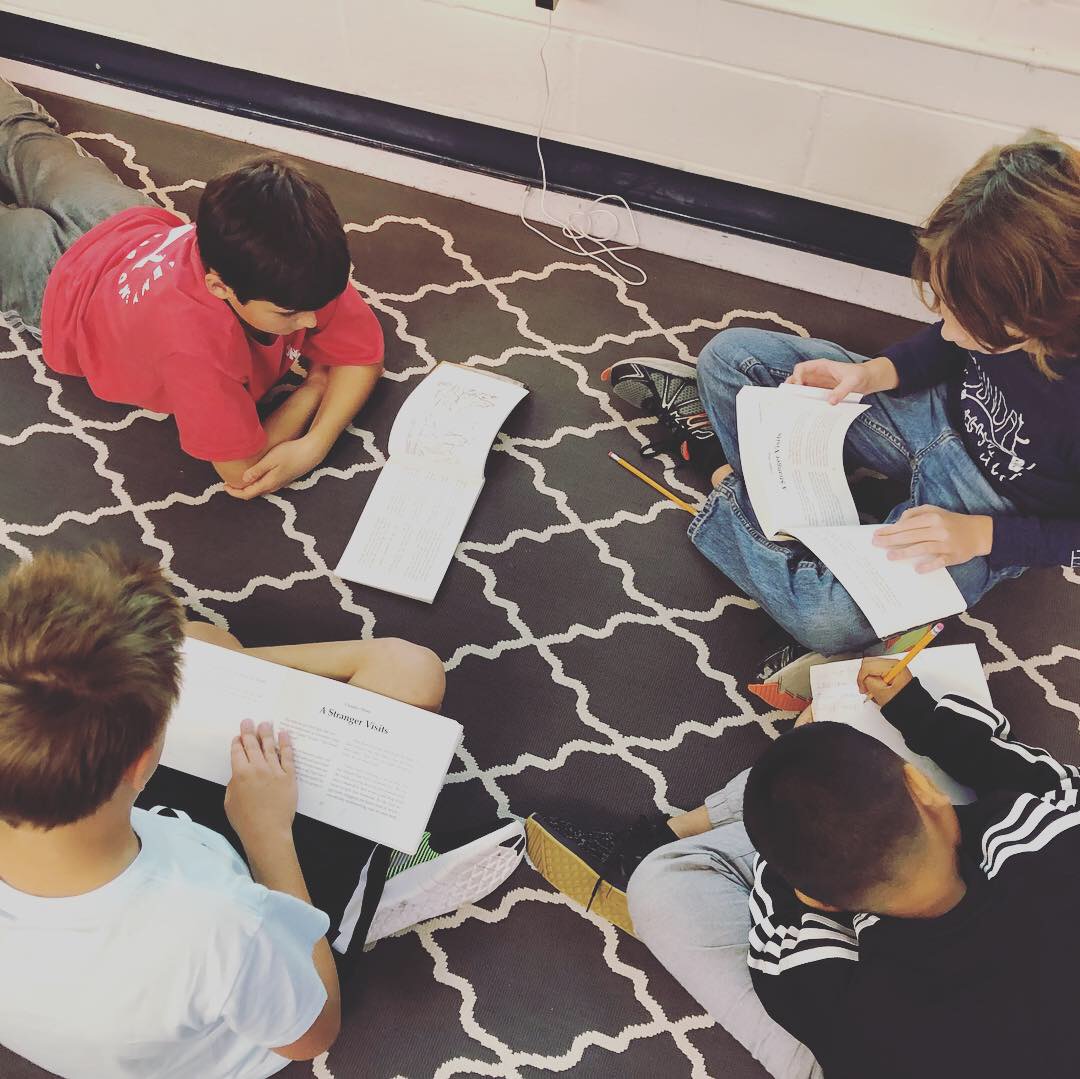
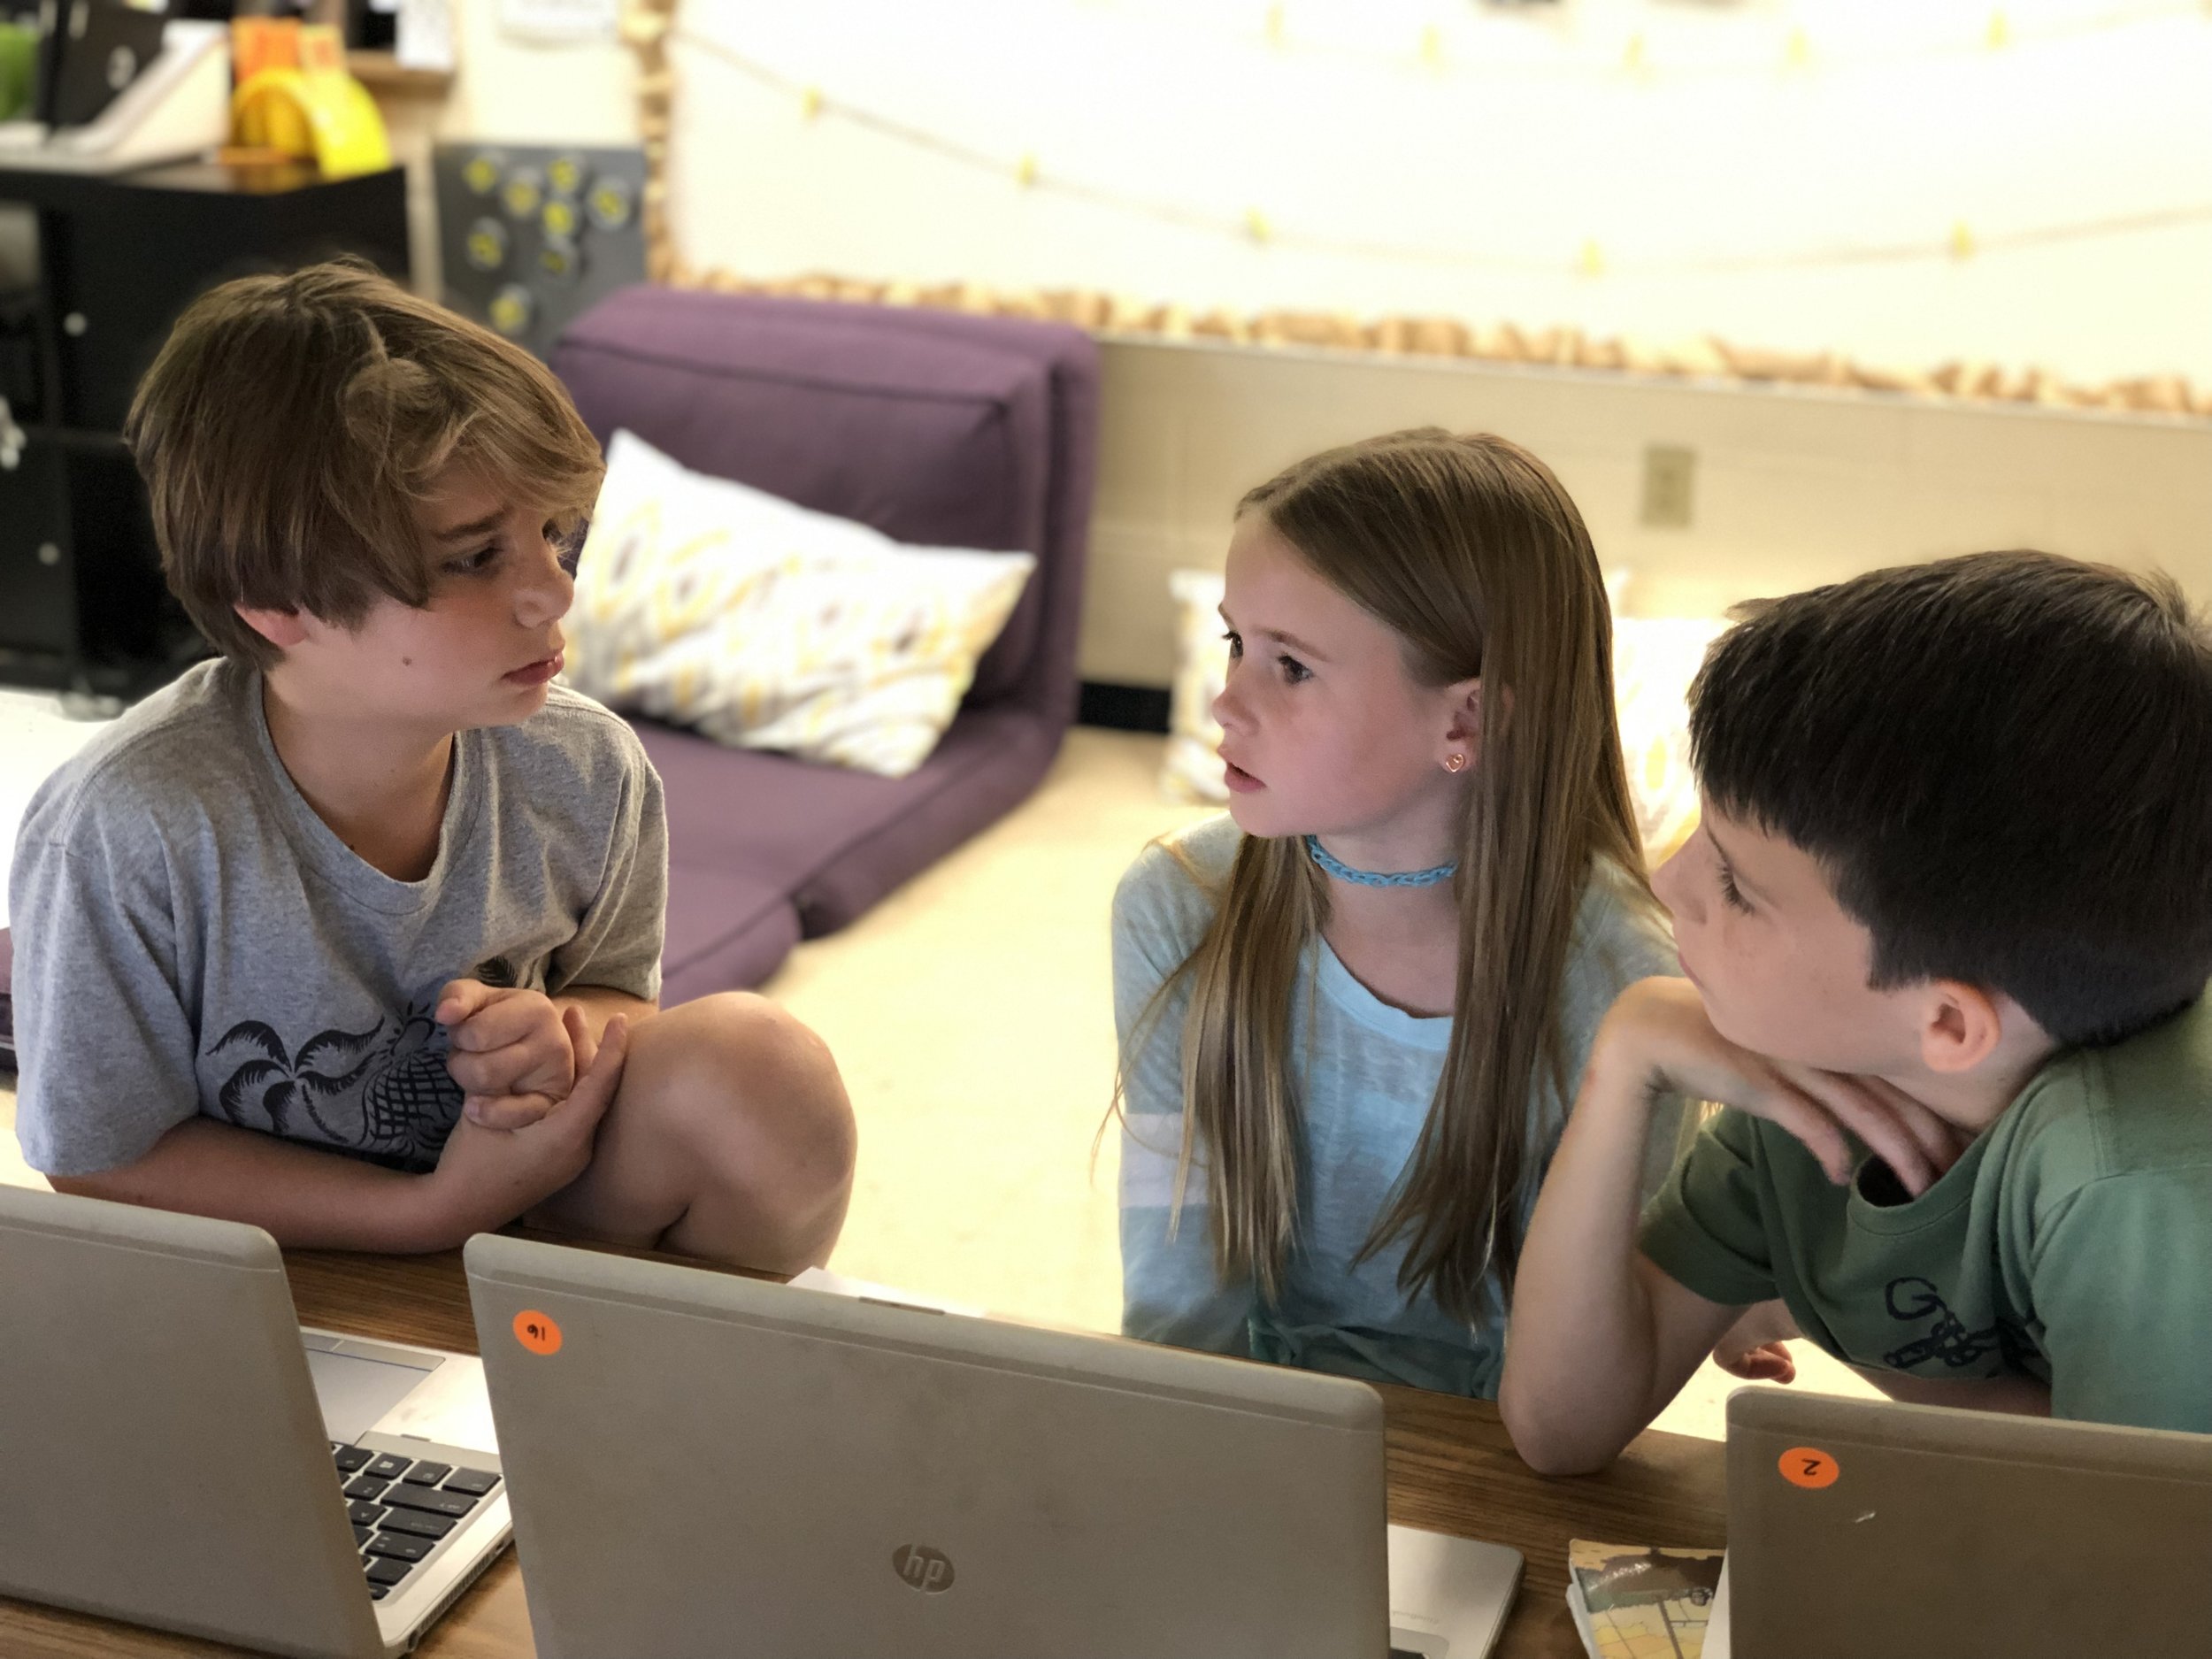
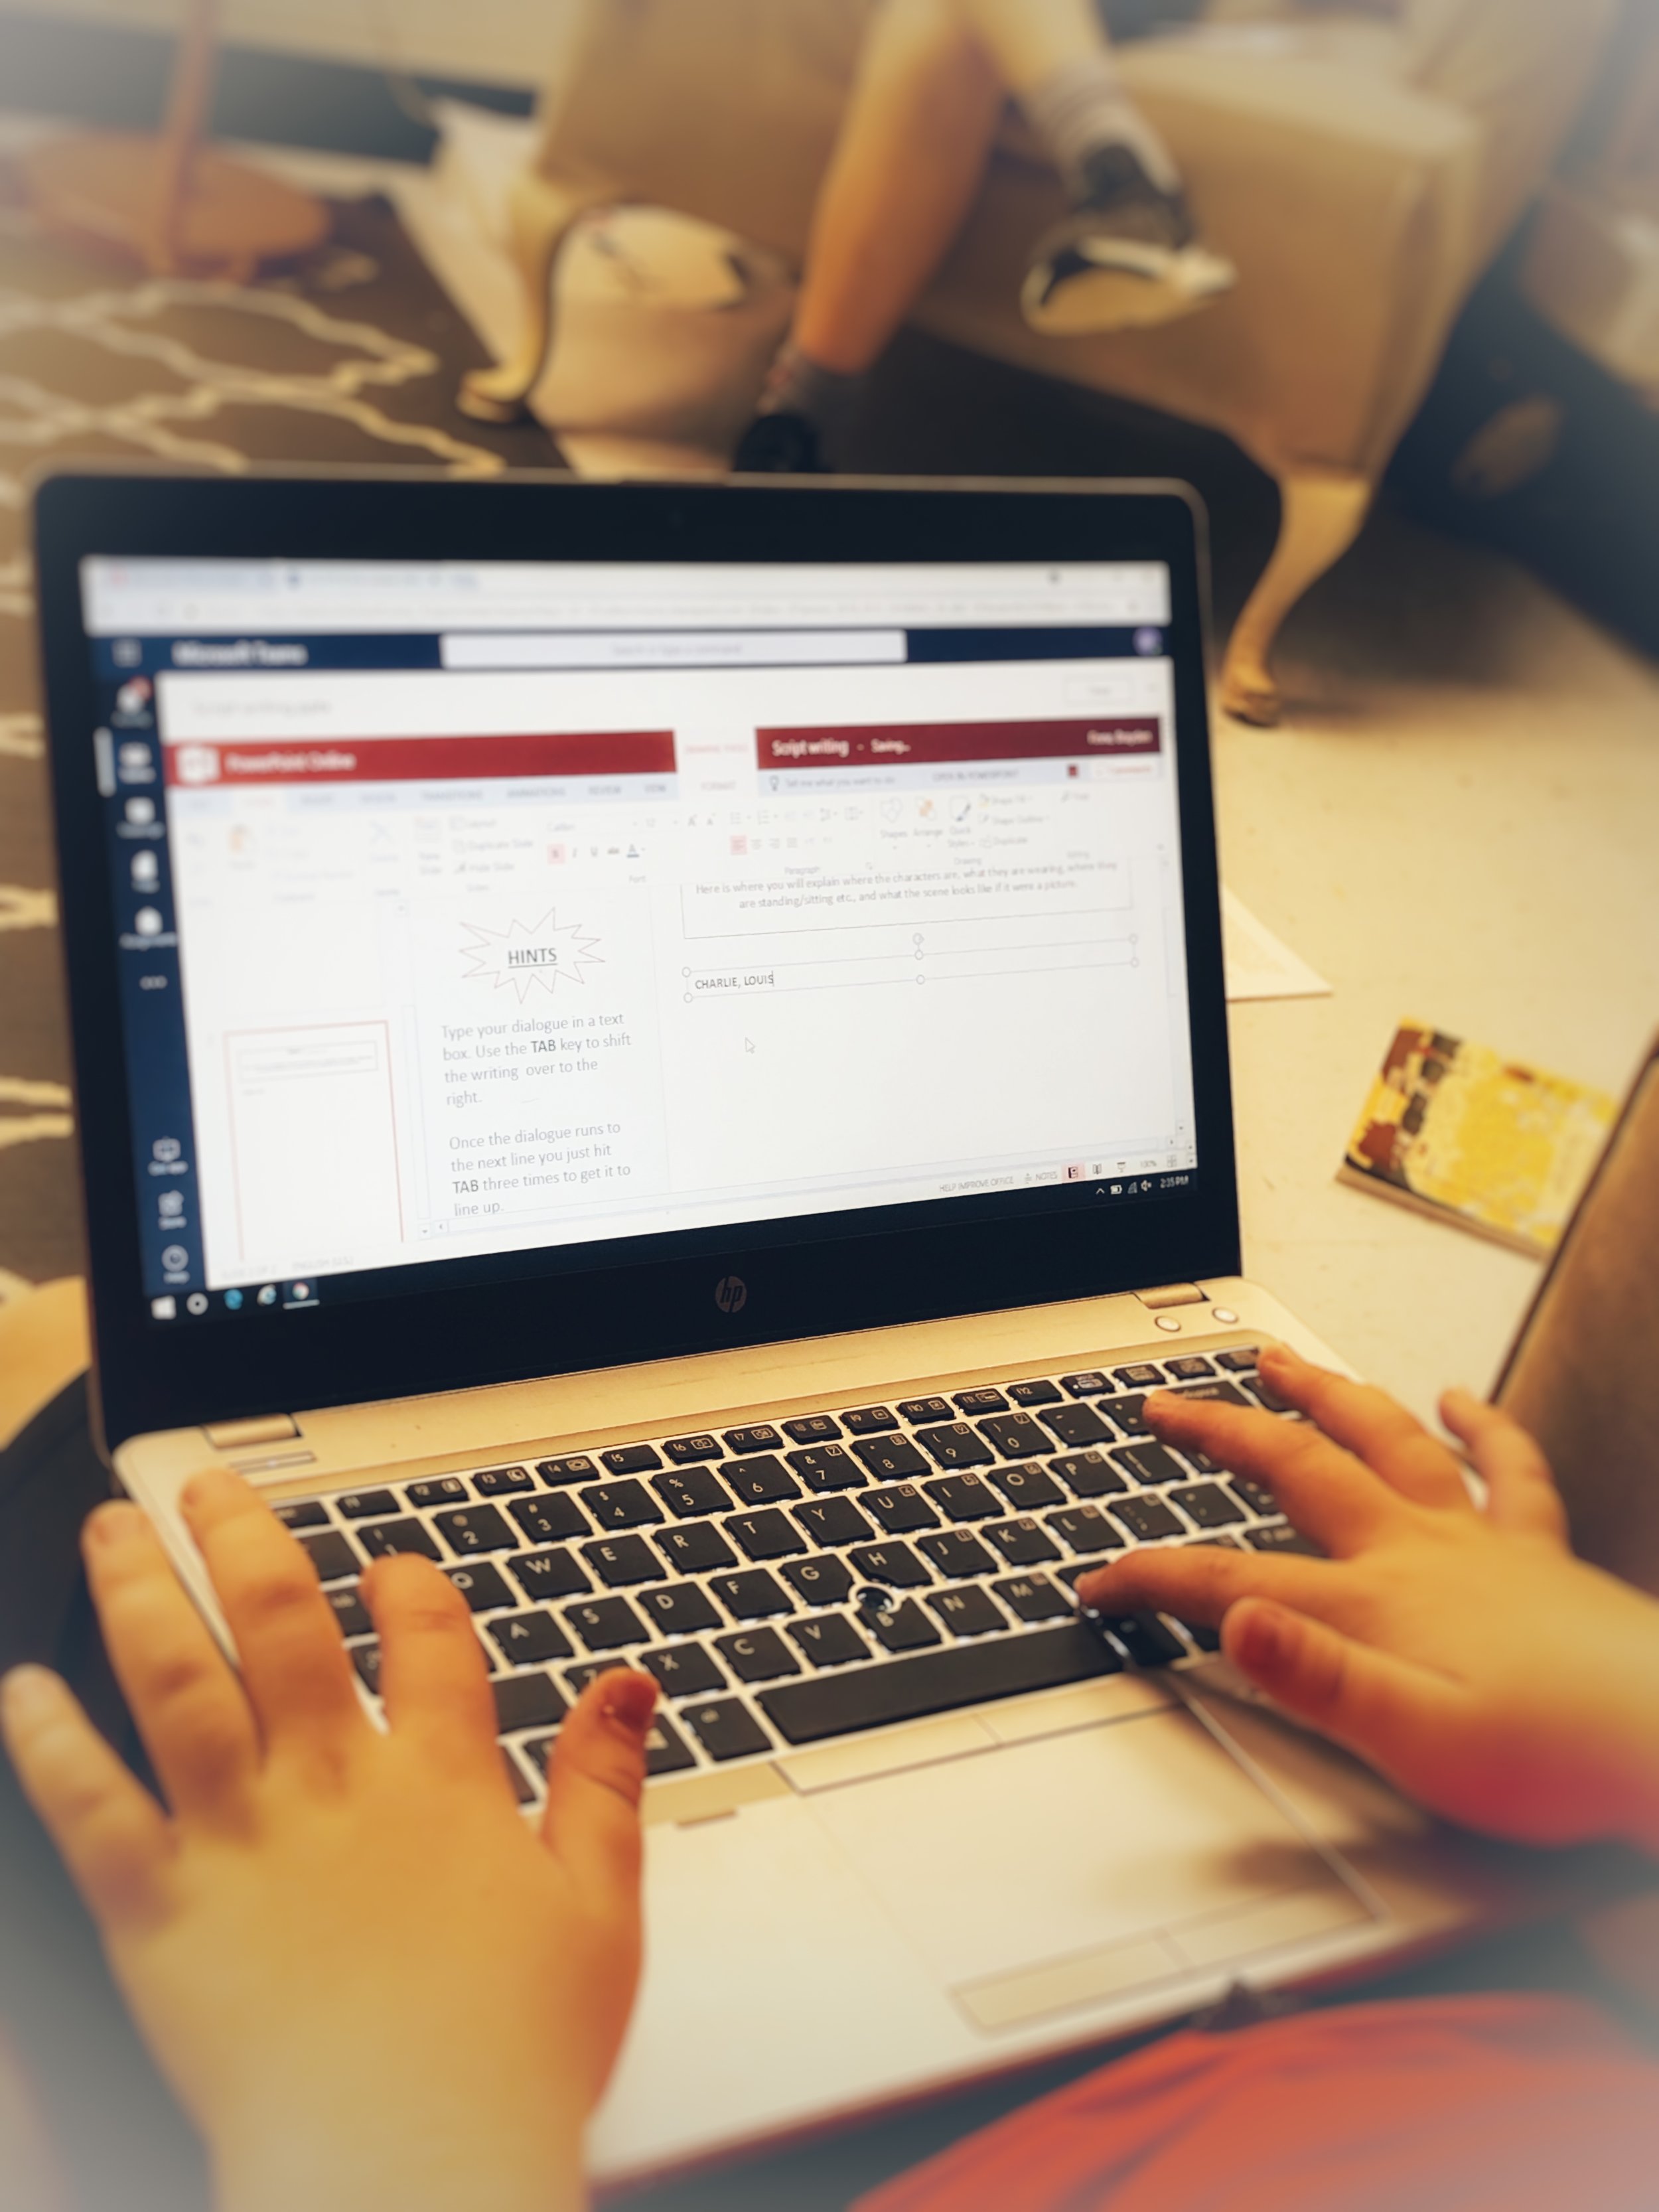
The second class I teach took a slightly different approach and instead of creating a summary in digital form, they created their summaries in a slightly more theatrical way. Students were placed in pairs, and then given the choice to group up with another set of two to create final groups of four. The novel was split into four sections (ex. Chapters 1-4, Chapters 5-10, etc.) with each student taking a different one. Students then were in charge of summarizing the main events that fell within their set of selected chapters by writing a script that the group would later act out. Students had to summarize though dialogue, descriptive language and stage directions. The groups edited and revised their plays as a whole—each helping their group members perfect their written sections before practicing. By the end of the week all groups had a fully written play that they then performed to the group.
“Creativity is seeing what everyone else has seen, and thinking what no one else has thought.””
By givings students an opportunity to creatively demonstrate their knowledge of summarization they all were able to cover the required standard while also strengthening additional skills such as video editing, public speaking and peer editing. The best part about these creative projects was that their creativity was never wasted—the more they used the more they had!
Stay creative friends! 👗-K

Immersive Reader in a Primary Classroom (part 2)
The power and possibilities from Microsoft’s Immersive Reader are endless. So where do you start? How can we get this into the hands of “littles,” who will definitely benefit from it?
The power and possibilities from Microsoft’s Immersive Reader are endless. So where do you start? How can we get this into the hands of “littles,” who will definitely benefit from it?
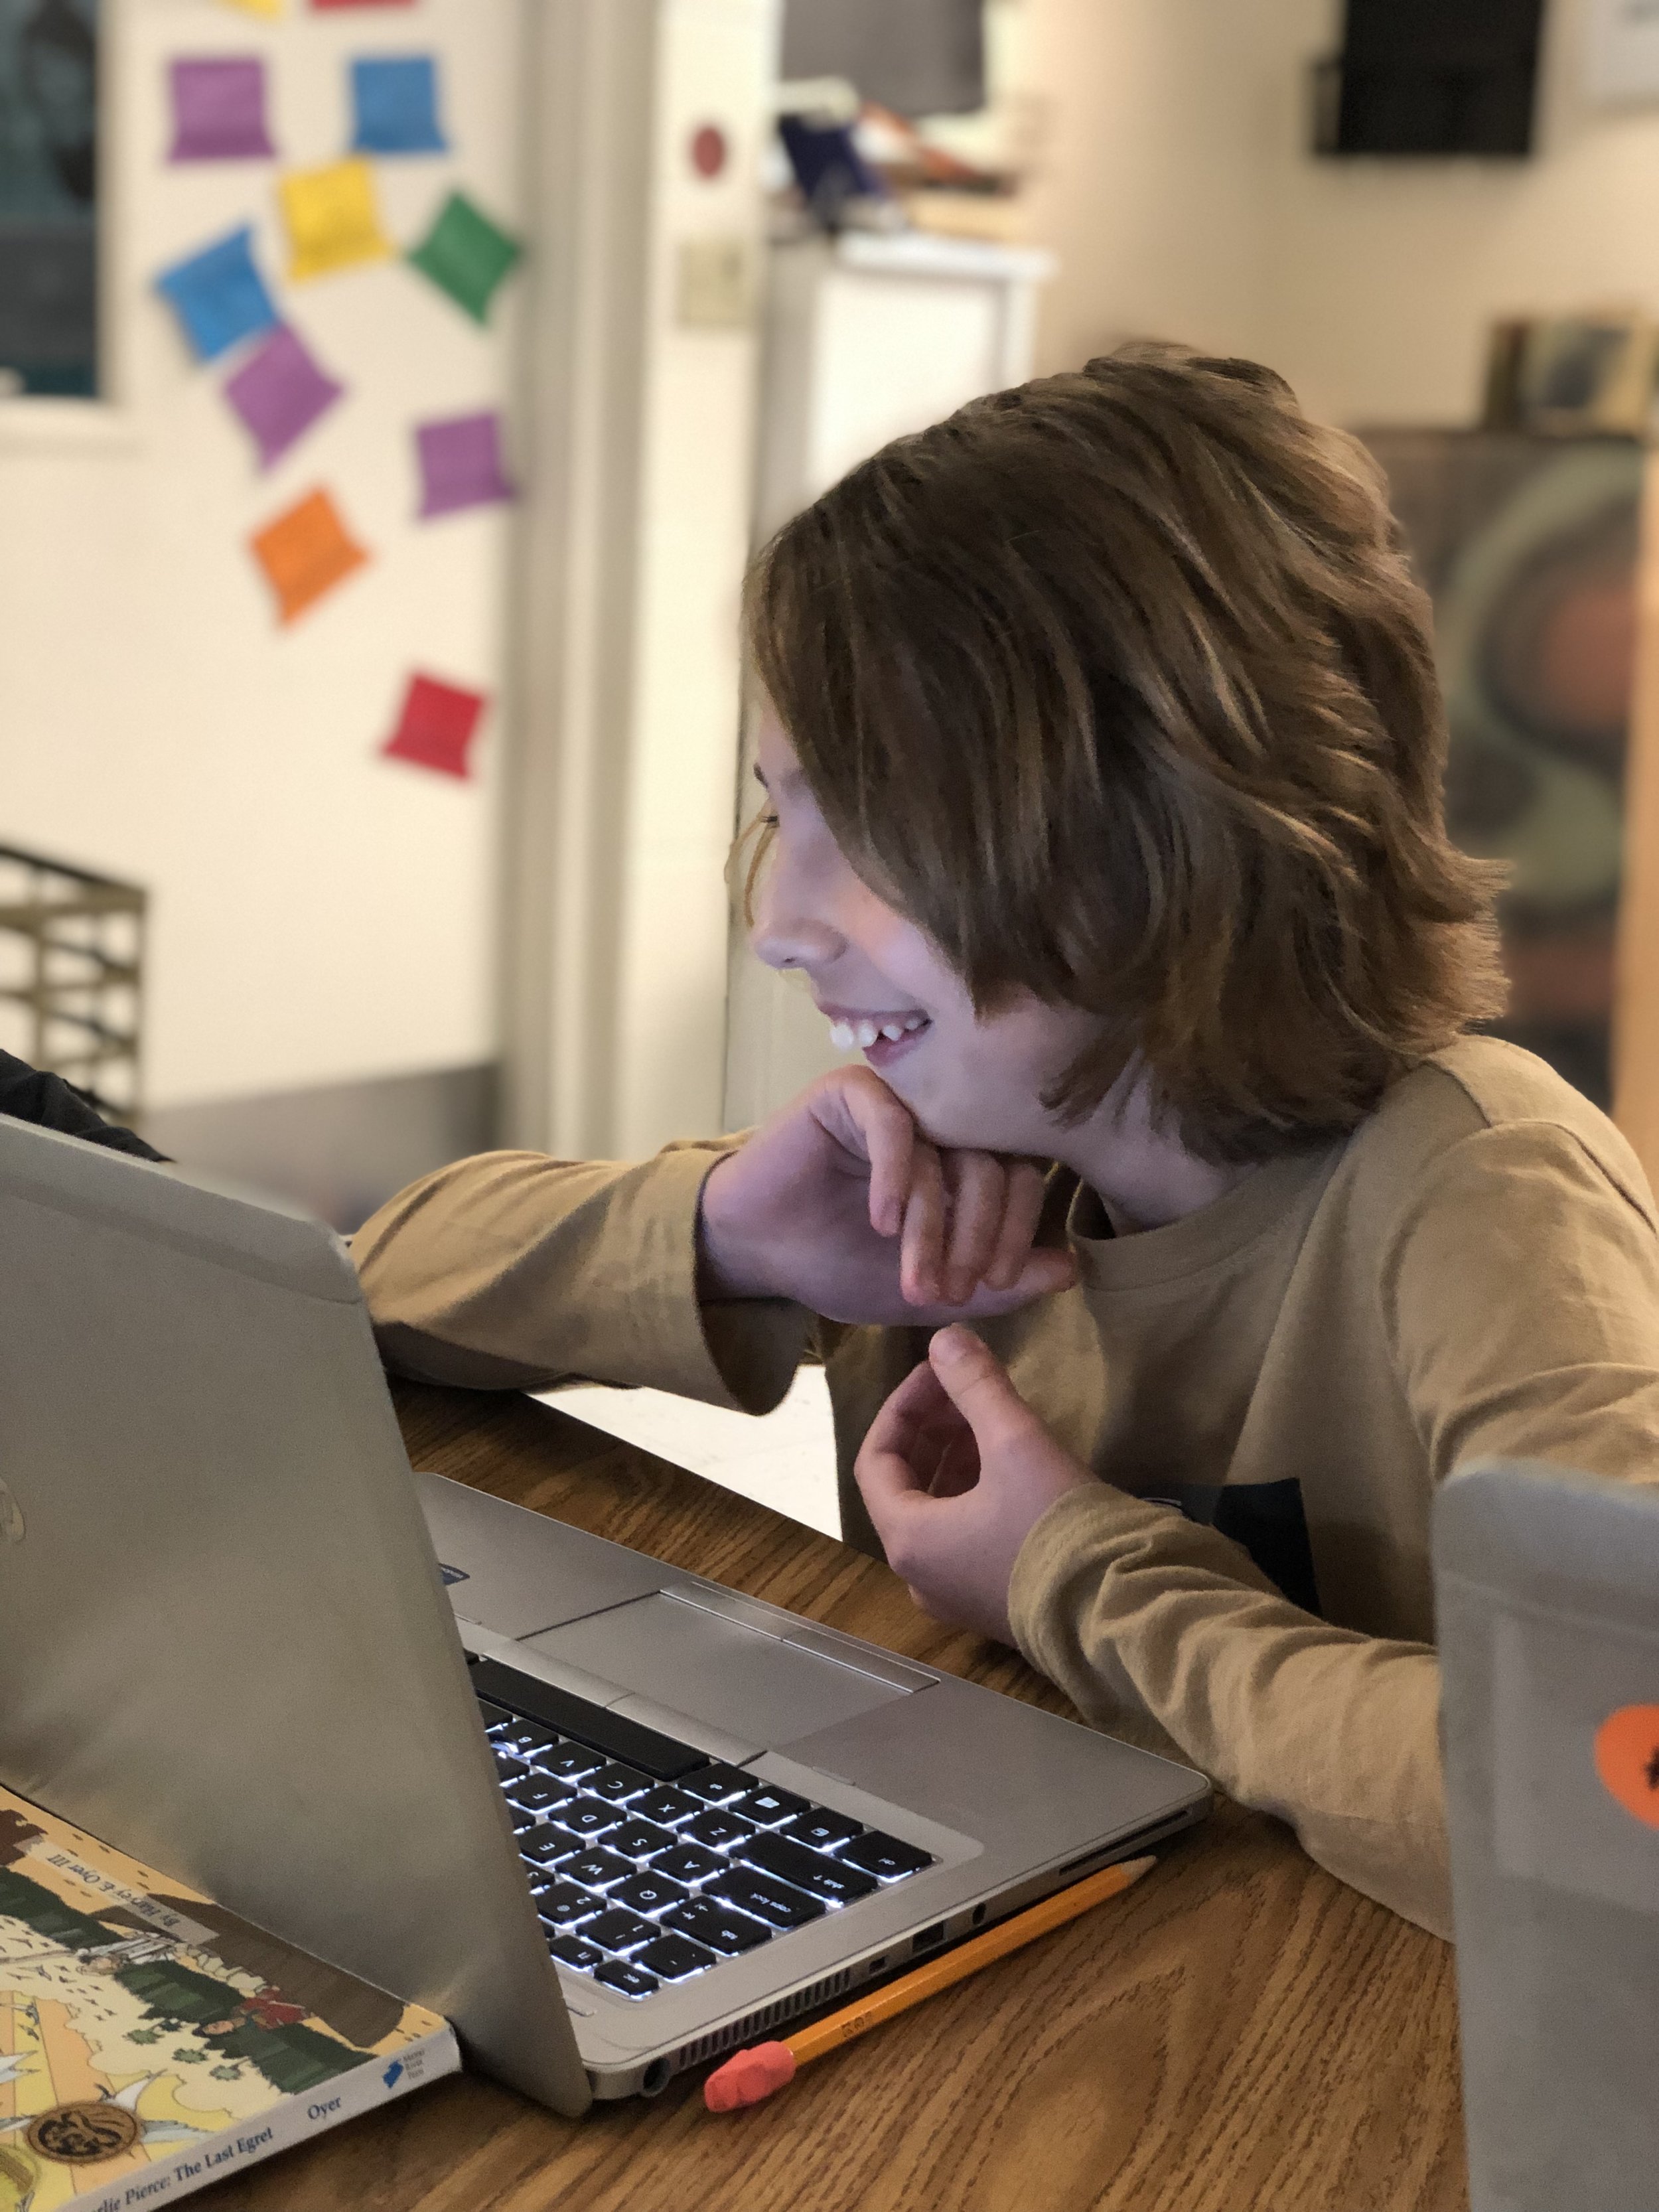
Teaching writing in primary grades is a tough job. Every student is in a different place, and more often than not, the first student done hasn’t used complete sentences. It’s times like this that we wish we could clone ourselves. If you’ve ever had to deal with this, then you know the feeling. So, during one our recent writing assignments, I had the students take their rough draft, and then type it into Word Online. I didn’t check the drafts, I didn’t ask anyone to show me ahead of time, I just explained that they were to type it once they finished. This was a pretty edgy idea, and I was nervous watching it all go down. Once the kids had everything typed out, I taught them how to open Immersive Reader. This allowed them to hear back exactly what they wrote. If there were mistakes, they could hear them being read. Then I showed them how to go back and make edits. Here’s an example of how it looked:
But wait...it gets better. Each student in my class has a copy of this desk sized guide. We use this with crayons, so the kids can see if they are working towards a “4” (or an A+) in writing. So now that they have fixed their mistakes, they can check to see if they have used things like adjectives to enhance their work. Click here, or the image below to download a copy for free!

The students change the colors to match the rubric, and then Immersive Reader will identify the various parts of speech. It’s amazing!

Now my students have a piece that has been edited, and it’s ready to be “published,” all done independently. But, if you know me, you know I LOVE app smashing. So, I taught my students to transform the Word file to a webpage, which “app smashes” the work into Microsoft Sway. What started out as a simple writing piece, turned into a published website, completely designed by first graders.
These projects were then shared out on Seesaw for my families to see. Now, my class engagement during writing is up, and the students are excited about being able to share their work with the world - all thanks to Microsoft. If you have any questions about Immersive Reader, or how we completed this process, please don’t hesitate to reach out!
👓 - J

Immersive Reader in a Primary Classroom (Pt. #1)
Every once in a while, an #EdTech tool comes around that really ups the ante. In most cases, these tools are easily identified with certain grade levels, and then it’s up to the teacher’s creativity to find ways to implement it.
Every once in a while, an #EdTech tool comes around that really ups the ante. In most cases, these tools are easily identified with certain grade levels, and then it’s up to the teacher’s creativity to find ways to implement it.
Microsoft’s newest addition to the Office 365 suite is a complete changer. You can find it throughout the suite, but for today’s purpose, I’ll be sharing how my first graders used it with Word Online.
Let’s face it…reading and understanding a first grade writing piece often involves the use of a decodable pen, turning the paper around all sides, and the use of a translator. How teachers are able to understand any of this is truly a work of art. But, what if we were able to provide an opportunity for our students to hear back what they wrote before they handed it to us? What if they could hear their own mistakes, and go back to edit their work until it was correct - and THEN submit it to us? If you’re like me, you are shaking your head, “YES!”
For our last writing assignment, I had my students take their rough drafts and type them directly into Word Online. I didn’t ask them to show me ahead of time - in fact, I wanted them them to make mistakes. The reason why, was because immediately after they finished typing, I had them open Immersive Reader which allows them to hear back what they wrote.
If they had mistakes, they were able to go back, edit them, and then correct them - all without my help! But wait…it get’s better…
At this point in our year, I am teaching the students the importance of checking their parts of speech. With a few simple clicks, they can have Immersive Reader check that, too.

But what if you have a student who just needs some help pronouncing some words? Immersive Reader can even break apart syllables!

Stay tuned to see how we transformed an ordinary rubric to make it more #interACTIVE! 👓 -J

Piecing Together Tech Tools for Tip Top Lessons
Programs and applications often try to market themselves as THE one to try and we often get steered into the idea that we need to use this one particular program for everything. Or we begin to think that one program is just plain better to use than another. Rather than looking for the “one size fits all” tool, educators will be more successful piecing together various tools into the same lesson.

When creating lessons as educators we are often looking for that new tech tool or piece of technology that will will be the perfect “fit” for our lesson. We all too often create our lessons around the technology we want to use, molding our lesson components around in order to compliment the tool. I propose that rather than doing this, that we start with the lesson we want to teach, the objectives we want to touch on, the standards we want to cover and the methods and methodologies we want to use to deliver content. THEN comes the technology.
See, when we build our plans with the content first, the technology seems harder to fit in. Or is it? Programs and applications often try to market themselves as THE one to try and we often get steered into the idea that we need to use this one particular program for everything. Or we begin to think that one program is just plain better to use than another. Rather than looking for the “one size fits all” tool, educators will be more successful piecing together various tools into the same lesson.

There are several tools I like to use when “piecing” together a lesson. Each platform offers different things and depending on the task you can choose accordingly. Now, before sharing, please note that many of the platforms being mentioned share some of the same features and you may tend you use them interchangeably depending on your comfort level with and accessibility to them.
Nearpod: This platform has a lot of features that can be used in many different ways. One of my favorite features of their is the collaboration feature. I use this often in the beginning of a lesson to get students talking about a topic and to help me gauge their level of knowledge before starting. The collaboration feature can also be used mid-lesson, whether you are doing the entire lesson on Nearpod, or just using it for the collaboration. I like to use it to stop during read alouds or even as a form of back channel while I read giving the students a place to leave their thoughts to an overarching questions while I am reading.
360 degree videos are another way to engage students on Nearpod. They have a library full of places you can “drop” your students into. This is a great way to start of a history lesson, or an easy way to get students’ creativity going before a writing assignment. Each place you take them to has several slides or views to explore and being it’s on Nearpod, the teacher has full control over how long students linger in each place.
Matching content is also available through Nearpod and can be used for any type of basic review. In this format, none of the matching pairs are turned over, but rather all sides are turned up and students work to find the one part with its matching counterpart. Recently used in my classroom to review the elements of a play or drama, this feature could also be used to replace your traditional multiplication timed test or vocabulary quiz. When students are finished it gives you information such as how many students completed the assignment successfully, how many matches they were able to get and how many tries it took them to make matches correctly.
Kahoot or Quizizz: Both platforms are great ways to get students interacting with information by infusing a little bit of friendly competition into the lesson. Whether you would like to access prior knowledge, or use as an exit ticket both of these platforms allow you to quickly ask questions and give answers back to students in real time. Specific features such as student pacing, embedded images/videos, scoring etc. varies between the two platforms and once you explore you may find one being a better fit for a particular lesson.
Another awesome way to use quizzing platforms like this is rather than using them to assess comprehension after a lesson, rather use them to teach the lesson! Matt Miller, author and blogger has an awesome technique called “Blind Kahoot” where he talks about using the art of questioning and students desire to be right to help drive the day’s lesson beyond basic review. Check out his original blog here for more specific directions.
Flipgrid: This video platform is perfect for piecing together a lesson! The teacher poses a question, a reflection topic, task, etc. for students to answer or complete in a video response. There are numerous settings a features available to both the teacher and the students and it can be customized to fit your room. These video responses can be used for students to share writing ideas, leave predictions while reading a story, share details to support a main idea, give evidence of what they’ve learned as an exit ticket and so much more.
So this week take this challenge to heart—what platforms can you infuse into your lesson to create a more interactive and engaging experience for students? Don’t be afraid to mix and match up some of your favorite programs and platforms to create the ultimate lesson and learning experience for your students!
Stay creative! 👗-K
Simple Sub Plans with MicrosoftEdu
As as I prepared to leave for FETC, I had to account for all the minutes in all the days (3 to be exact!) and if you’re like me, I hate giving busy work. I value my students’ time and their talents and I don’t want my time away to be wasted. So I turned to Microsoft Teams and OneNote.
You don’t give yourself enough credit. Teachers work hard...and we are reminded of this as we prepare to be away from our class. you know what this reference is to-the dreaded sub plans.
Lunch times.
Specials.
Centers.
It all has to be explained and planned for. Every minute of the day accounted for. This can be a daunting task and it’s often joked that being away is more work than just staying put. But not anymore!
As as I prepared to leave for FETC, I had to account for all the minutes in all the days (3 to be exact!) and if you’re like me, I hate giving busy work. I value my students’ time and their talents and I don’t want my time away to be wasted. So I turned to Microsoft Teams and OneNote.
Through OneNote I was able to create an assignment for my kids that picked up right where we left off on Friday. I could embed video and audio directions to accompany the various assignments I crafted around our most recent novel study. The platform is so flexible that if I’m being completely honest I didn’t even finish editing the tasks until Sunday night—long after my sub plans were printed and laid out on Friday. Once the OneNote assignment was complete I attached it in an assignment created on Teams and viola! Flexible, explicit lessons prepared and I saved the best for last....I can check in throughout the day as my students work to leave comments, answer questions, trouble shoot or simply leave small notes of encouragement.

Little did I know that my students would do the same for me!
👗 -K

FETC Here We Come!
It’s that time of year and we are excited to be able to travel to FETC2019.

It’s that time of year and we are excited to be able to travel to FETC2019. This four day conference in Orlando is a great (and giant!) place to learn all about new technology you can integrate into your classroom along with hundreds of sessions ranging from implementing STEAM programs, design thinking across the curriculum, to stress relief strategies.
We we are honored to get time to present while in Orlando and would love to connect with you. On Monday you can find us at the playground/sandbox from 8-11 talking all things #Appsmashing! On Tuesday we will be hanging at the Buncee Booth (#1249) talking about how we like to integrate Buncee in the #interACTIVEclass. We’d love to connect with you and meet you in real life!

Kristin’s Must-See Sessions 👀
My agenda this go around is very mixed. My district is in the initial rollout of becoming a Microsoft district so I am interested in several sessions associated with the many programs Microsoft offers educators. I am also continually seeking out strategies for making my classroom even more student centered and many of my session choices reflect this goal.
Monday:
My plan for Monday is to meet as many educators as I can in the Sandbox and then visit the Expo Hall that afternoon. I am looking forward to stopping by the Microsoft booth (#1431) to preview many of the devices they will have on display as I am looking for new options for my students. I will obviously stop by some of my steadfast favorites Buncee (#1249) and Nearpod (#813).
Tuesday:
22 Strategies for Taming the Wild Text for Digital Readers (CO32): I love Monica Burns and am excited to see her ideas for reading in the digital world.
Capture-Curate-Share Your Experiences!: This session sill about about helping students, teachers and administrators curate their digital learning experiences. Learn to use a content curation platform to save conference articles, videos, Tweets, podcasts and pretty much anything else you might use later!
Digital Tools to Support Reading and Writing (CO74): In this session, attendees will get an overview of different tools they can use in their classroom to engage students in the reading and writing process.
40 in 40: Microsoft Tools, Tips and Treasures (C089): Take part in a Microsoft scavenger hunt, discovering new nooks in a variety of tools. Learn about 40 fabulous finds related to various Microsoft tools including Bing, Sway, OneNote and more!
Teach ALL the Memes! (C148): This hands on session will help educators understand what memes are, why . they are powerful tools for teaching and learning and how to make three forms of image- and gif-based memes.
Tools to Amplify Student Voice (C217): Amy Storer, an instructional coach from Montgomery TX is a good friend of mine -his one is must see! She will be exploring tools like Buncee, Flocabulary, and Flipgrid—all tools that allow students to take ownership over their learning both inside and outside of the classroom.
Wednesday:
Teaching Media Literacy in the Age of Fake News (C243): Take a look at some of the many media literacies that we must teach if we want to empower our students to be leaders rather than followers.
Make It Count! 15 Formative Assessment Favorites for K-12 Classrooms (C248): Ed Tech guru Monica Burns will provide an overview of 15 favorite websites and mobile apps that are perfect for students of all ages-in any subject area. Attendees will try out favorite formative assessment tools and make a plan for bringing these favorites back to their students.
Emerging Digital Learning Trends—What Do the Students Say? (C275): Examine the emerging trends fro educational technology from the perspective of the K-12 student.
Thinking Beyond the Device. How Tech in EDU Can Shine (C309): Virtual reality, digital portfolios, voice assistants, and artificial intelligence introduce new dynamics in classroom management and technology integration as well as a rich context for how technology can drive engagement and purpose. Discover new ways students can experience these technologies to create and shine.
Ditch That Textbook (C324): Teachers are no longer the gatekeepers to education and with information available from Google, YouTube, and social media, how do educators navigate the new landscape? You’ll leave this session inspired and equipped to “ditch that textbook” and ready to engage students in digital spaces where the traditional “textbook” beliefs are rethought.

Monday
The Sandbox - similar to ISTE’s “Playgrounds”
Lots of learning in a short amount of time! Come learn from these quick hands on, on your own time sessions. There are a ton of great ideas being shared, so you won’t want to miss it!
Global Collaboration: The Power of a Connected Classroom
Brandi Miller (@BMilla84)
Brandi highlights the endless possibilities that are available when you use technology to connect beyond your four walls.
Taking Digital Instruction to Infinity and Beyond
Matt Miller (@JMattMiller)
Matt offers ideas to get students actively engaged with new content.
Make K-2 Science Exciting in a Digital Minute
Jenna Mercury (@Science4UsSays)
See how K-2 science can be successful when taught in a digital format.
Tuesday
Visual Thinking - Using Visual to Manage Student Learning
Manuel Herrera (@ManuelHerrera33)
Follow Manuel for more information on this pop-up session!
Using Critical Inquiry, Dialogue, Collaborative Technologies to Examine Empathy
Claudio Zavala, Jr. (@ClaudioZavalaJr)
Claudio shares his talents, creative ideas, and storytelling!
The Learning Mixologist: Shaken and Infused, Never Stirred
Holly Clark (@HollyClark) & Kasey Bell (@ShakeUpLearning)
One part Holly Clark, one part Kasey Bell? Yes, please!
What’s the Mystery with Mystery Skype?
Amy Storer (@TechAmys)
EduRockstar Amy Storer shares ways to use Mystery Skype in the classroom!
Wednesday
Empowering Student Voice with Flipgrid
Holly Clark (@HollyClark)
Holly shares ways to develop student voice using the hottest app on the market!
Startup Pitchfest (Final Round)
Hear the next generation of trailblazers, as they share their cutting-edge products and services.
Ditch That Textbook
Matt Miller (@JMattMiller)
Learn how to provide the most relevant education possible for your students, without that textbook.

Pretty vs. Pedagogy
Pretty things glitter, sparkle and are appealing to the eyes. They attract us and lead us towards them, but often what happens is that once we get a hold of them we lose sight of what’s surrounding us.

Pretty things glitter, sparkle and are appealing to the eyes. They attract us and lead us towards them, but often what happens is that once we get a hold of them we lose sight of what’s surrounding us.
It seems to me that these pretty things are popping up more and more as I walk through this world we call education. It masquerades itself as purposeful and meaningful learning, but when you look past the shininess of the glitter and sparkle, the pedagogy behind these lessons and materials is very weak or sometimes, non existent.
From neon colored card stock, flashing lights, to songs and dances, these practices that are becoming more and more popular are fading farther and farther away from the tried and true pedagogy we should be using to guide our way. Students should be creating and designing in classes, not putting together crafts created by the teacher. Students should be communicating their ideas amongst each other and sharing their own thoughts rather than writing them down on paper. Students should be asking questions and inquiring about their learning material, not answering teacher-made questions on a worksheet. Regardless of how cute the font or borders look! (If you want a great read on worksheets, take a look at Jennifer Gonzalez’s blog post “Frick’n Packets”.
I know it is easy to go to a website, search for a topic or standard that aligns with what you are teaching and use a lesson created by someone else. And believe me—there has been a time or two when I have done the same. But when you get stressed, busy or just plain overwhelmed, remember that true teaching and learning doesn’t always need to be pretty and flashy—it can often occur with very little. 💎
📺 Flipgrid TV! 📺
Flipgrid TV is an activity that I came up with where students work through four tasks throughout the course of one week. My students were responsible for completing all of the tasks before the end of the week, but it was their responsibility to complete one per day. They were able to pick whichever activity they wanted, but again - all had to be completed prior to the end of the week.
So, how do you do it? It’s actually quite simple. Here’s what you’ll need to create your own version:
Step #1: Record your tasks
Record yourself explaining the task(s)
You can create as many videos / tasks as you’d like. They will eventually be “app smashed” into Do Ink, so don’t spend too much time worry about how they look. Just be sure to explain clearly, and set the expectations.
Step #2: Find a green screen TV
Pick out your favorite from a quick Google search
Search for a “green screen tv” on Google. Pick one out that you like, and save it to your device’s camera roll.
Step #3: Uploading your TV
Open Do Ink and insert your green screen TV
Open up Do Ink on your device. Then, click the plus sign on the top layer. Tap on “insert image.”
Step #4: Uploading your video / tasks
App smash your video / tasks into Do Ink
On the second layer, tap the plus sign and select “video.” Find your recorded video / task and upload it. You may need to resize it to fit into your green screen TV.
Step #5: Export the file
Save your new Do Ink video onto your camera roll
Tap the back button to return to the main screen. Then, tap the “sharrow” and select “export. The file will then be saved to the camera roll.
Step #6: Upload to Flipgrid (IMPORTANT!)
Upload the new Do Ink video to Flipgrid
With your new Do Ink video ready, start a new Flipgrid topic. IMPORTANT: Post your video(s) as if you are a student. Then you can have as many different questions / tasks that you’d like. When the students go to complete the tasks, explain to them that they are to only respond to you. They should NOT be creating a new response. This will keep everything organized under the appropriate topic. See the GIF above for a better understanding!
Step #7: Repeat as needed
Repeat the steps above for all the tasks you’d like to assign.
Just repeat those steps for each task. Make sure that when you go to post onto Flipgrid, you post as a student. Remind your students to reply to you - and not each other!
