20 Ways for Students to Use Canva in the Classroom
(updated: 10/15/25)
Canva for Education is a powerful design tool, allowing you and your students to create visually stunning designs for any subject or age level. You and your students can create your own designs from scratch, or choose from our library of over 60,000 high quality, educational templates. The best part of all, it’s absolutely FREE! So, how does this translate into the classroom? Here are 20 different ways that your students can use Canva in the classroom.
(Click on any image to jump to that section. This is NOT a paid post.)


Creating Videos in Canva
Students can quickly and easily create videos in Canva that can be shared out beyond the platform. There are tons of templates that allow you to drag and drop media right into the video. Students can use elements right from Canva or upload their own.
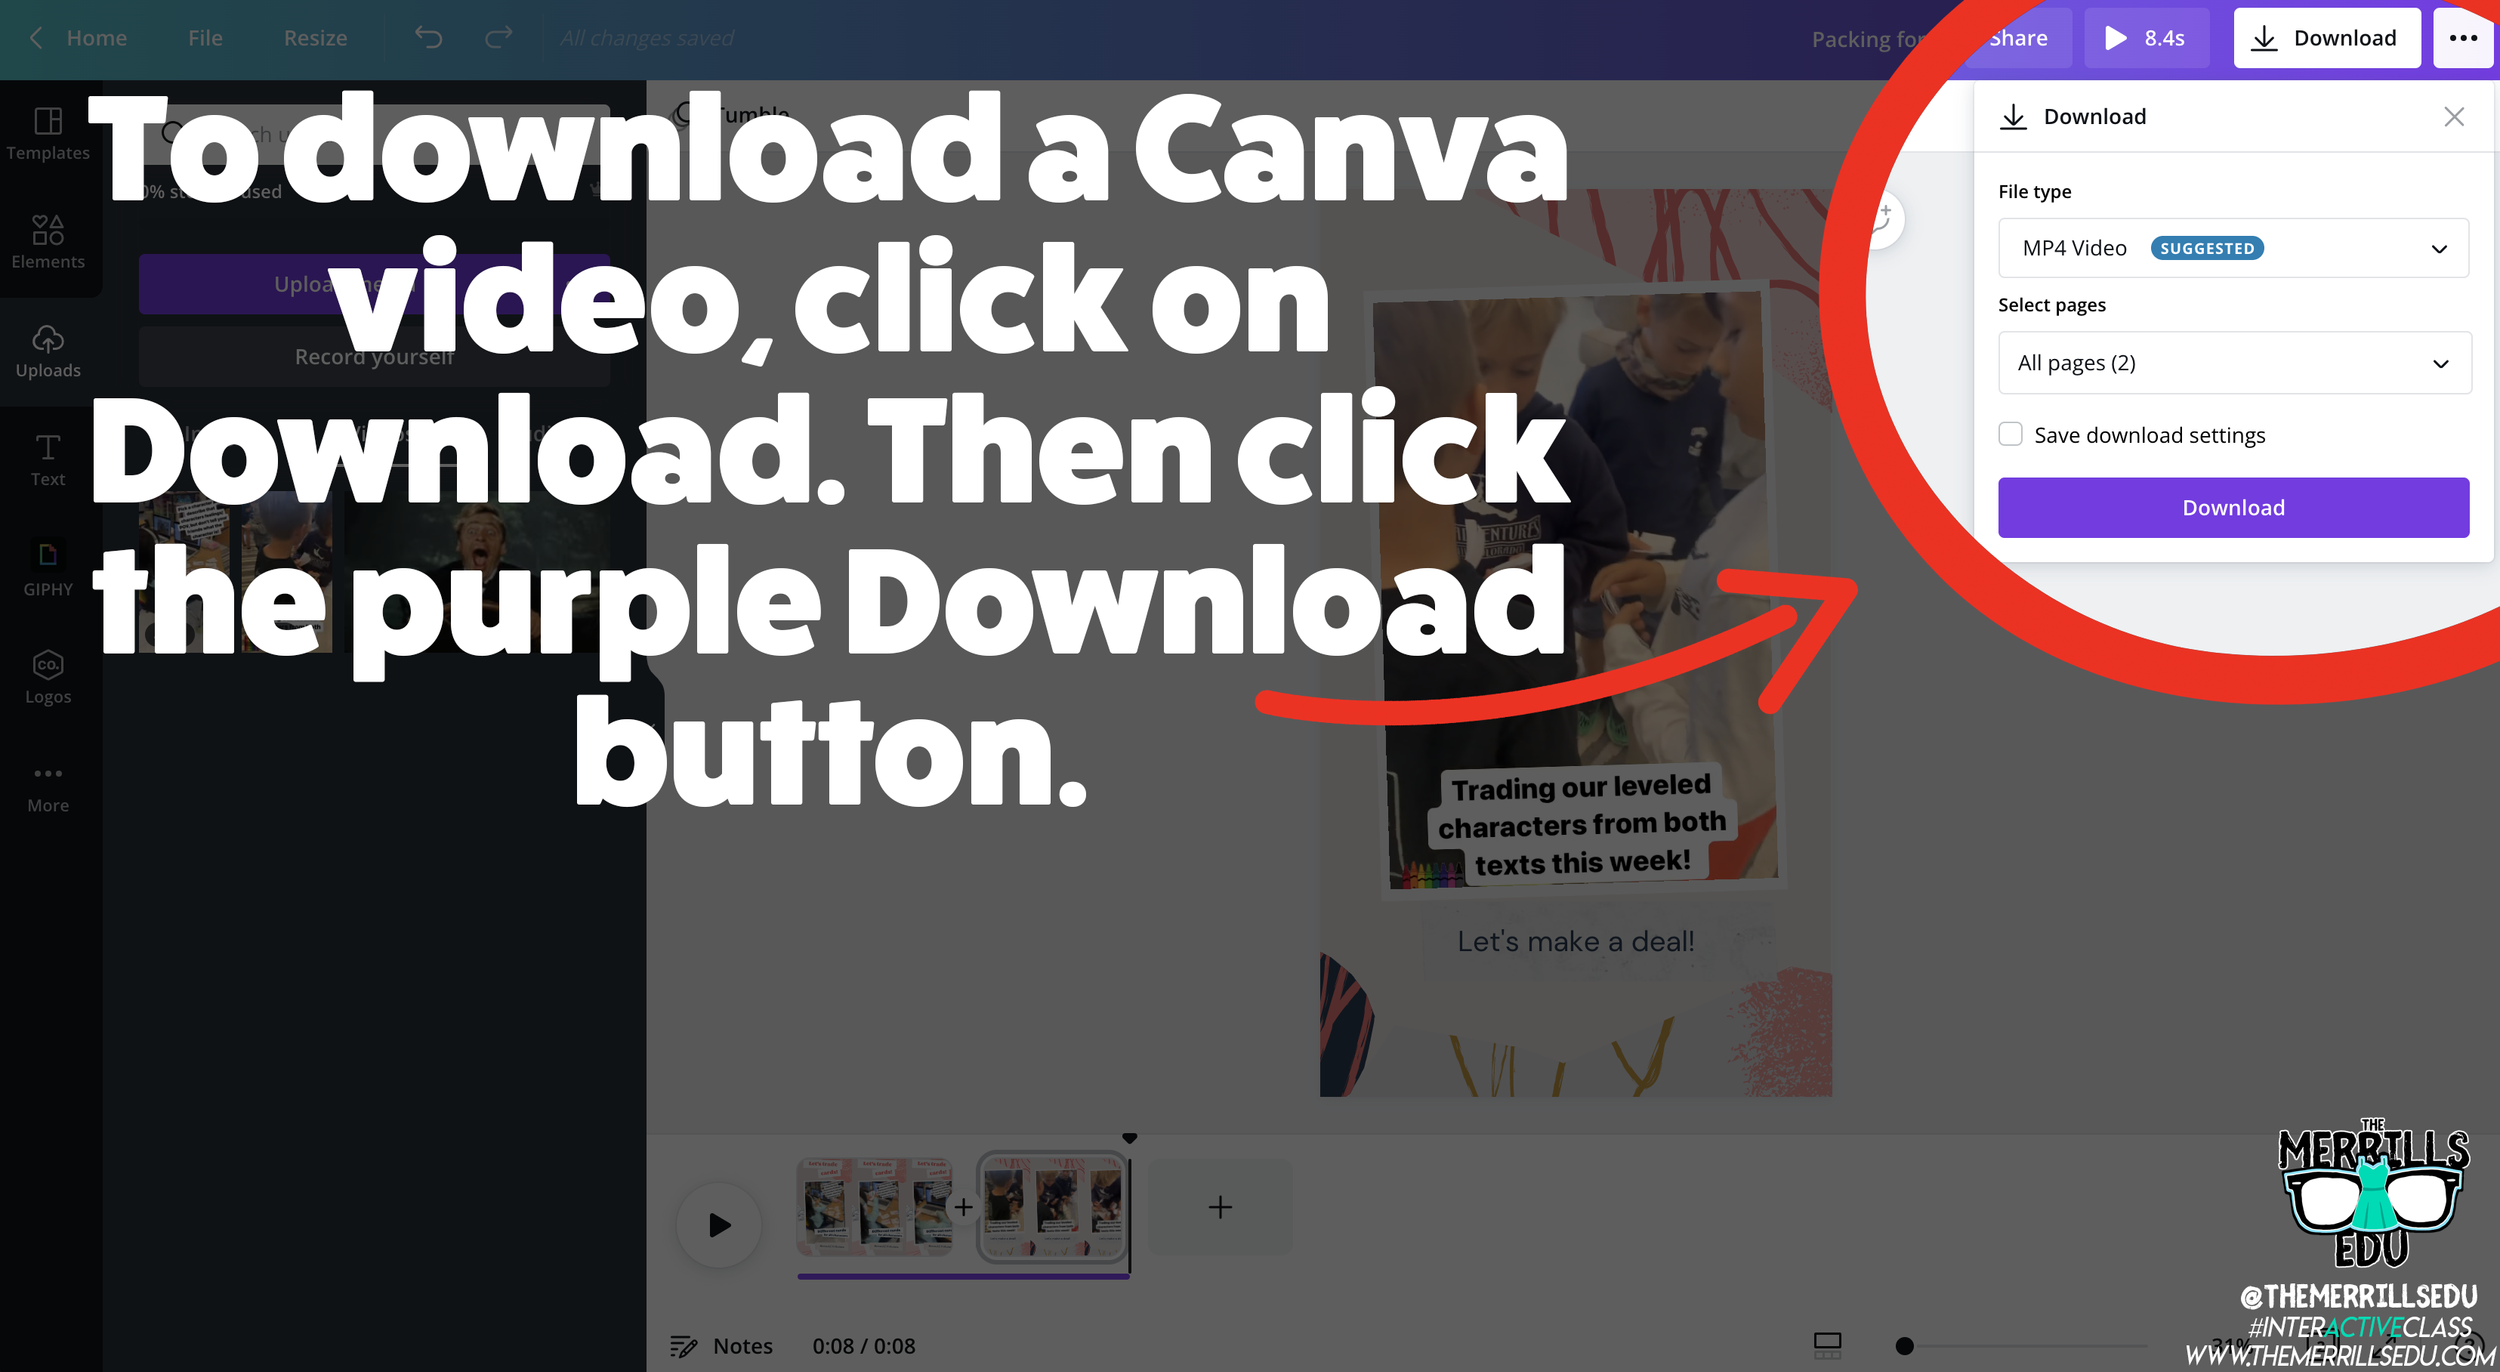
Saving and sharing can be done is several clicks. To save a video, click on the Download button, then click “Download.” This will download the video into your Downloads folder or camera roll (if on a mobile device).

To share the video, click on the three dots. Then, click “Share Link” and then “Copy.” This will allow students to share the video beyond the platform and into apps like Seesaw, Google Classroom, Microsoft Teams and more.
Removing a Background in Canva
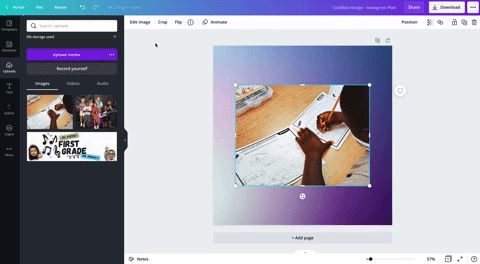
Canva has made removing the background of an image simple. To do so, students will need to click on the image. Then, click on “Remove Background.” This process may take a few seconds. Once it has completed, students now have the background removed!

How to Create a Flipgrid Backdrop in Canva
Canva images can be downloaded, then uploaded into other platforms such as Flipgrid. This means students can create and design their own backdrop on Flipgrid! Backdrops act as virtual wallpaper. When students upload a backdrop on their Flipgrid video, they place themselves on top of the image. Students can move themselves around the video to place them in the proper spot. The recorded outcome will be them in front of the backdrop explaining their thinking!

So, how can this be done on Canva? It’s actually easier than you think! Once students have designed their image on Canva, they click on “Download” to download the image to their device. This will save the backdrop onto their device. Next, have them log onto Flipgrid. Once they have the Flipgrid Shorts Camera open, click on “Backdrops.” With Backdrops open, click on the “+” icon. This will allow up to upload your downloaded Canva file onto Flipgrid. Find your file then upload it. This will generate the Flipgrid Backdrop. Now students can move themselves around to properly keep the focus on their content. Fun tip: Backdrops can also be in the form of a video!

How to Present a Presentation on Canva and then Share it on Flipgrid

A great way for students to show their thinking is by explaining their work. Have your students create a presentation that covers what your class is learning. Once they have their presentation ready to share, have them click on “Present and Record,” located on the top right, then click “Go to recording studio.” They will need to provide permission to use the device’s camera and microphone. Now, click “Start recording!” This will give students a three second countdown before the recording process begins. Your students can now work through their presentation. One thing to note: while recording, Canva remains in presentation mode. This means the person presenting can see what slides come next, notes attached to the slides and more. The recording will only capture the Canva slides and a circle shaped webcam video of the presenter.

Once the student is ready to stop the recording, all they need to do is click “Stop Recording” from the top right side of the screen. One thing to note, students can always pause the recordings by clicking “Pause” next to the “End recording” button. Now that the student has clicked “Stop recording,” the video will be uploaded to Canva’s servers. Once it has been processed, students can either share the direct video link, save it for later or download the video to their device. In order to get the video over to Flipgrid, we will select “Download.” The download may take a few minutes and will be saved to your downloads folder. You can find it in your downloads folder under the name of the presentation. Now it’s time to head over to Flipgrid!

Log onto the Flipgrid Topic, then launch the Flipgrid Shorts Camera. Once the camera opens, click “Options” to the left of the record button. Now, click “Upload clip.” Upload your downloaded Canva presentation and then click “Next,” followed by “Confirm.” This will share your Canva presentation on Flipgrid for others to see and comment on!

How to Create Flipgrid Photo Stickers / Media on Canva
Adding different elements into Flipgrid videos results in instant student engagement. But, with Canva your students can design their own Photo Stickers / Media for their Flipgrid videos. To do so, have them create the sticker on Canva. It’s best to use a presentation sized template and we also recommend trying to make the sticker as large as possible within the template.
When finished, students will want to save their work as a PNG file. This will give the sticker the ability to have a transparent background. To save their work as a PNG file, click on the three dots located at the top right, then click “Download.” Be sure to check “Transparent background,” then, click “Download” to save the image to the students’ device.

Now, on the Flipgrid topic, open the Flipgrid Shorts Camera. Click on “Effects,” then click on “Media” (on laptop / PC) or “Photo Sticker” (mobile devices). From here, upload your Canva file. Once the file appears, you can move and resize it as you see fit! Fun fact: this process can be repeated as many times as you would like!

Using Inferencing on Canva

Inferencing skills require complex and critical thinking. These tasks can be daunting for students, but with the help of Canva this can be turned into a highly engaging and fun task! To help take inferencing to the next level, we created “Character Bulletin Boards.” This template was designed to look like a bulletin board where characters from a story might post things that happened from a story, or memories from a chapter that the character recalled. Students use the template to add elements, text, or photos that represent what happened in the story. You can even create a template that has multiple slides for multiple characters.

When your students are ready to share their work with you, they can do so in just several clicks. First, they will need to click “Send to teacher.” Next, your student(s) will need to select you (or they can select multiple teachers if you co-teach), and then click “Send.” This will share the work right into your teacher dashboard.
Interested in giving this activity a try? Click here or the image to download and copy the template!


Student Learning Portfolios on Canva
Canva is a well-known creation tool, but it can also help your students become more accountable. Student Learning Portfolios allow your students to maintain academic goals and curate learning artifacts that can be shared with their families and friends. To get started with Student Learning Portfolios on Canva, have your students select a template (like the one below). We recommend building the portfolios by months or subjects. Your first slide in the portfolio should resemble a table-of-contents. Students can hyperlink the text to different slides within the Canva presentation. This will allow them to maintain a running log of their work, but more importantly – share with others!


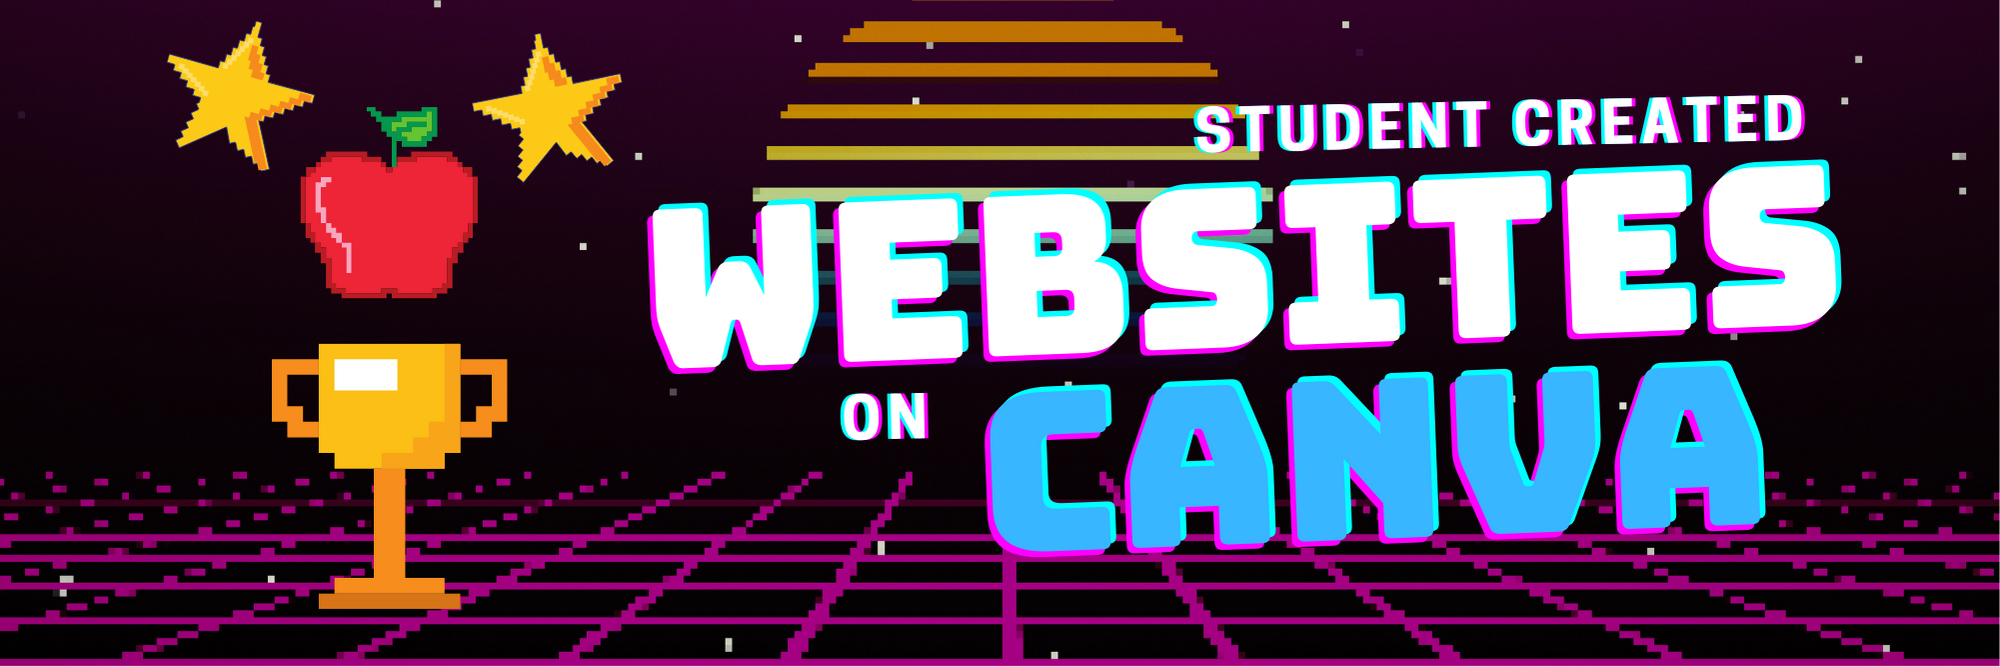
Student Created Websites on Canva
Similar to Student Learning Portfolios, student created websites are an easy way for your students to share (and show off!) their hard work. Have your students pick from the website templates on Canva. When they’re ready to publish the site, click on “Publish as Website.” This will provide the student with a shareable link. Fun fact: this URL will never change, even if your student(s) decide to edit it. If you’re looking to take things to the next level, you can have several students collaborate on the same Canva file. Then, the duo / team will have a published website for the group. Want a fast / easy start to this? Use our template below! Click here or the image to get started building your own student website today!


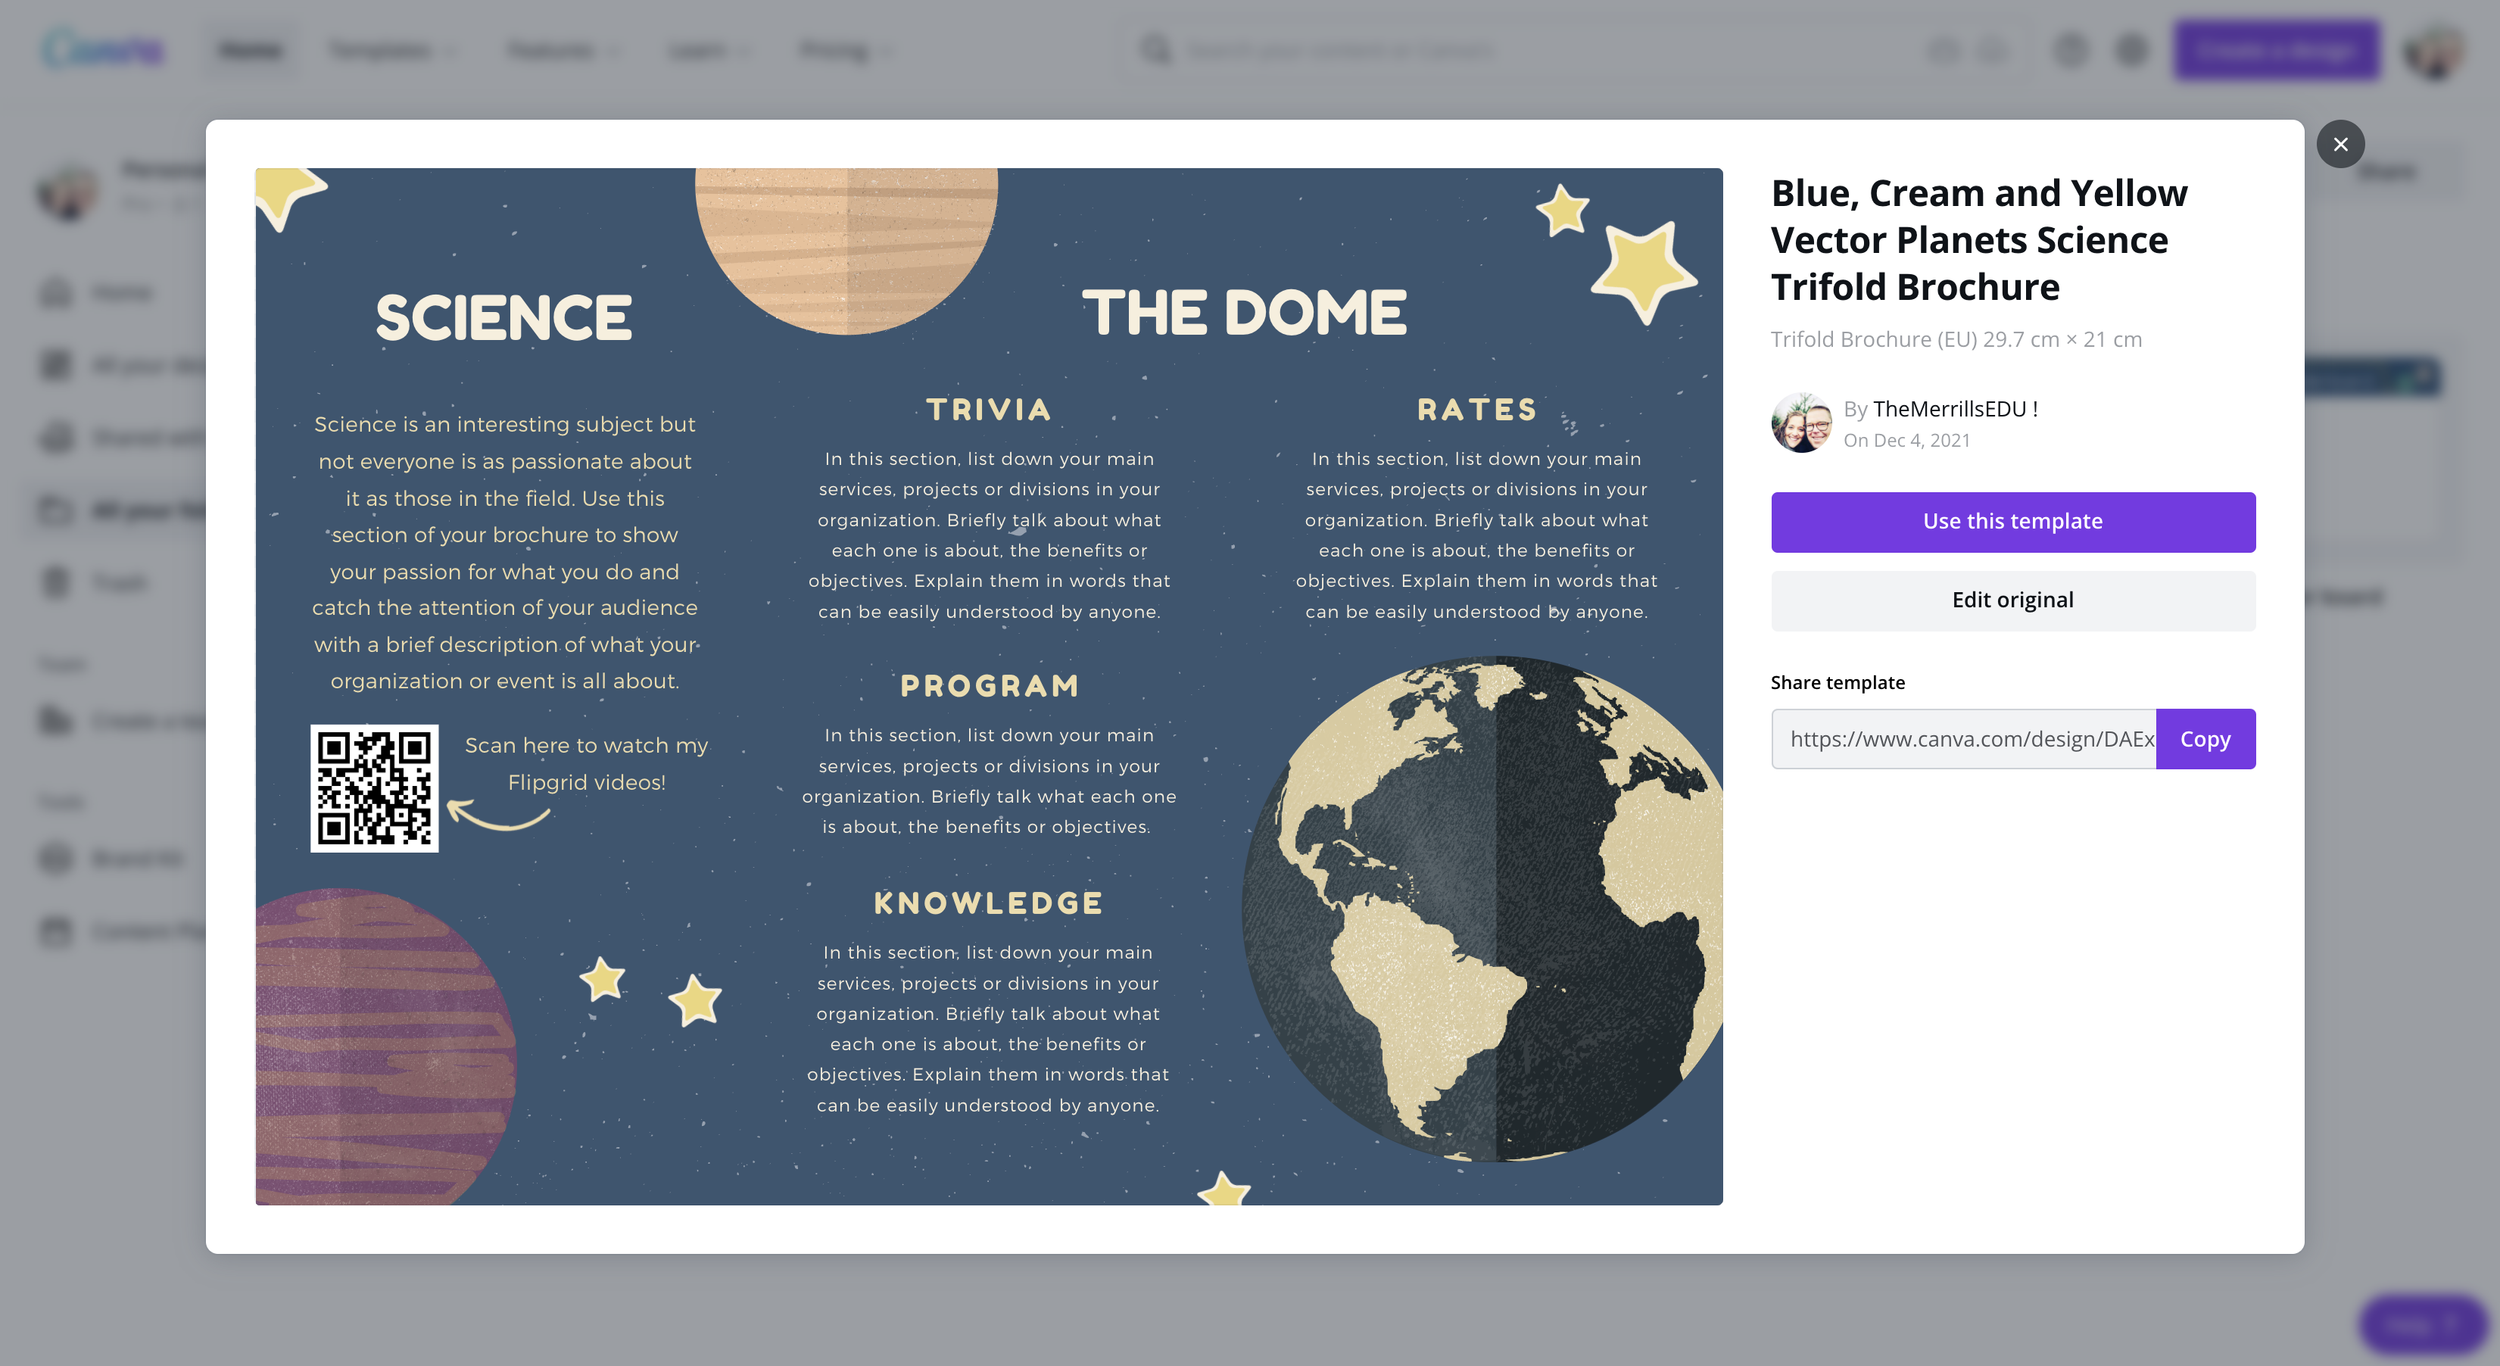
Virtual Science Fair Projects on Canva
Science Fair Projects are always exciting, but Canva can put a “new school” spin on them. Your students can design a trifold, add elements, text and even QR codes right into their Science Fair Projects. These can be shared publicly or right to the teacher. To generate a public share link, click on the three dots on the top right, then click “Share Link.” Click on “Copy” to share your URL. Now students can share this link with others! Tip: you can take this link into a URL shortener (like Bit.ly) and paste it to generate a shorter URL address (which will still point to the original link). To share directly with the teacher, click “Share,” then select the teacher(s) you wish to share with. This will send the Canva file to the teacher for review! Need some easy inspiration? Check out our template below! Click here or the image to get started!

Book Bumper Stickers on Canva
One of our favorite Canva activities is “Book Bumper Stickers!” For this activity, students design a bumper sticker based on the book, character / individual, subject, etc. The design can even be downloaded and shared onto places like Flipgrid or Seesaw. Check out our template below! Click here or the image below to download it and get started!


Character Trading Cards on Canva
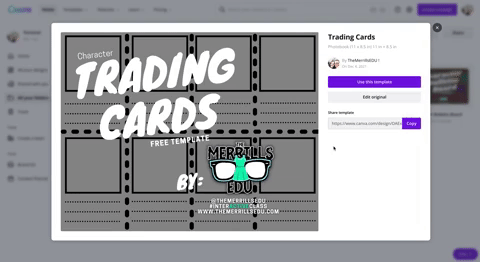
Describing characters, their feelings and emotions is an important piece of comprehension. With Canva, we can make this process fun and engaging! Students use the template below to add characters from the story. This can be done by adding photos, uploading their own artwork or adding elements. Then, students can add text to describe the character. Teachers can print the designs and have students cut them out with scissors to trade with friends! How do your friends describe other characters? Did they use similar adjectives as you? Download our template by clicking here or the image above!

Create a Timeline on Canva

Whether you’re explaining historical events, the sequential order of a story, or important character accomplishments, timelines are a great way to show thinking. Canva has easy-to-use timelines that are simple to edit to fit your next assignment. To view Canva’s timeline templates, just search: “Timelines” in the search box.

Design Thinking / infographics on Canva

Design thinking provides students with a creative outlet where they can tie in their learning. Infographics are a great way to show this level of thinking and Canva makes it easy! There are many Canva infographic templates that students can choose from. These templates are fully editable – everything from the text to the colors. To find infographic templates on Canva, just type “infographic” into the search bar. Here’s a template that we found to help you get started! Click here or the image above to download it and get started!

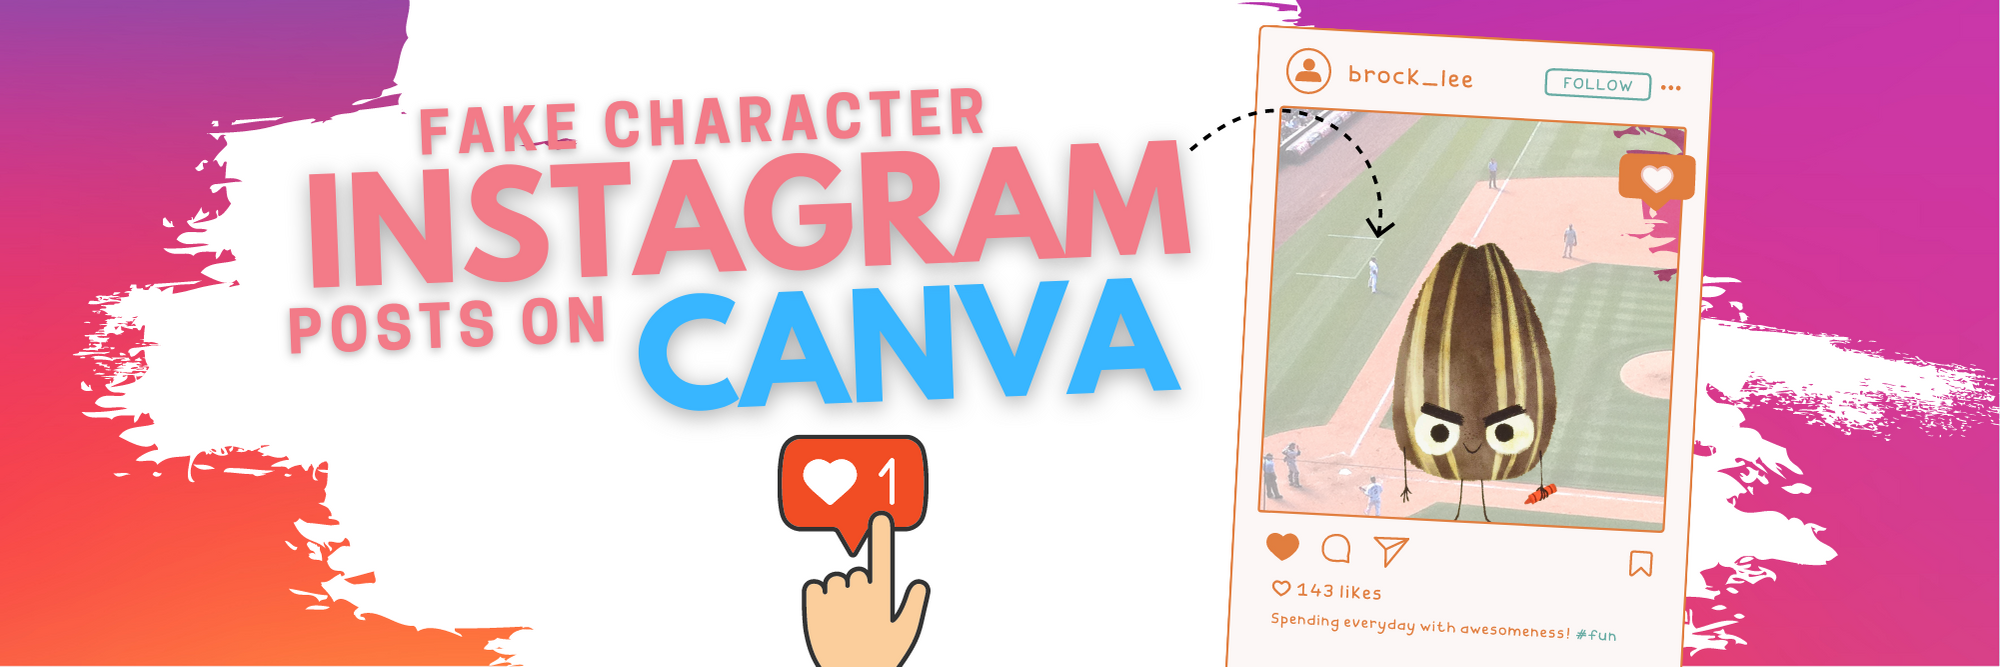
Fake Instagram Character Posts on Canva
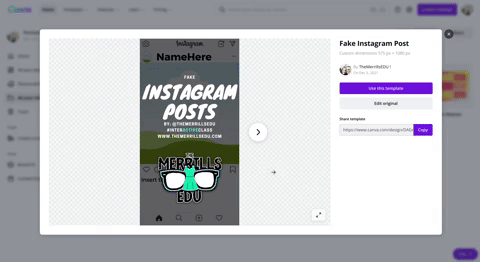
Have your students create a fake Instagram post describing the thoughts of a character from a book or historical figure. Check out our Instagram inspired Canva template here! Students can add the proper content in the template and even add a photo or drawing. This can be downloaded and shared on places like Flipgrid and Seesaw! To download our template, click here or the image above!

Student Created Classroom Badges on Canva
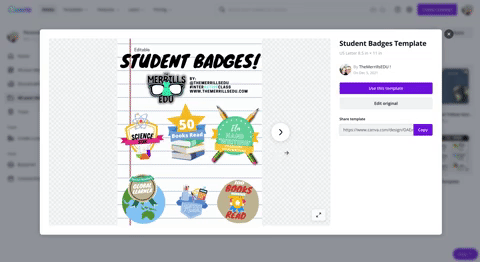
This is a great way to kick off the new school year or returning from a break. Plus, it teaches your students how to use all of Canva’s features! Student created classroom badges can be designed for any types of rewards that your students feel as though should be given out throughout the year. Have students use Canva’s features to design their badge. Remind them that it needs to have text / what the badge is for. Some good examples include: “Tech Trainer or “CANva” (students who can teach others about Canva). Check out our template by clicking here or the image! Looking for some easy inspiration? We’ve got you covered! You can download our template for free! Click here or the image above to download it!

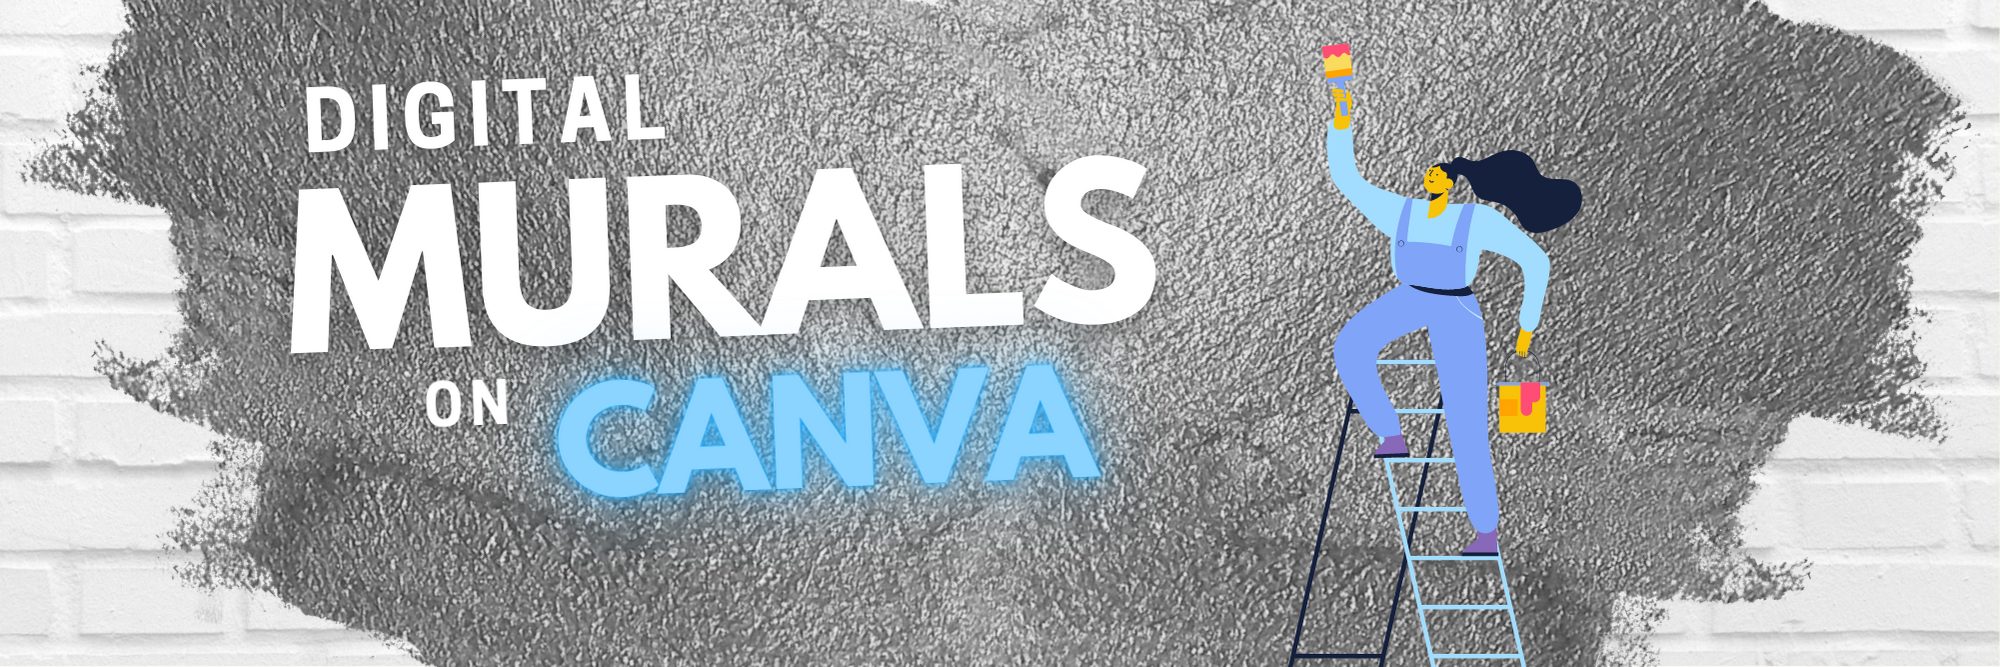
Digital Murals on Canva

Digital murals are an engaging way to get your students thinking outside of the box. In Canva, students add a background image, elements, photos, text or anything else that they think should go on their digital mural. The murals might describe characters, feature vocabulary terms, describe the students themselves and much more. Need help getting started? You can download our template by clicking here or the image above!
Student Choice Boards on Canva

Student Choice boards give your students the chance to complete a task using multiple options. For example, some students might enjoy creating a video that answers the prompt while others might design a slide that goes into detail. Leaving it up to your students will guarantee engagement with an invested interest in their work. Check out our pre-designed template to help you get started. Click here or the image above to download and edit!

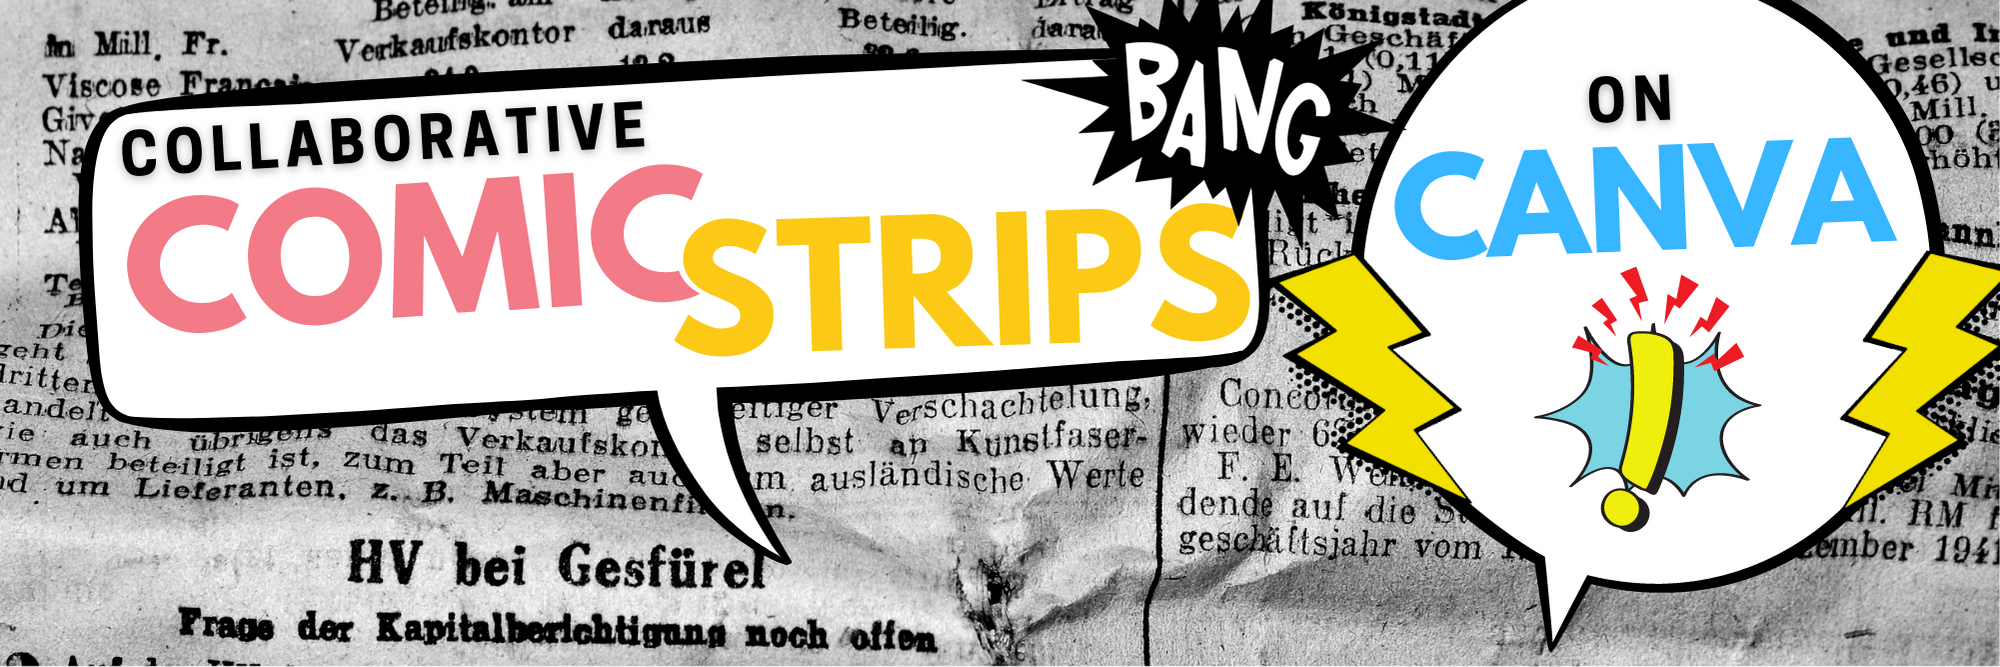
Collaborative Comic Strips

Canva makes collaboration easy and familiar (especially if you’ve collaborated on a Google Doc or Slide). You can share a link with others and even see who is on the file. These Collaborative Comic Strips can be completed in small groups. Students can keep work organized and even assign roles. The Comic Strips can retell a sequence of events, retell a timeline in history, or act as illustrations for a science journal log. Check out the template we found, which you can use right away! Click here or the image above to download and get started!

Collaborative Change of Scenery:
Change the Setting of a Story

Changing the setting of a story is a powerful way to monitor for comprehension. Level that up with collaboration, now you have a small group of students working together and thinking at a high level. With this template, your students can do just that! Work together and be creative! Check out the template we found! You can click here or the image above to download and get started!

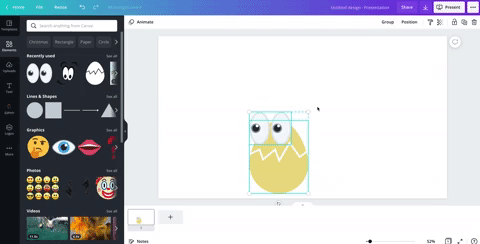
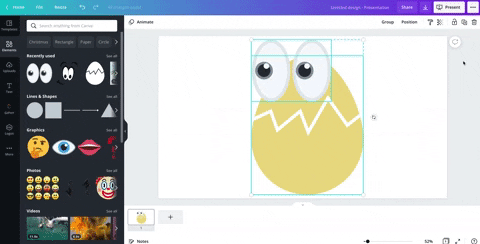
Drawing on Canva
Canva users now have the ability to draw on their slides. To start drawing, follow these steps:

Click on “More” from the left side panel
In the search bar, type “Draw”. Or, you can scroll down to the bottom where you will see the Draw icon. Click it to open the next window.
One the next window, click “Use” to launch the draw feature.
Select a brush and color to start drawing!
We love this template that we found, which includes the drawing tool and collaboration! Students can work together to create a piece of art. Perhaps they’re redesigning the cover of a book or “painting a picture” of their understanding. Check it out by clicking here or the image below!
-- Let us know if you’re using any of these ideas in your classroom! Be sure to follow us on social media (@TheMerrillsEDU everywhere) and tag us! 👓👗
For more tips, tricks and lesson ideas for making learning more interACTIVE, check out our books The InterACTIVE Class and Flipgrid in the InterACTIVE Class on Amazon!