Genially is a tool for creating interACTIVE content, bringing it to life for your students. Additionally, your students can create their own projects, collaborate with classmates, and share their work easily. But how does it all work? Where do you start?
In this blog post you’ll learn (click on any subheading to jump to that section):
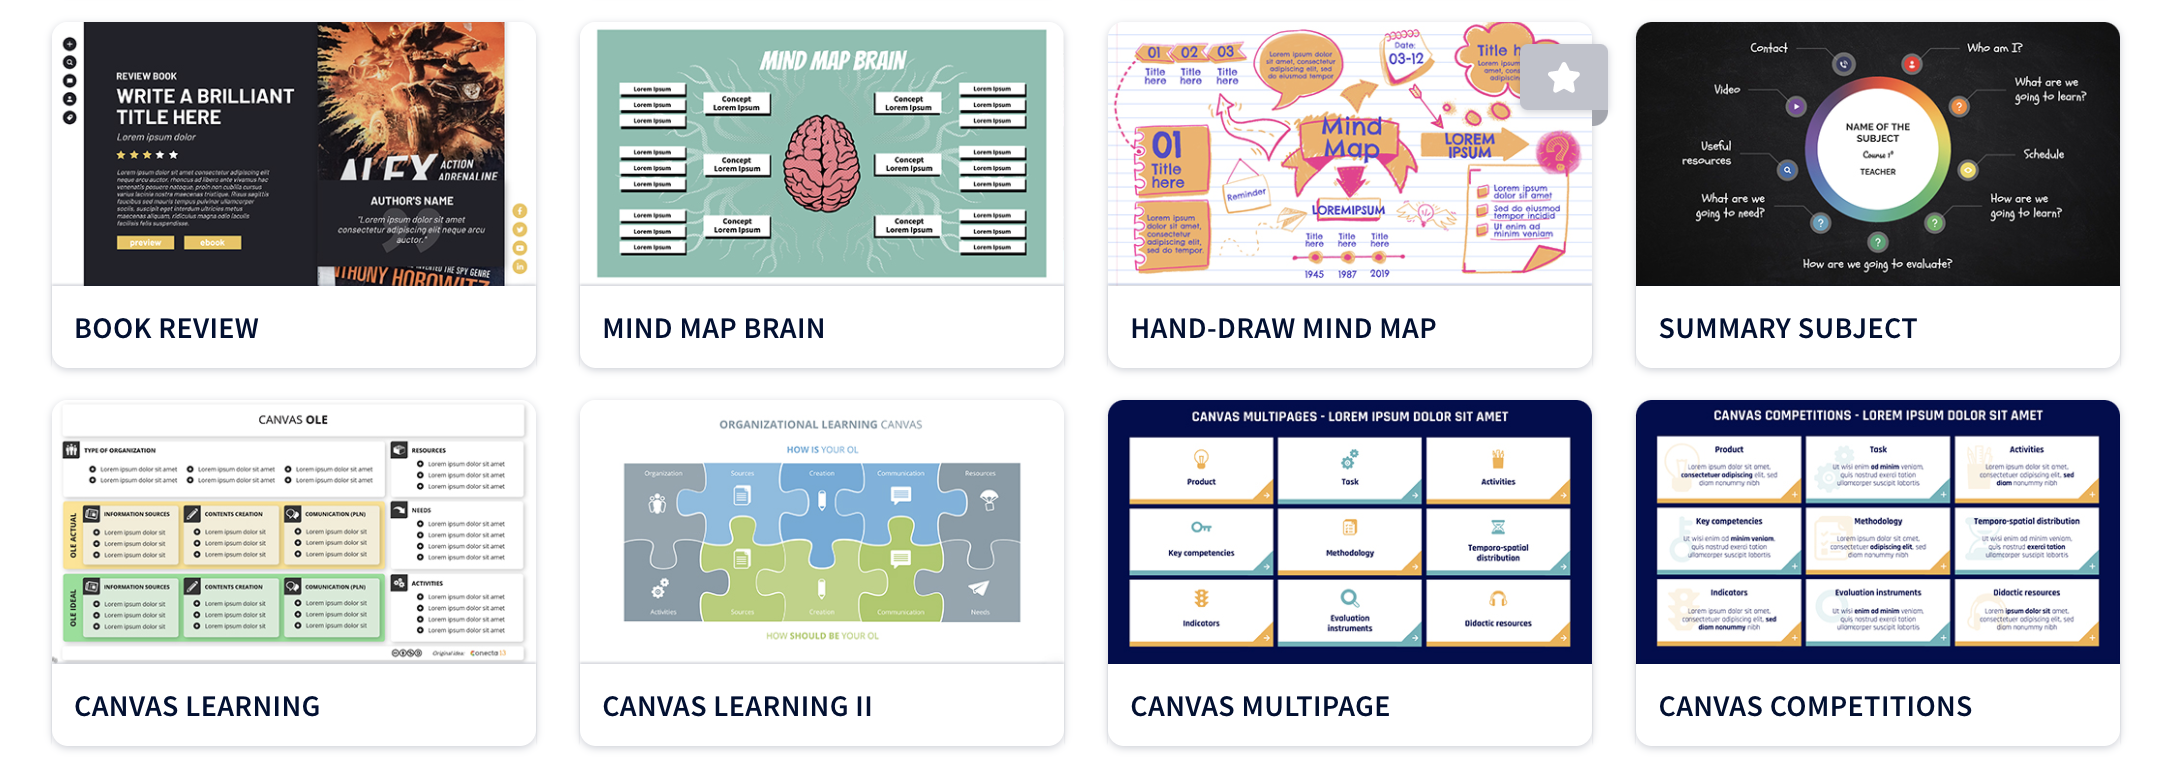
What Can You Make With Genially?
Genially’s options include (but are not limited to): presentations, infographics, interactive images, guides and gamification. Once you’ve set up your account, click on “Create Genially” to get started.
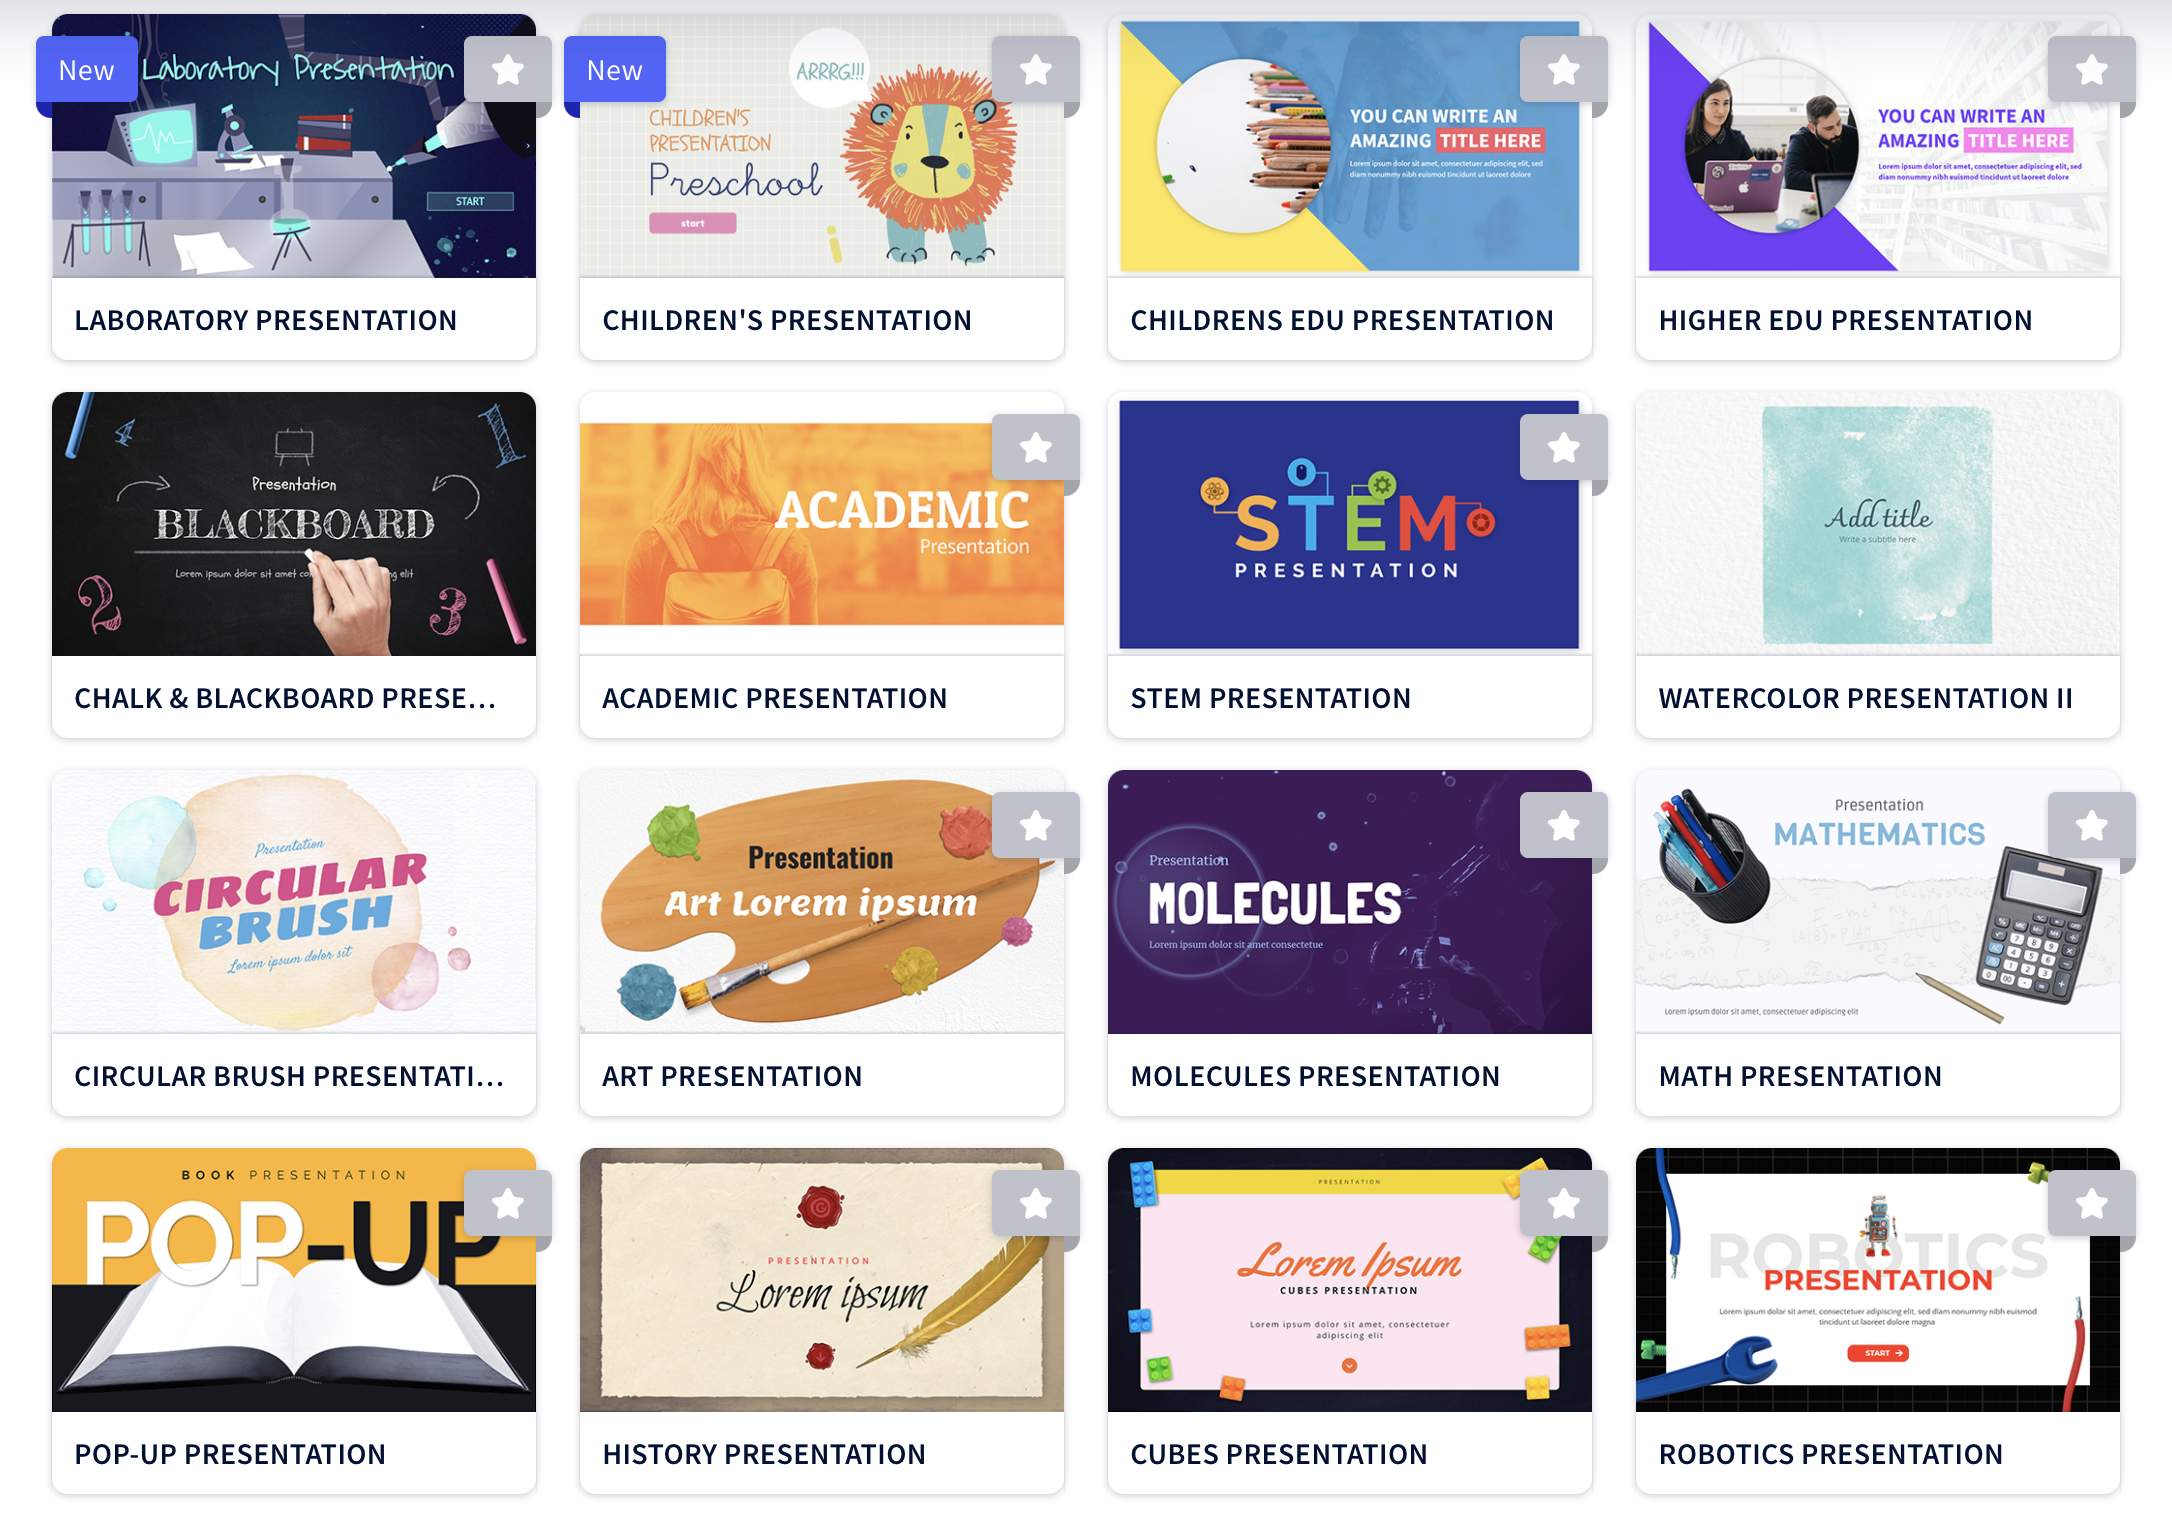
Presentations:
Want to deliver content to your students in an engaging way? Genially has lots of pre-designed templates that may be edited appropriately.
Infographics:
Share the main idea or focus of your lesson easily by creating an infographic. These may be designed horizontally or vertically.
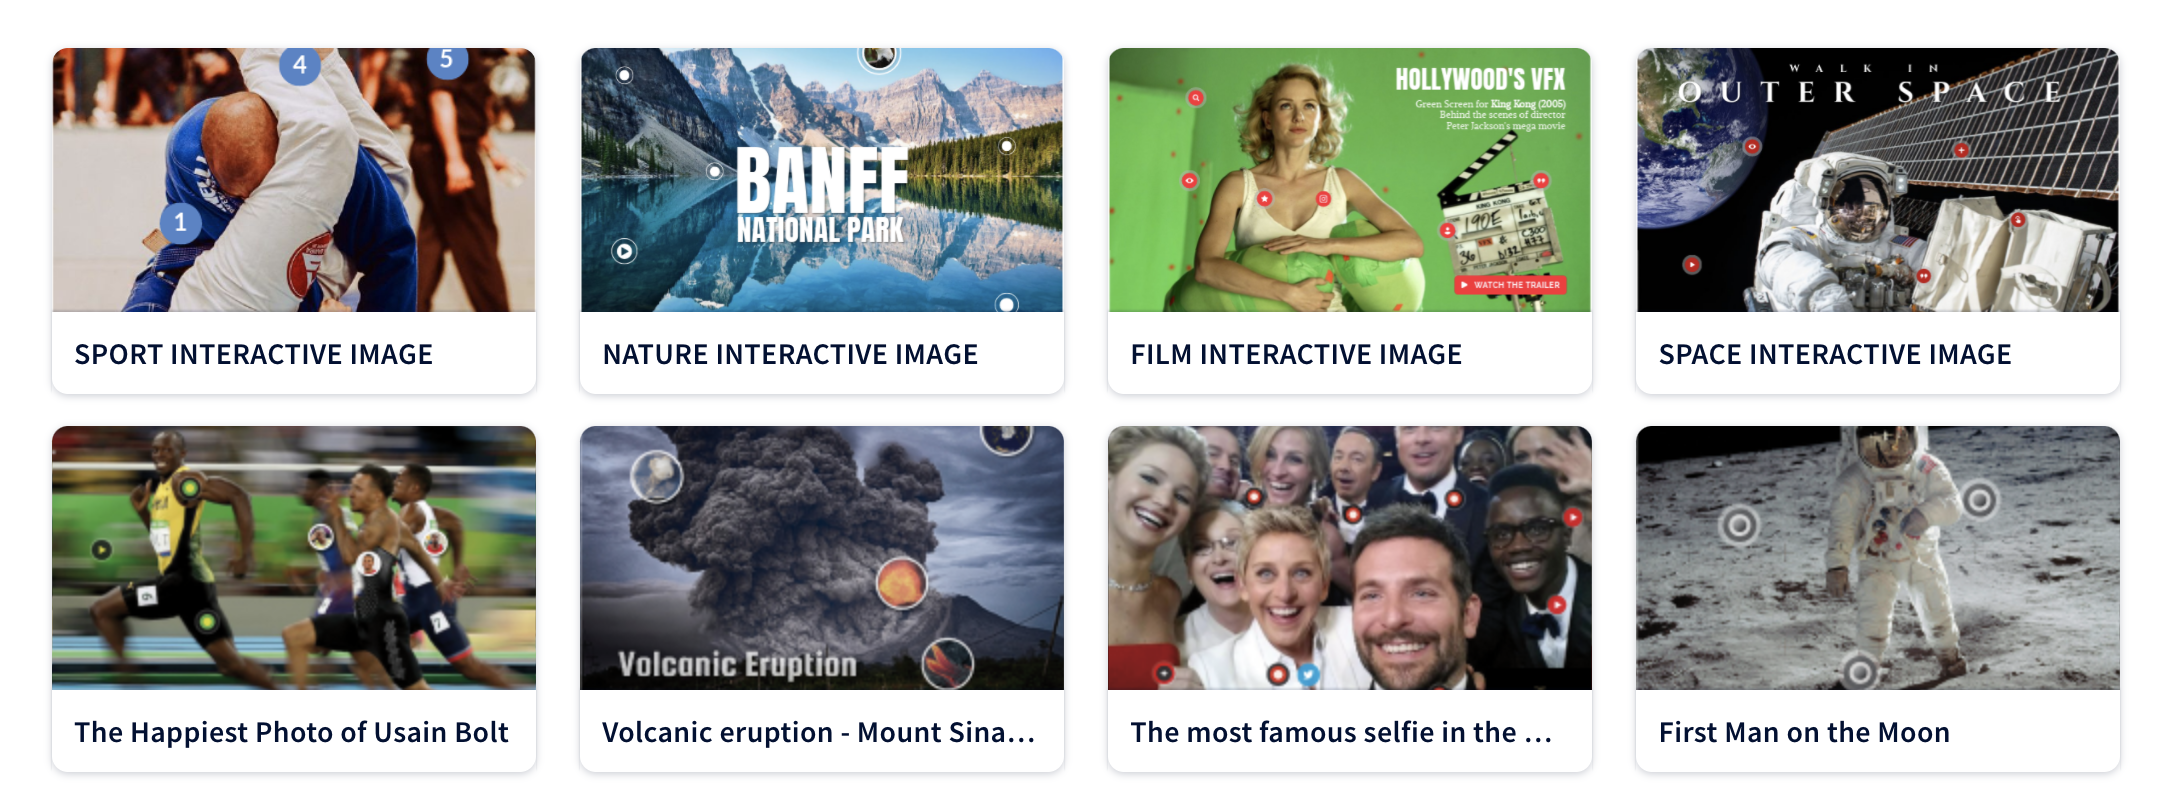
Interactive Images:
One of our favorite Genially features! Turn a still image into an interactive experience by adding “hotspots” or clickable areas that open hyperlinks, text boxes and even additional photos.
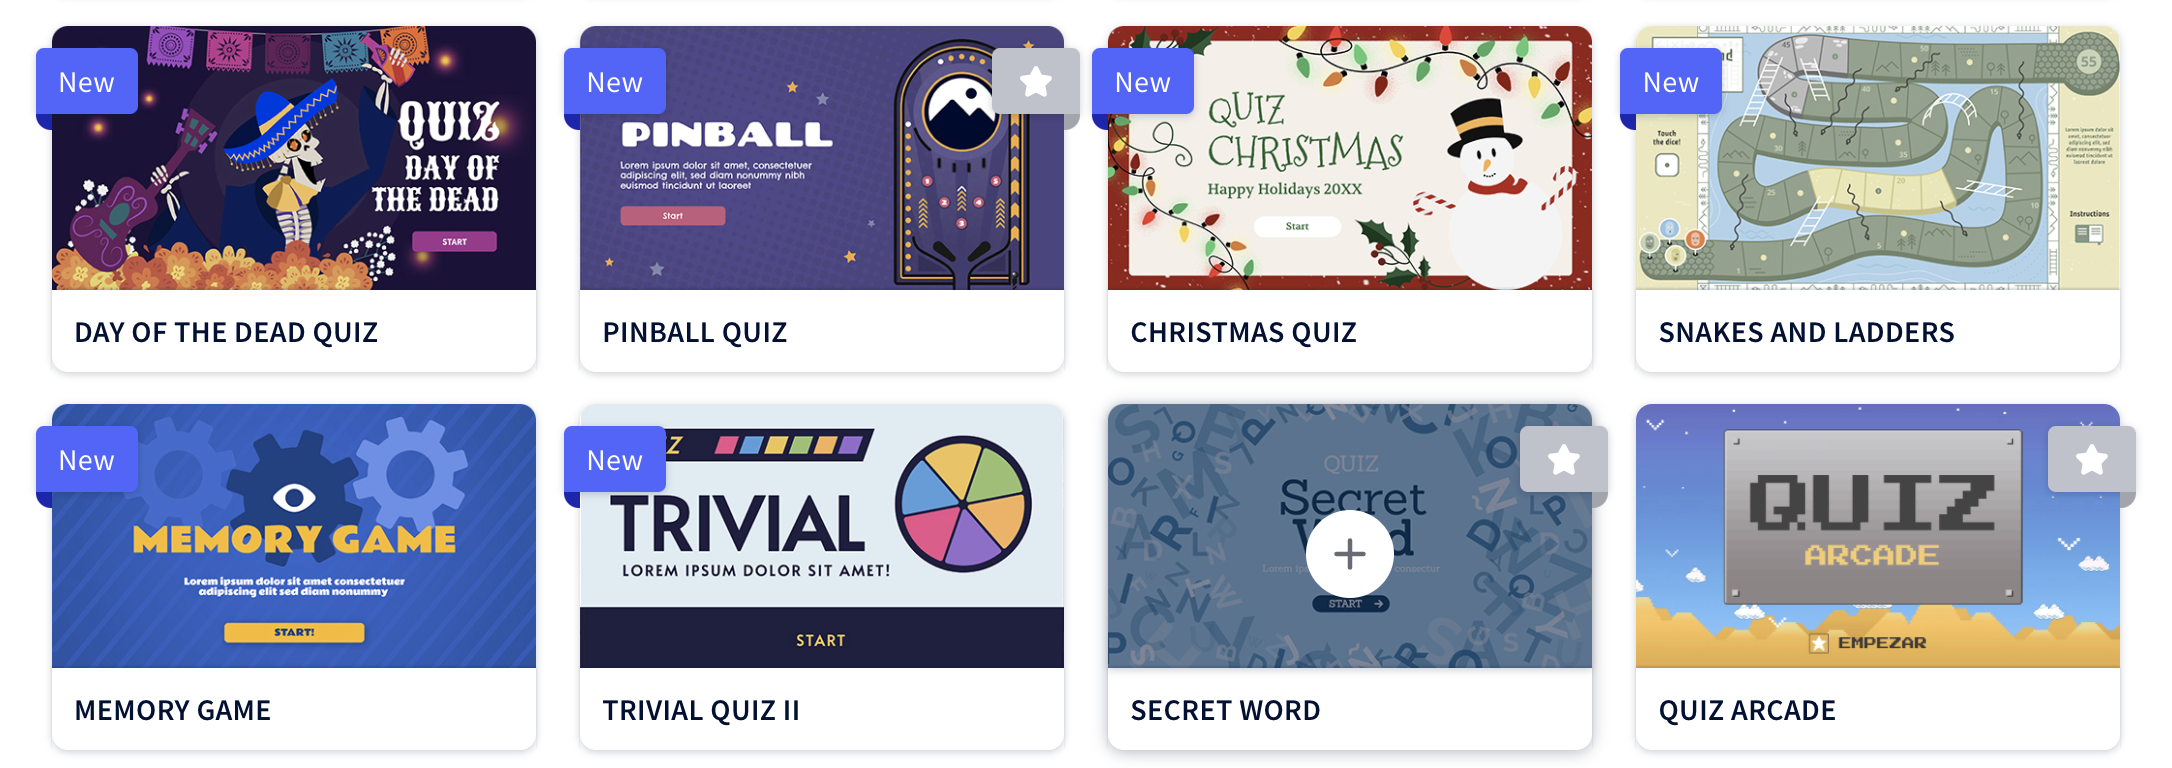
Gamification:
Generate motivation with Genially’s fun and engaging gamification templates. Easily edit or build one from scratch.
How to Share Genially Projects So That Students can Interact With Them
You’ve created your project in Genially, but now what? How do you share it with your students? How can your students share their work with you?
There’s lots of options here! Users have the ability to share their Genially project via link, embed code, email, social networks, and even Google Classroom & Microsoft Teams.
To share your Genially project(s): On the Genially dashboard, hover over a creation and then click on the share icon to see the options.
How to Integrate Genially Projects into Flipgrid
Your Genially projects can easily be integrated with Flipgrid. Here’s how!

Download your Genially project, and copy the “social link.”
Once you have finished designing your Genially project, save it as an image. This image can be uploaded into the “Media” section of your Flipgrid Topic (in the Flipgrid Educator’s dashboard). Be sure to copy the “social link,” and paste that into the Flipgrid Topic’s prompt, or as one of the attachments.
Lesson Ideas Made in Genially
Here are some lesson ideas to help you get started!
Have your students create an interactive image with hotspots that display additional content. For example: Students identify the different parts of an object, using hotspots to display content that they have learned. Check out this template for an idea!
Edit / re-design one of Genially’s gamification templates to match a weekly text. Embed the project into your LMS as a page (to use during whole group instruction) or assignment (to have individual students complete). Click here for an idea!
Create a resource guide for an upcoming unit. This will allow your students to work independently, or revisit the content at a later time if need be. Check out one of Genially’s templates here.
Stay #interACTIVE!
-👗➕🕶️
For more tips, tricks and lesson ideas for making learning more interACTIVE, check out our book The InterACTIVE Class and Flipgrid in the InterACTIVE Class on Amazon!