

Using the Draw Tool in Flipgrid
Part of what makes the Shorts camera so powerful are the features available to students to use when sharing their voice and ideas. Digital inking can take ideas and explanations to a whole new level.
Creative Features in Flipgrid
Part of what makes the Shorts camera so powerful are the features available to students to use when sharing their voice and ideas. Digital inking can take ideas and explanations to a whole new level.
The digital inking tool is symbolized on the Shorts camera dock with a pencil. From the moment you click on it your entire screen becomes a live digital board ready to be written on. Students can write directly on the video screen both when the video is paused and while recording live. The digital inking tool can used in combination with the whiteboard/blackboard feature to create more focus on the writing, or used alongside the photo sticker tool for annotation directly on top of images.
Creative Ways to Use Digital Inking While Recording in Flipgrid
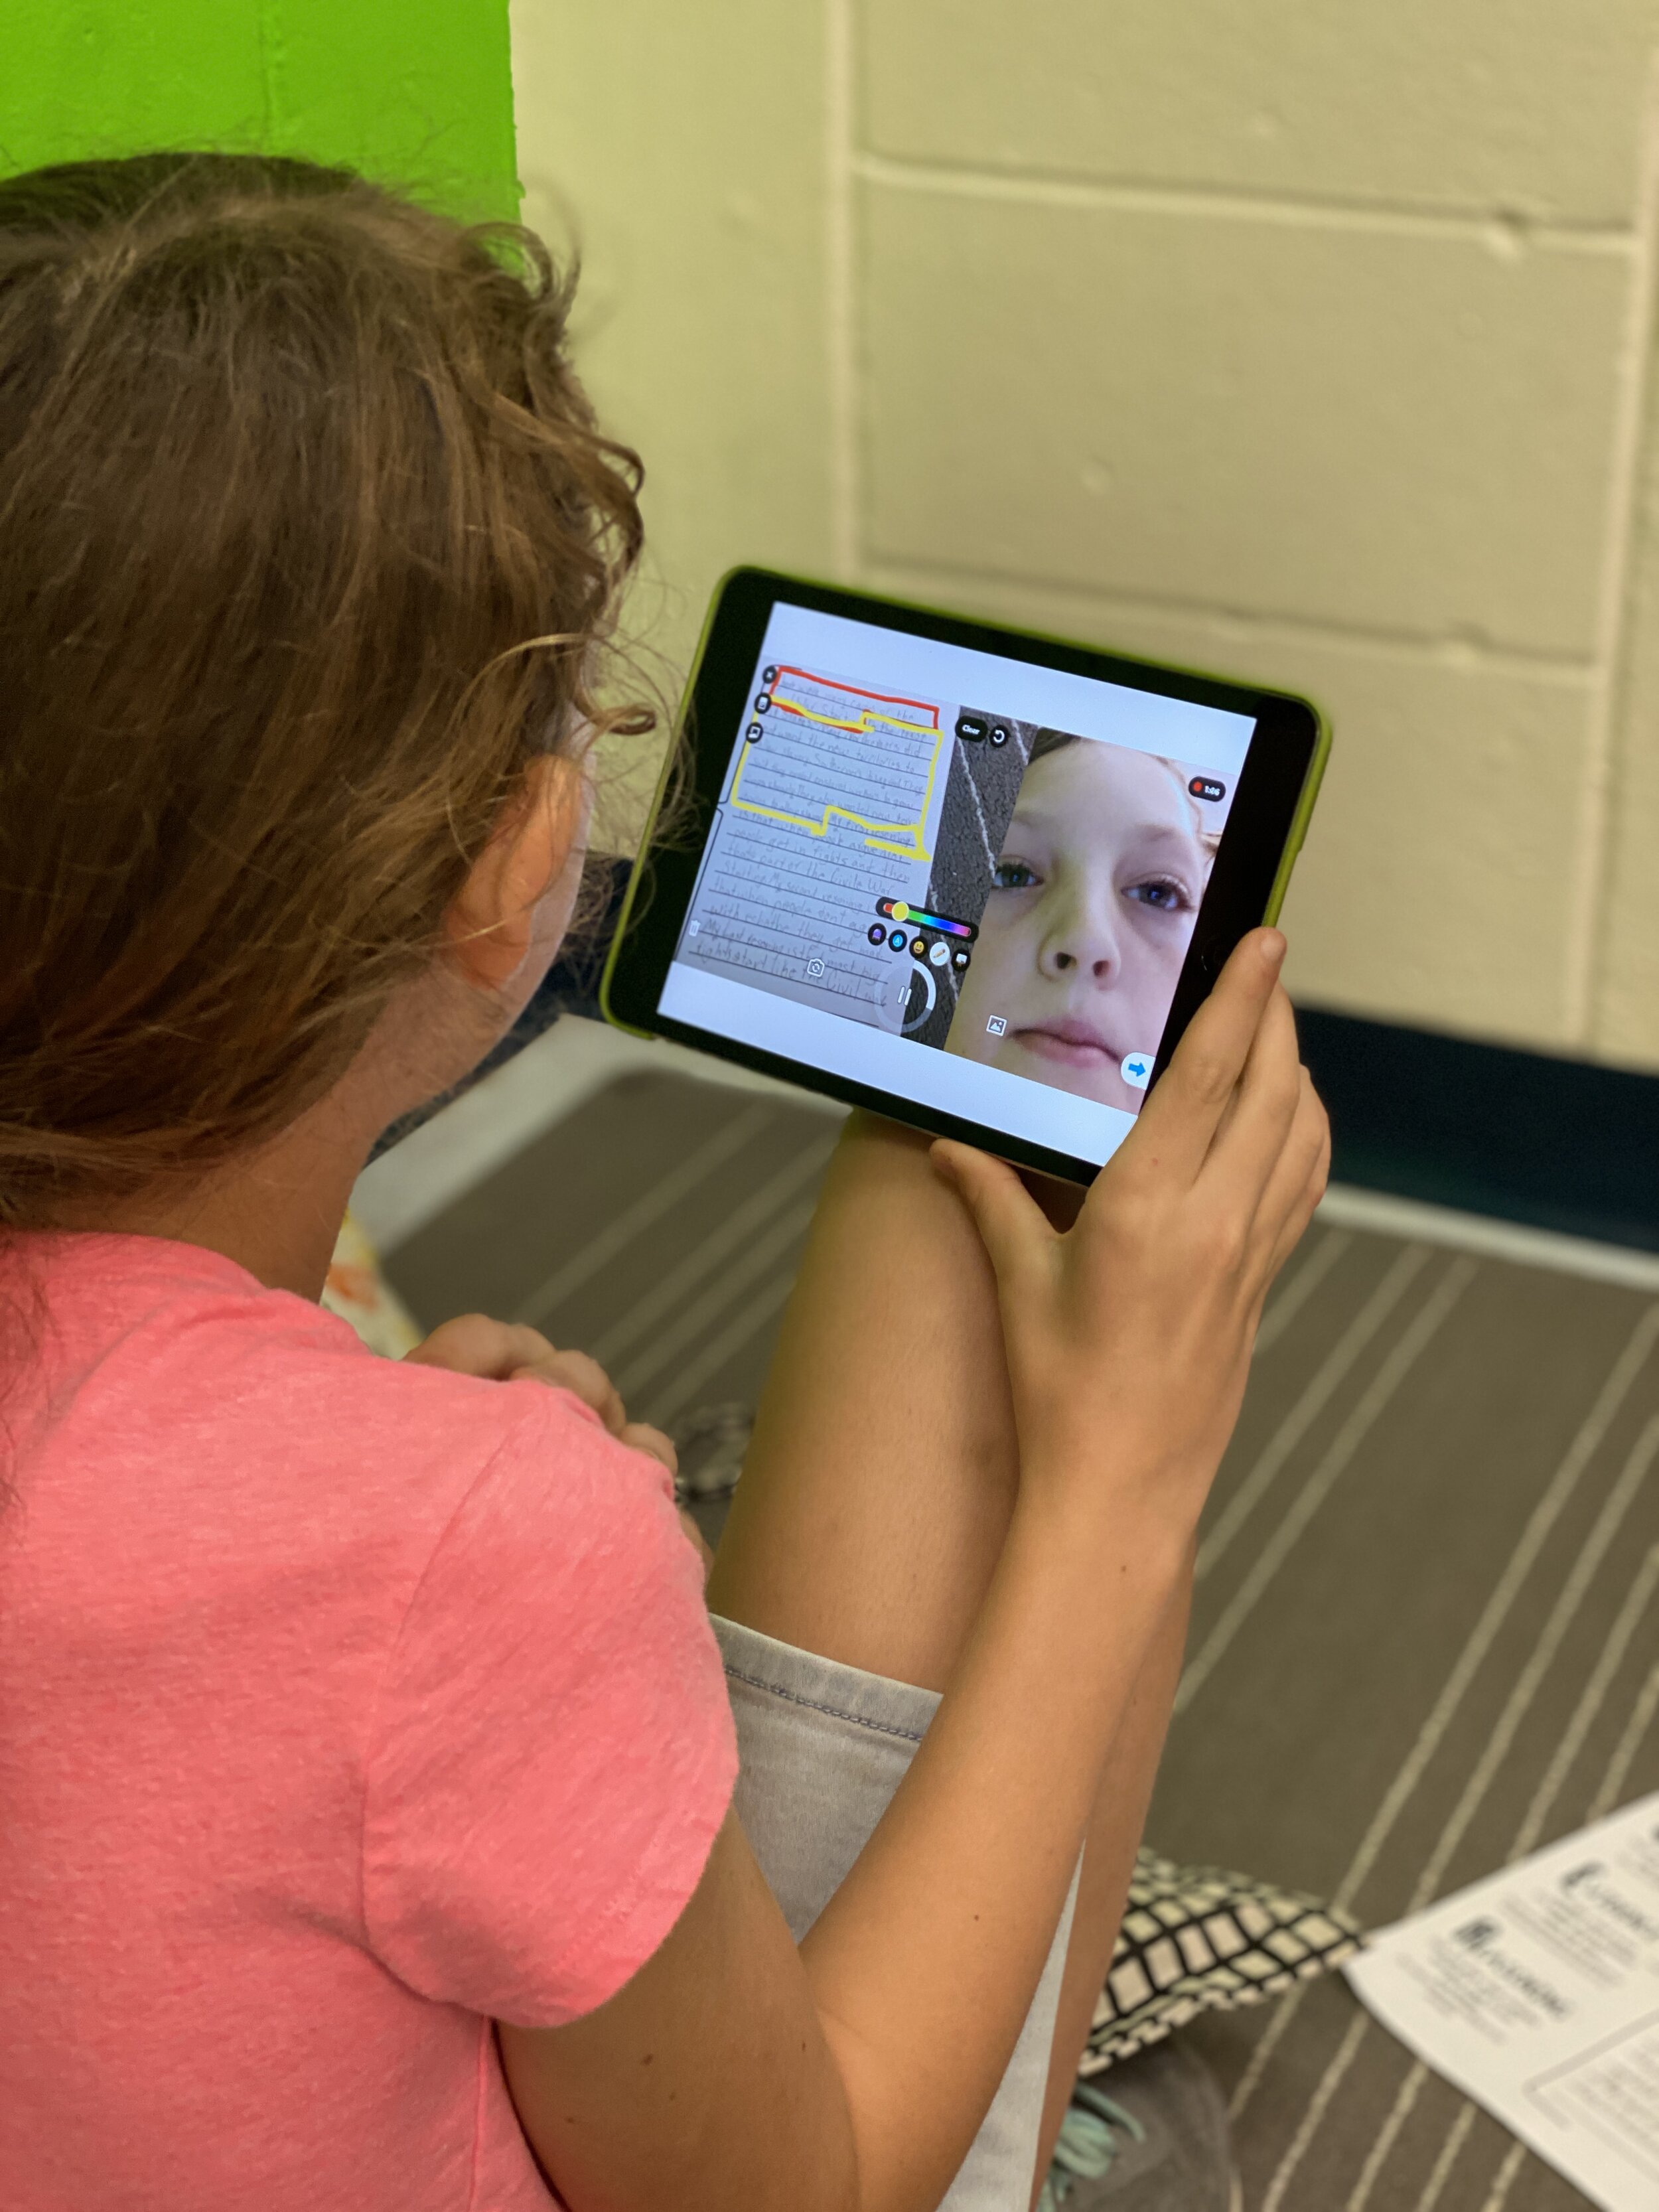
Book Snaps- Using the photo sticker tool along with the draw tool, students can live ink right on top of the pages of a book. They quickly take a photo of the paragraph or page, and then can ink, highlight, or draw, to identify parts of speech, find text evidence to support an inference or simply to draw attention to a character’s thoughts, dialogue or actions.
Math Hunt- Have students hunt for different shapes or identify angles in their video circling with the live inking draw tool as they record. They can pause as they go for a more edited video, or live record and draw as they go.

Science Scavenger Hunts- Demonstrating knowledge of subject matter doesn’t need to just be in math! Have students use the draw tool to identify living vs. non-living things in the backyard, constellations in the sky (real or student created!), or to show length and measurement.
Math Explanations/Number Talks- Students can have a unique place to share their math thinking and explanations. Using the whiteboard/blackboard feature along with the live inking (and even the sticker emojis!), students can explain their thinking and show their work for various types of math problems. Take it a step further and combine the live inking with the pause feature in Flipgrid, and students can share multiple ways to solve the same problem all in one video.

Creative Costumes- Flipgrid developers have spent so much time designing and developing a large set of of creative stickers and emojis, but sometimes the exact sticker just can’t be found. Use the draw tool to create the perfect Dr. Seuss hat, , or to transform yourself into the president you are researching in class.
For more information on how to use the draw tool, check out our tutorial on the Flipgrid YouTube channel.
To read more about Flipgrid check out these posts:
Using Flipgrid to Critical Thinking
- 👗➕👓
For more #interACTIVE lesson ideas using Flipgrid, check out our book The InterACTIVE Class on Amazon!


Using Flipgrid to Promote Critical Thinking 💭
Part of developing an #interACTIVE lesson is finding a way to engage students in their own learning. Sometimes this comes by integrating new apps or programs, but it doesn’t always have to be through something new. Often, using a program students are already familiar with in a new way can be just as effective.
Part of developing an #interACTIVE lesson is finding a way to engage students in their own learning. Sometimes this comes by integrating new apps or programs, but it doesn’t always have to be through something new. Often, using a program students are already familiar with in a new way can be just as effective. It’s also great for being efficient because you don’t have to teach students a new platform before diving in to the learning.
Features That Promote Critical Thinking
All the new features make Flipgrid is a perfect platform for this. You can use it in one way for one type of activity and then change up the way it is used completely for another lesson. Pausing and clipping videos and using stickers are some of the features used on a daily basis in my classroom, so to switch it up I used the sticker and type tool feature for this lesson.
For this lesson, I as the teacher used these tools to create a lesson for students to work on independently throughout the week. For this lesson I wanted students to reflect on various images from our unit if study and I used Flipgrid as the platform. I could have easily given them the photos, had them reflect and write their ideas down in a packet to be turned in at the end of the week. Instead, I took the photos and put them up as individual responses.

Uploading Photos to a Topic
Each photo was uploaded using the custom sticker feature and enlarged to fit almost the entirety of the screen. Then, using the text tool I typed out the captions that accompanied the photo. Following the caption, using the text tool with the white background, I scaffolded the conversation by putting in questions or stems for the students to use when responding to the photos. Once the entire screen was prepared, I turned the audio off so when recording it would just appear that the screen was standing still.

Recording Responses in Flipgrid
Once all the photos were uploaded, the students were given the task of reviewing them and responding to the 3 of their choice. Thus the idea of the “think tank”. The goal of this lesson is not to memorize a specific amount of facts or to summarize an idea using a specific amount of words, but rather the goal of this assignment was to get students thinking, inquiring, talking and connecting to the people and events in the images.

If you are interested in replicating this lesson you can find these images, along with many more here from Buzzfeed’s 50 Powerful Pictures From Black History That Speak for Themselves.
Stay #interACTIVE!
-👗➕👓
For more creative ideas on how to use Flipgrid in the classroom, check out our book The InterACTIVE Class on Amazon!

