How to Use Gimkit Ink
@theMerrillsEDU “unpack” how to use Gimkit’s latest tool: Ink. In this blog post you’ll learn: what Gimkit Ink is, how to launch it for your students and how students can publish their work and share it with their classmates!

Gimkit is notorious for building engagement and with Ink, Gimkit delivers on a whole new level. Ink creates a refreshing take on writing, storytelling and much more. In this blogpost, you’ll learn:
(click on any subheading to jump directly to that section)
✏️What is Gimkit Ink and How Does It Work?
⚡Quick Start Guide:⚡
🚀 Launch a Project
💪 Having Students Add Content
📚 Publishing Student Work
👀 Viewing Other Students Work
💡What are The Paper and Time Machine Features?
What is Gimkit Ink?

Gimkit Ink is a fresh take on how writing should look in 2021. Instead of turning in documents or PDF’s, Gimkit Ink allows students to publish their work online and share them directly back to the educator, classmates and beyond (if they chose to do so). Students may be reluctant to share their writing, so Gimkit Ink provides them with several key elements to help. For example, students who submit their writing can share directly to the teacher or with the entire class. But, if they are nervous about sharing with the class, they may post their work under a pseudonym. The key here is that the students understand that they are creating for a broader audience them just themselves. With this understanding, they will likely place more effort into the quality of their work (since they know it will be shared).
Gimkit Ink is available to all users! However, the free version of Ink is limited. Teachers can create 10 projects on the Gimkit Basic plan. There are no other restrictions at this time.

Quick Start Guide
Step #1: Launch a Project

Educators can launch Gimkit Ink tasks from their Gimkit Hub (or login page). Click “Gimkit Ink",” which will take you to the educators dashboard. To get started immediately, click on “New Project” under Projects. Fill out the information on the next page, then select your privacy settings. Once everything looks good, click the blue “Start Project” button. Doing so will launch a live link / webpage where content will be shared and delivered. Share this link with your students to have them start adding content. This link is important, as it also acts as the “house” where all of the content submitted will “live” or be posted. Students will be able to return to this link to view content from their peers after they have submitted their own work.
Step #2: Having Students Add Content

After you have shared the link with your students, they are ready to start adding content. Have them click the blue “+ Create New Post” button. This opens several options for them: create a new article or story.

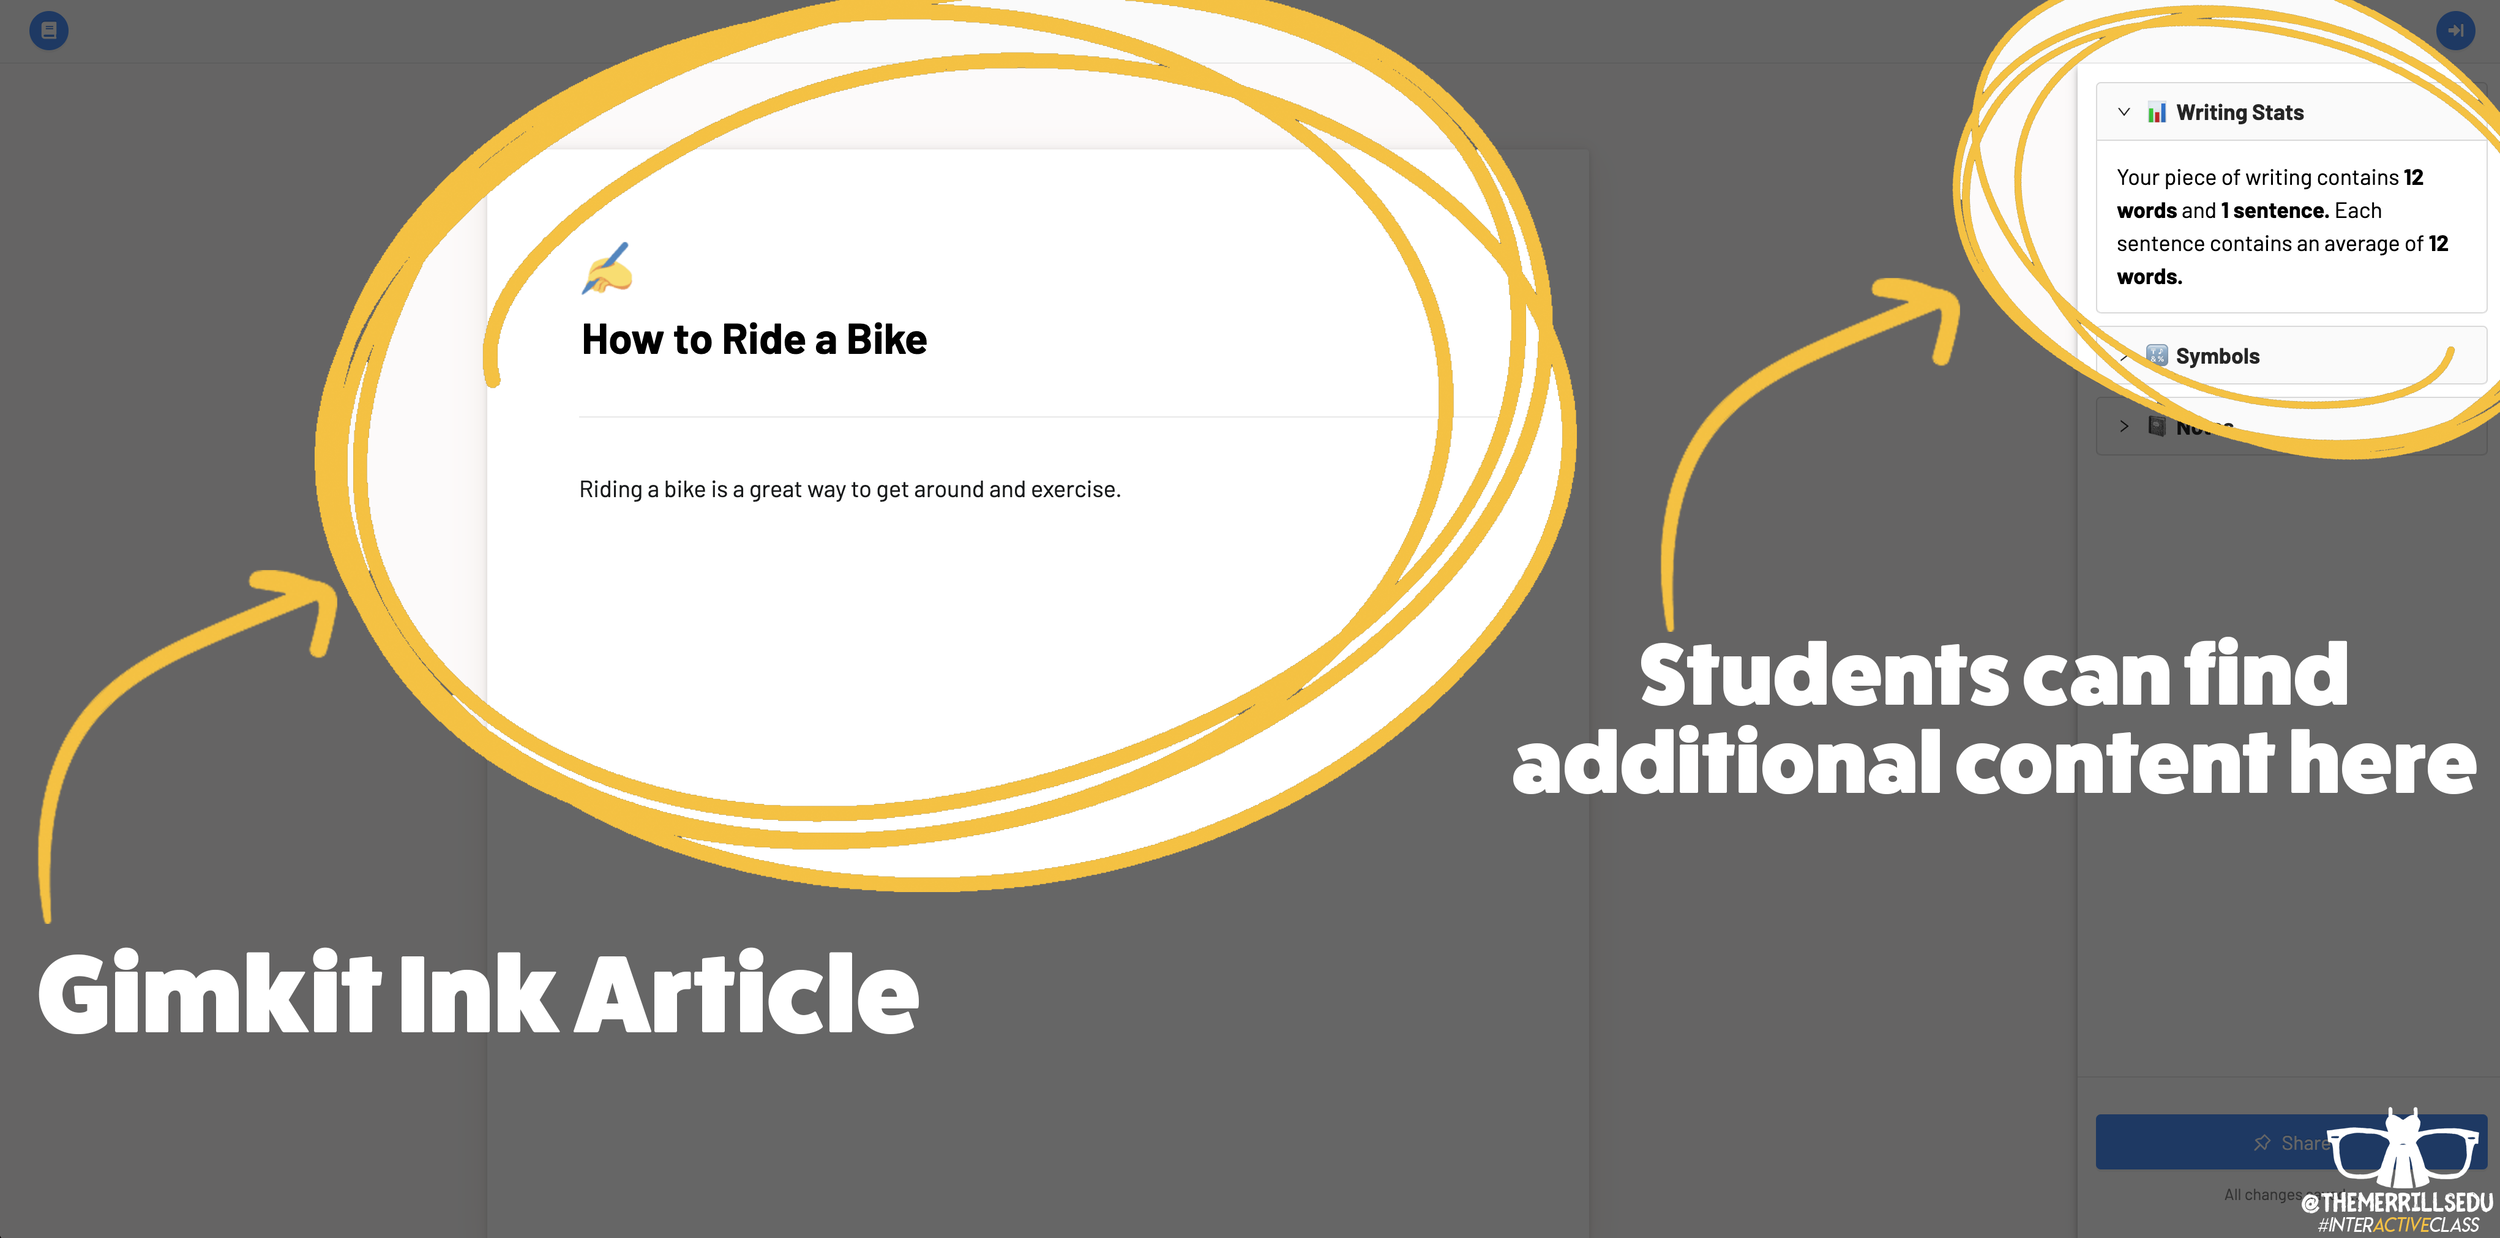
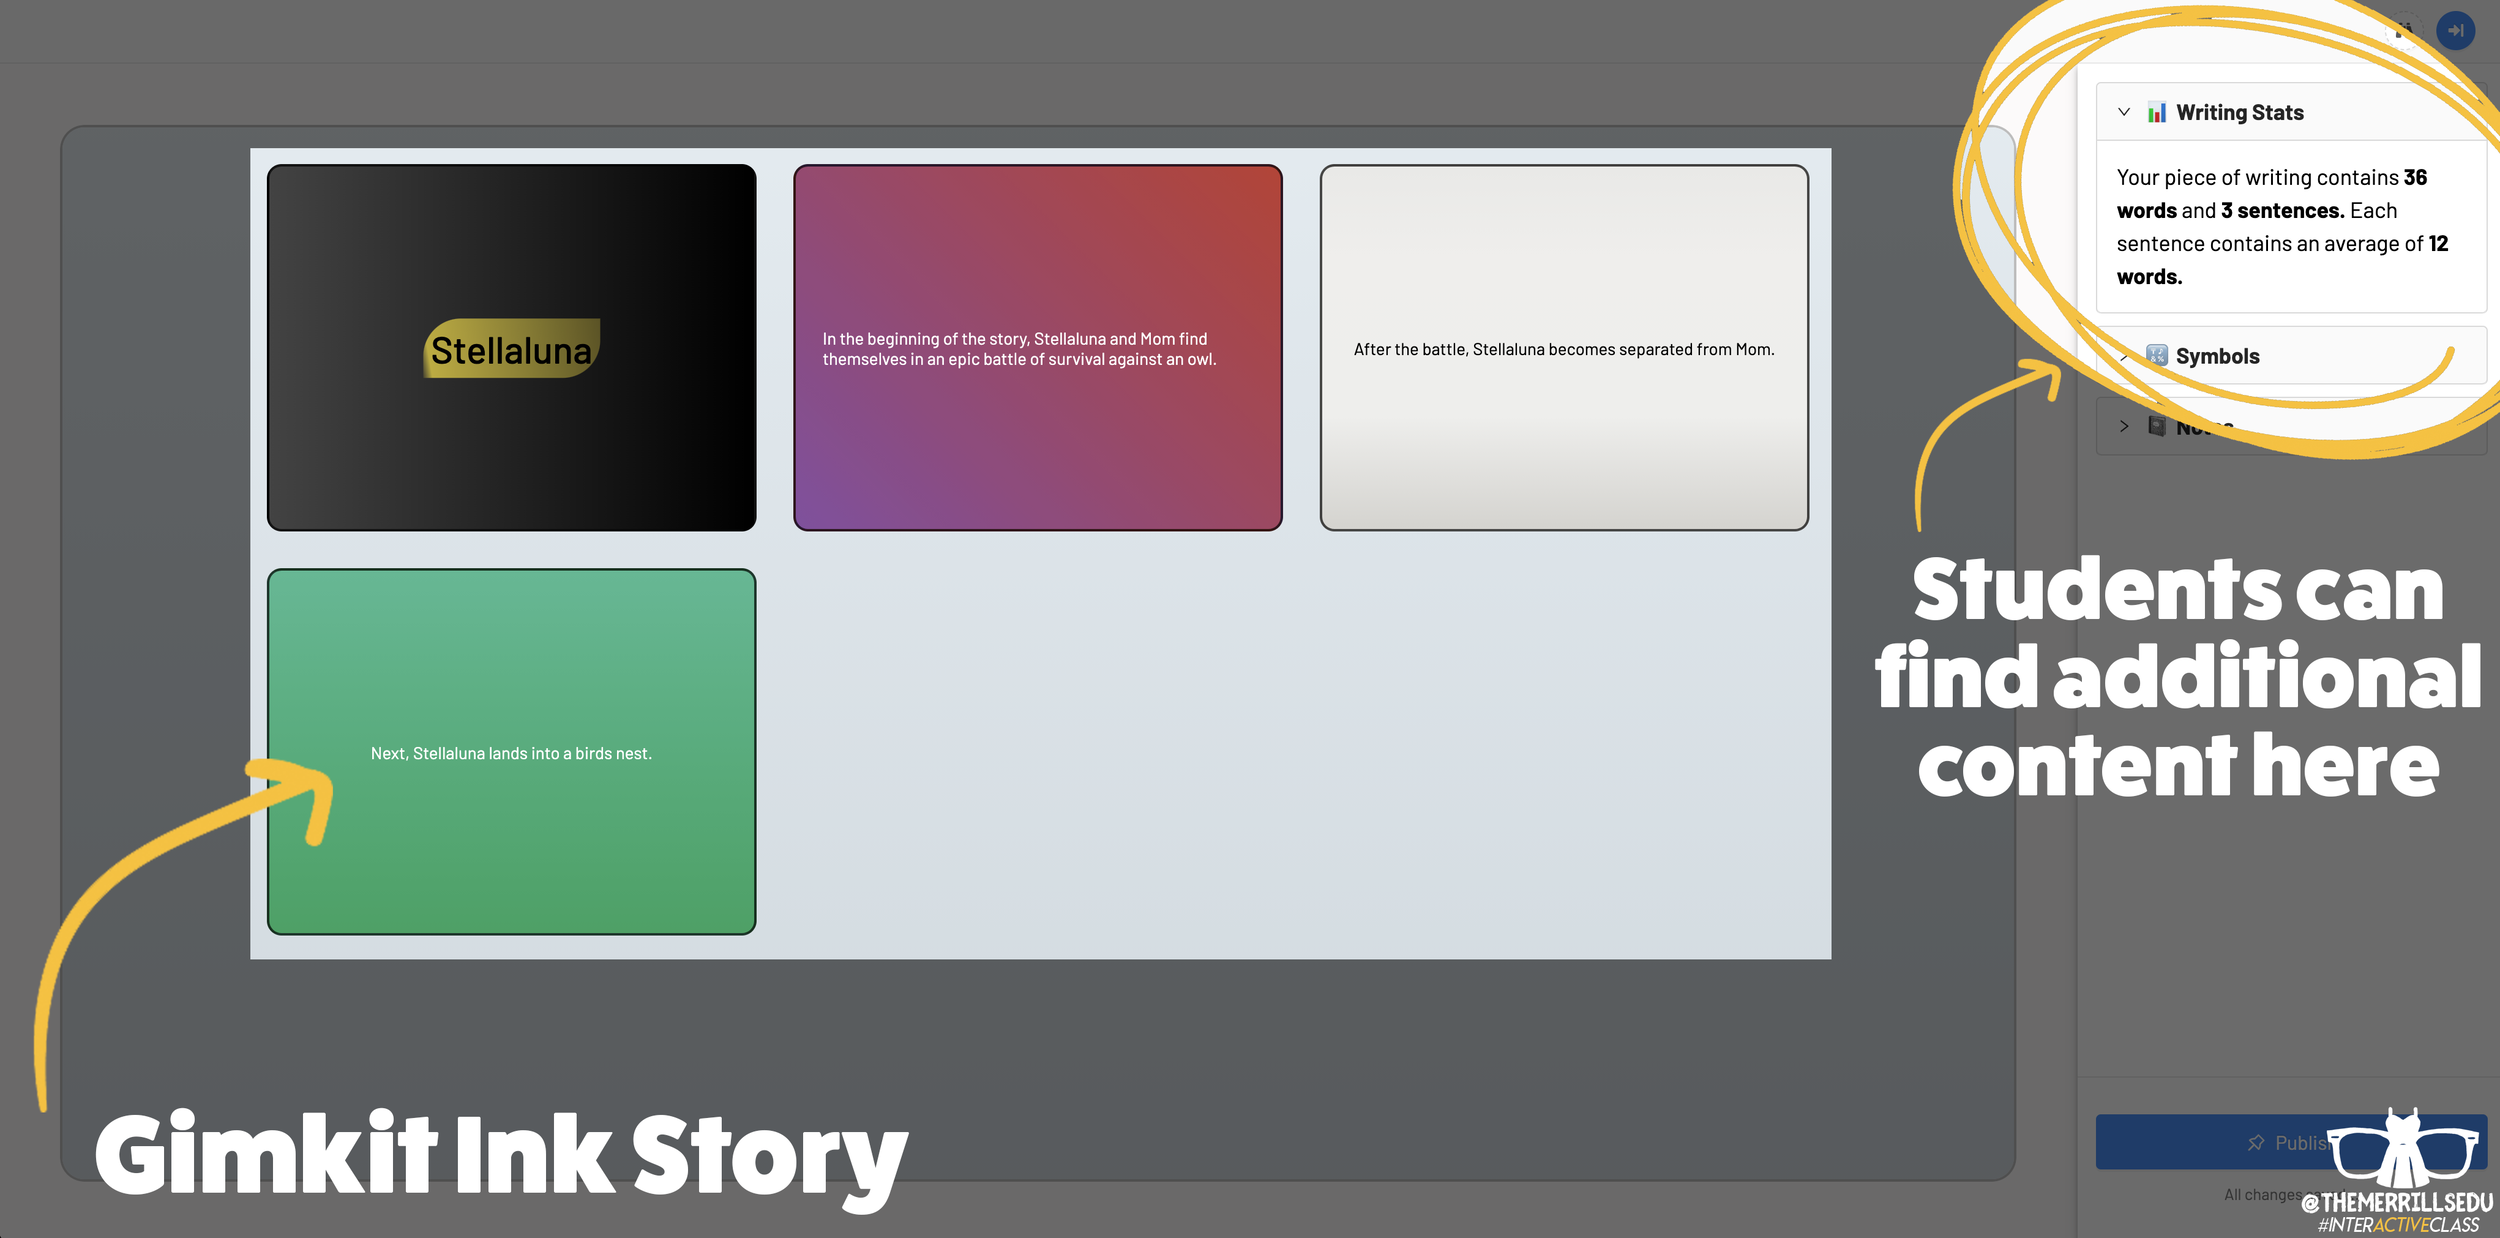

Writing an article on Gimkit Ink provides an editable document where your students can add titles, subtitles, text and more. This is perfect for sharing an idea - similar to a newspaper, blog post, etc. Adding a story gives students options to generate a storyboard or mind map experience to generate their writing. It’s more visual and allows the writer to control the pace. This is ideal when working to tell a story, and can be extremely powerful for young learners who are trying to organize their thoughts. In a Story, students have the capability to add features such as: images, YouTube videos, Desmos Graphs, Flipgrid Shorts recordings, Scratch projects, Google slides / sheets / docs, Anchor podcasts and Codepen. Students can add additional frames to their story, creating an easy to follow flow map - but Gimkit intelligently permits students to move their frames around (in case something gets placed out of order, just move it around!). This allows for easy editing and correction.

Step #3: Publishing Student Work
Once Your students have completed adding their information, they are ready to publish their work. To do so, they click the blue “Publish” button. It will prompt them to check their work - are you ready to publish or should you go back and edit? Once they are sure everything looks good, have them click the blue “Ready to Publish” button. The next screen asks your students to enter a title for their work and to select an emoji that they would like associated with it. After entering this info, students are to click the blue “Continue” button. Next, they must pick who can read their work: anyone or just the teacher. After making the first selection, Gimkit asks if they would like to share their name. Students may choose anyone or just the teacher. From here, they are to click the blue “Publish” button. Now, their work is live and ready to be viewed. Note: each student post has it’s own unique URL. So, this may be shared with families at home through other apps like Seesaw, Microsoft Teams, Google Classroom, etc.
Step #4: Viewing Other Students Work

Once your students have published their own work, they are prompted with a screen that shares their own personal URL to their project. Additionally, they have the option to “Open the Project,” which will take them back to the original landing page that you the educator created (“the house!”). Now your students can see everything that is and has been shared. If enabled, students can leave emoji reactions for quick peer-to-peer feedback. It’s a great way to provide an outlet for your students to share content with their friends!

The Paper and Time Machine
The Paper is Gimkit Ink’s workflow that shares all of the latest post from across all of your projects. This is helpful if you have multiple projects going at the same time and need to bounce back and forth efficiently. Your posts can also be found by clicking on “Time Machine” from the Gimkit Ink dashboard.
-- Stay tuned for more on how you can embed Gimkit’s Ink into your classroom! 👓👗
For more tips, tricks and lesson ideas for making learning more interACTIVE, check out our books The InterACTIVE Class and Flipgrid in the InterACTIVE Class on Amazon!


InterACTIVE Attendance Slides! (Guest Post: Karie Frauenhoffer)
Learn how rockstar 7th Grade educator Karie Frauenhoffer makes taking attendance into an interACTIVE experience! Be sure to follow Karie on Twitter at @legitkfrauey for more tips and tricks!

Walking into school and waiting for your day to begin may be sluggish for some students. So, we reached out to our dear friend Karie (@legitkfrauey) who shared this ⚡️EPIC⚡️ tweet!
Meet Karie!

Karie has spent a decade in the classroom and 7th graders have had her heart for the last nine years. Currently she is hybrid teaching both Language Arts and Social Studies and loves the challenge of taking her lessons and making them #InterACTIVE. Karie is a Flipgrid Ambassador and #MIEExpert. You can follow her on Twitter @legitkfrauey!
In this blog post, you’ll learn and receive:
(Click on any subheading to jump to that section)
⭐️ How Karie makes attendance interACTIVE!
⭐️ Download a ⚡️FREE TEMPLATE⚡️ to start your own!
InterACTIVE Attendance!
Virtual learning ISN'T fun… I mean, don’t get me wrong -- I do love teaching with my pups, but I do miss the kiddos. One of the ways that I have learned how to hook my kiddos and get them excited for the day is with my interactive attendance slides.
Interactive attendance slides?! WHAT?! YES!! Let me tell you how this came about!
I started doing just standard attendance slides using PearDeck (an AMAZING interactive tool, highly recommend!) -- students would click the link to access the PearDeck (in teacher-paced) and they would move the icon over their number & that would indicate they were present.

But this got boring-- obviously. SOOOO, I began to experiment with different types.
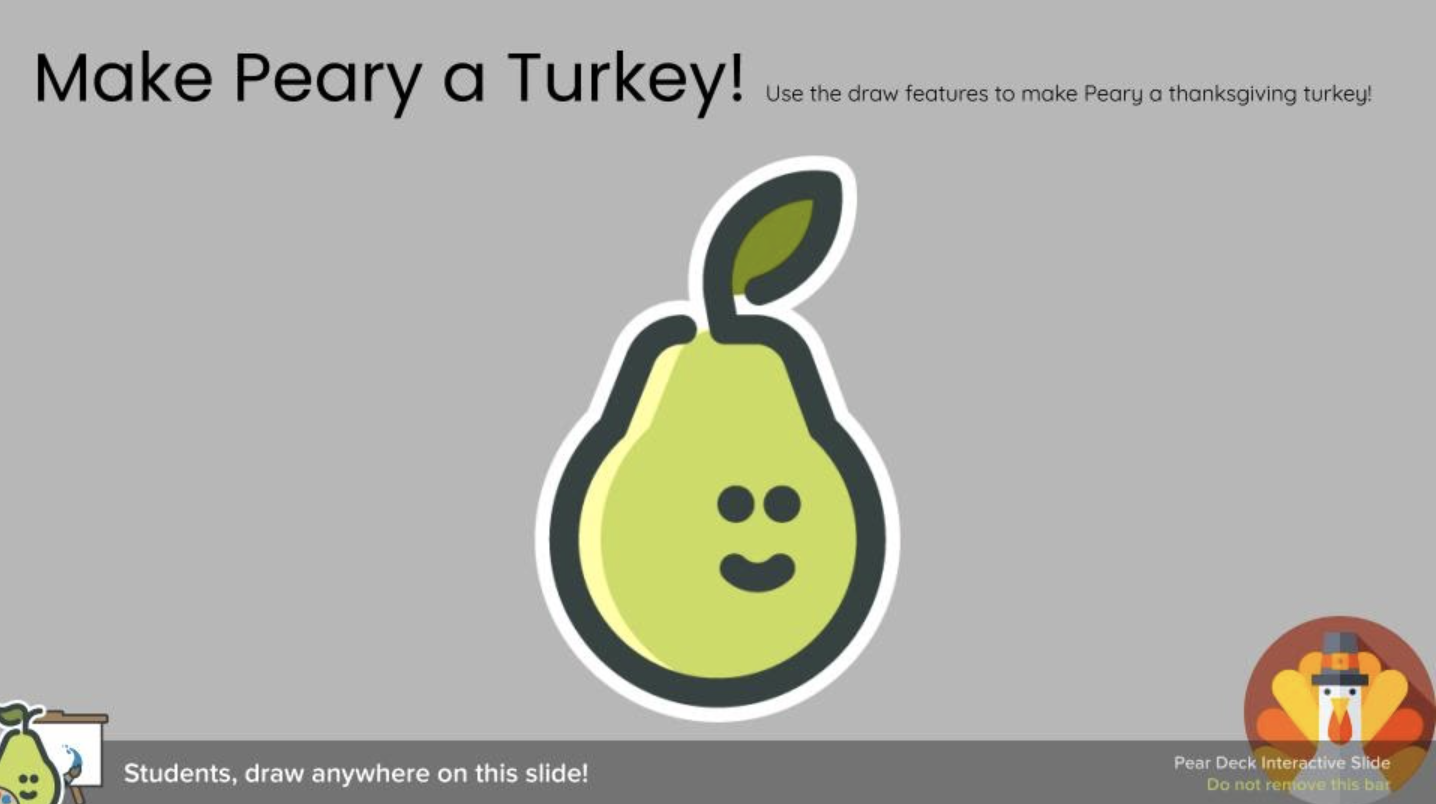
We made the PearDeck Pear, Peary a turkey!

LOOK at those cute turkeys!
We also experimented with This or That slides…

And I began to see MORE students were present for class & were engaging with me. I always tied the attendance into the lesson and used it as a way to chat with the students.
I got my BIGGEST excitement with my hidden picture attendance slides…


To hold students accountable for not just DOING the attendance but not doing the work; in their classwork for the day-- I incorporated a question that tied in with the hidden picture. (How many Ms. Frauey’s are there? What was Ms. Frauey doing?)
⭐️ Download a ⚡️FREE TEMPLATE⚡️ to start your own!

Enjoy and thank you for reading!
—Karie ❤️
For more tips, tricks and lesson ideas for making learning more interACTIVE, check out our books The InterACTIVE Class and Flipgrid in the InterACTIVE Class on Amazon!


How to Record Collaborative Videos in Flipgrid with Multiple Users
How can you allow multiple students to appear in the same Flipgrid video? @TheMerrillsEDU walk you through how to add a new element of collaboration to your lessons!

Remote Learning has challenged how educators can successfully implement collaboration within and outside of the classroom. The ability for students to work together and remain six feet apart, or even work together remotely has spawned numerous creative ideas, but this idea from our friend Adam may be our favorite: “Collaborative Videos in Flipgrid: Record with Friends, From Anywhere.” Check out his tweet:
So…How does this work? It’s actually not as difficult as it might sound! In this post we’ll walk you through each step.
(NOTE: this will not work on mobile devices at this time)
Click on any subheading to jump to that section:
🚀 Launch a ⚡LIVE⚡ Zoom / Google Meet / Teams / WebEx call with Breakout Rooms
(Click your preferred platform to jump to that section)
Microsoft Teams | Zoom | WebEx | Google Meet
🚀 Launch a ⚡LIVE⚡ Zoom / Google Hangout / Teams call
Step #1: Launching a collaborative chat session
It doesn’t matter what you’re using for this step - all the platforms will work! Start off by launching a new meeting / call. If you’re using one of the aforementioned platforms to conduct a class call, you can always generate breakout rooms to properly group your students.
How to Launch Breakout Rooms on Microsoft Teams
Start a new meeting. Then once in the meeting, look for the “Breakout Room” button located at the top right hand side of the screen. Click here to open new options.
After you have clicked the “Breakout Room” icon, you will have several options. Start off by selecting how many rooms you need. Then, select how you prefer to assign the participants (automatically or manually).
For more information on Breakout Rooms in Teams, click here.
Click here to move onto Step #2


How to Launch Breakout Rooms on Zoom
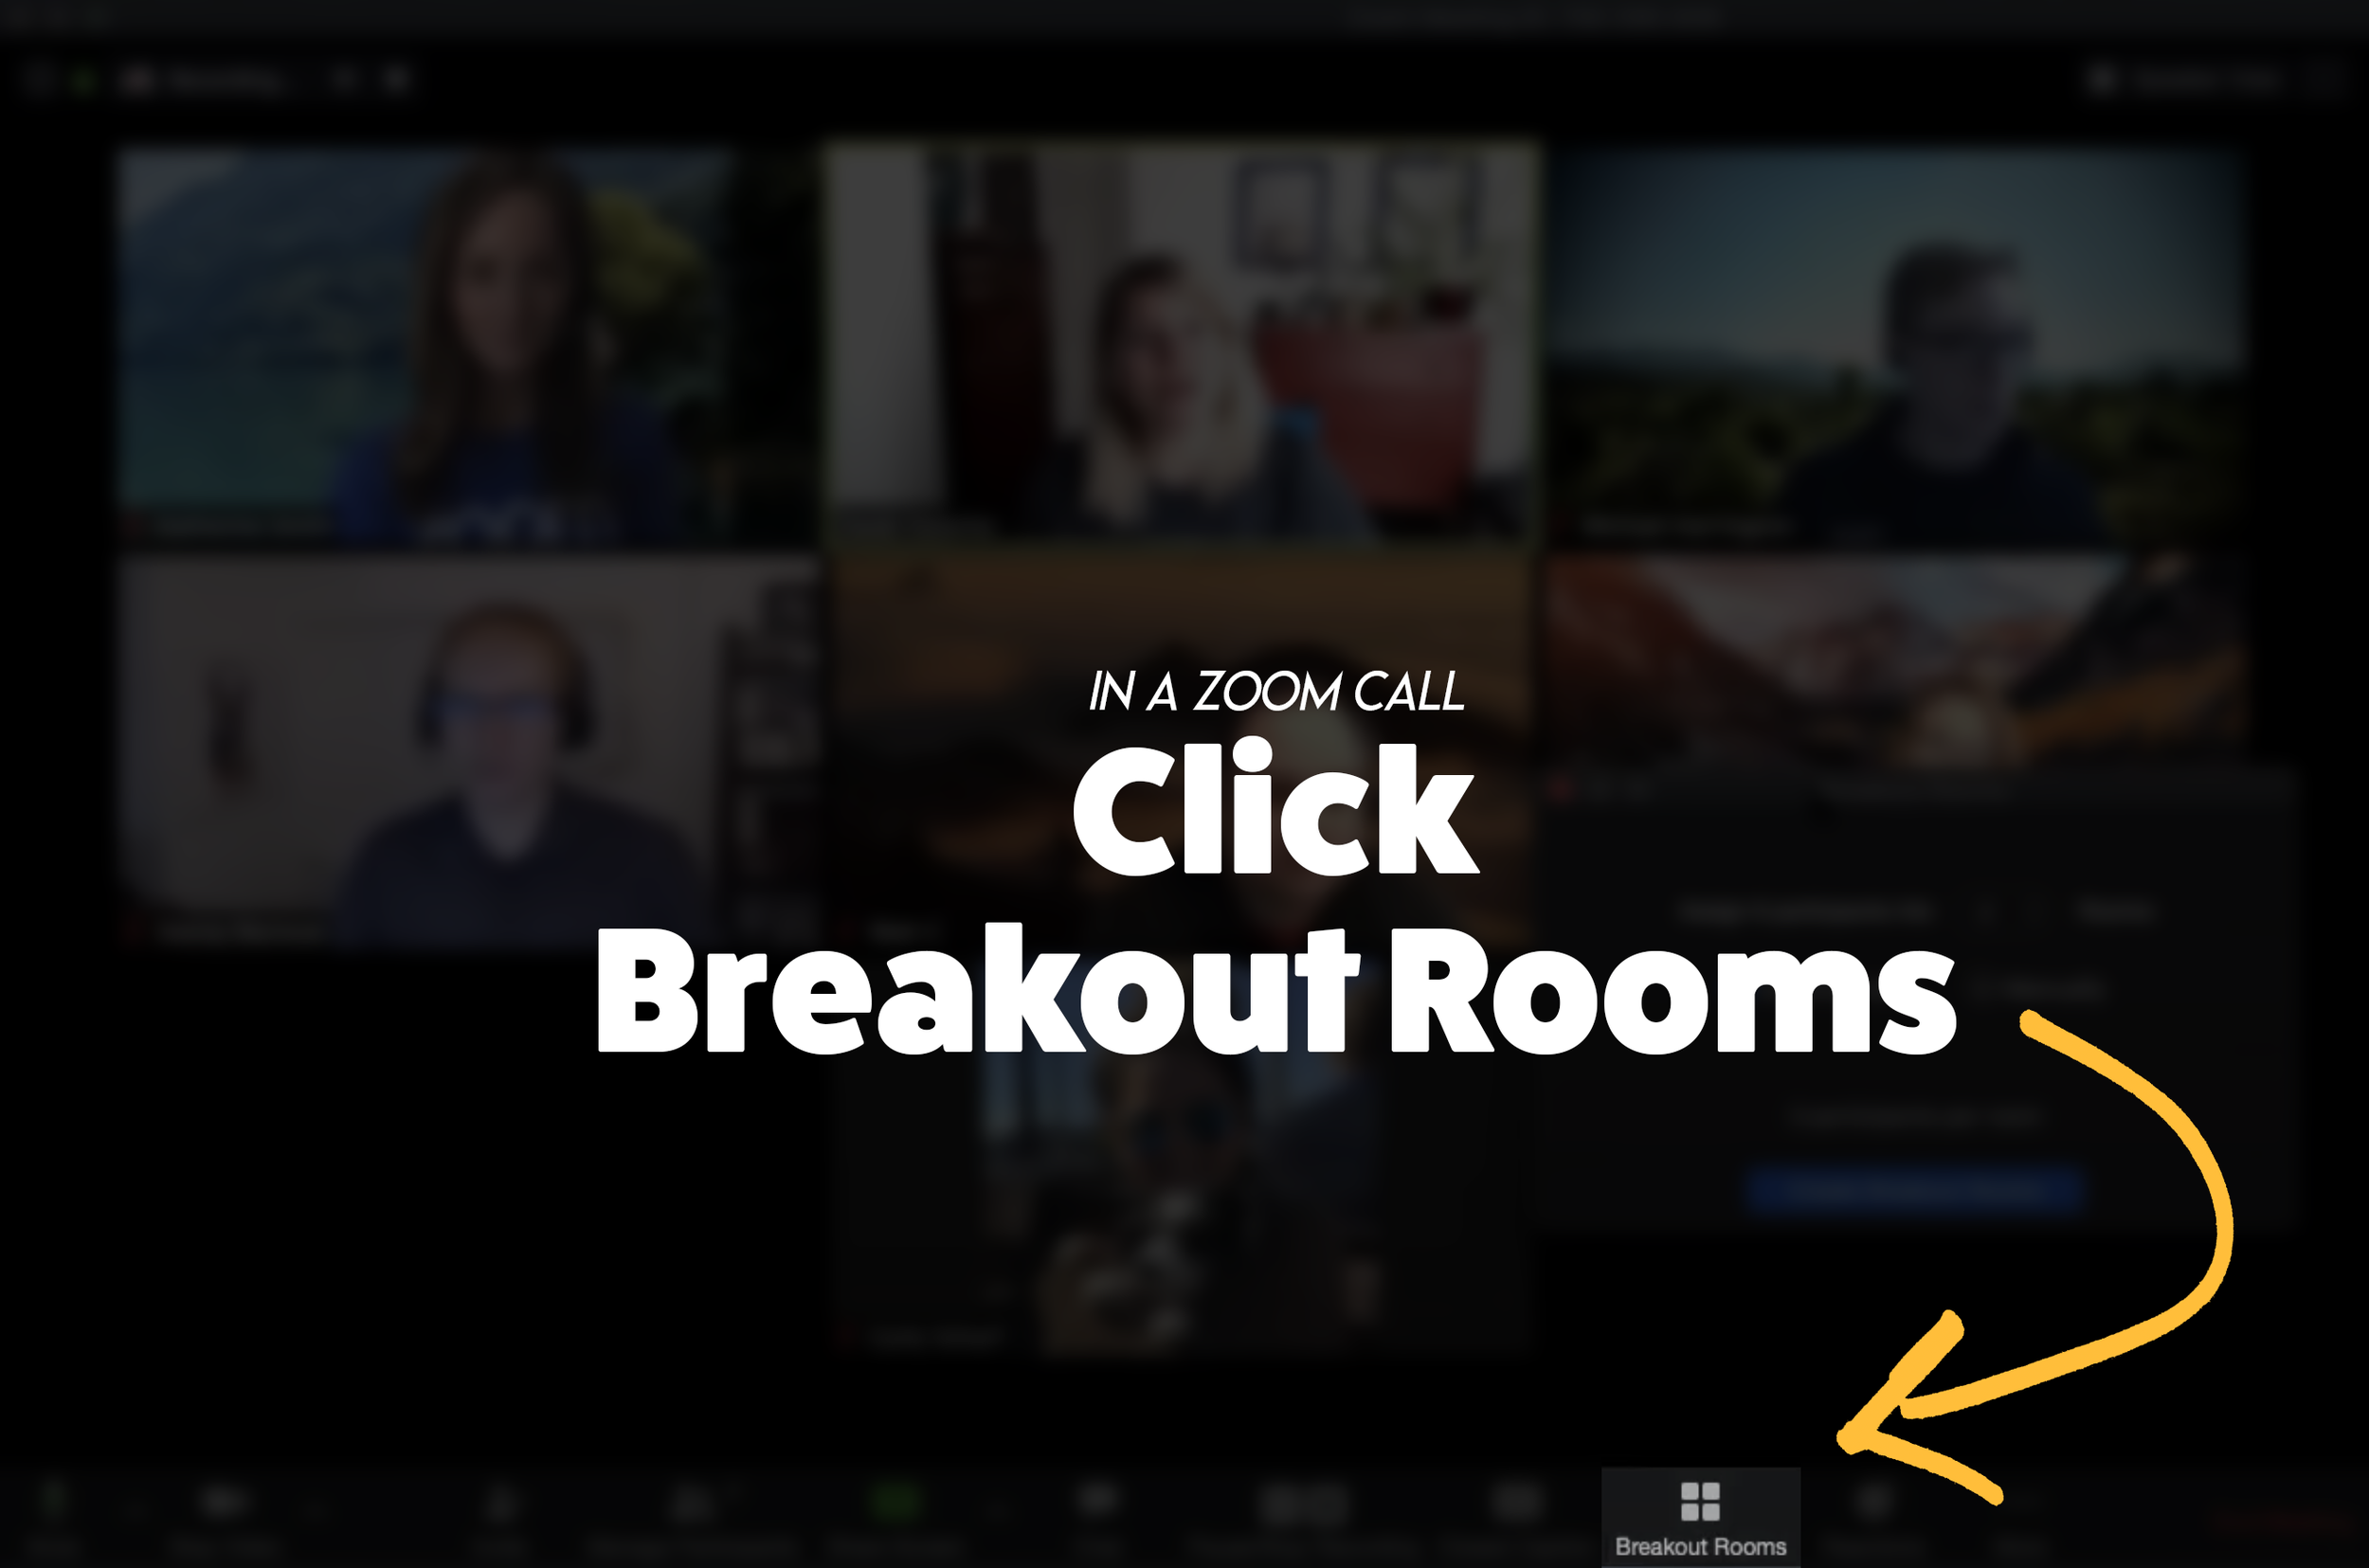
From a Zoom Call, click the “Breakout Room” icon. Then, follow the prompts to select the number or rooms and how to assign participants. If you need to enable Breakout Rooms on Zoom, follow these steps (or click here for more info):

Sign in to the Zoom web portal as an administrator with the privilege to edit account settings.
In the navigation menu, click Account Management then Account Settings.
Navigate to the Breakout Room option on the Meeting tab and verify that the setting is enabled.
If the setting is disabled, click the toggle to enable it. If a verification dialog displays, choose Turn On to verify the change.(Optional) Click the checkbox to allow meeting hosts to pre-assign participants to breakout rooms.
(Optional) If you want to make this setting mandatory for all users in your account, click the lock icon, and then click Lock to confirm the setting.
Click here to move onto Step #2


Launch a WebEx meeting, then select “Breakout Rooms” from the lower portion of the window. Next, select the Breakout tab and choose “Enable Breakout Session.”
Once enabled, “Enable Breakout Session” will appear with a checkmark and the button will appear at the bottom of the menu bar.
Click the “Breakout Session” button and then follow the prompts to set up your breakout rooms.
Click here to move onto Step #2
How to Launch a Breakout Room on Google Meet
For more info on Breakout Rooms in Google Meet, click here.

Breakout Rooms is currently available to users with G Suite Business, Workspace Essentials, Business Standard, Business Plus, Enterprise Essentials, Enterprise Standard, and Enterprise Plus editions. This is also available to users with G Suite Enterprise for Education license and permissions to create meetings.
On your computer, start a video call.
In the top right, click Activities Breakout rooms.
Tip: To prevent students from having the ability to create breakout rooms, admins should ensure Meet creation privileges are reserved for faculty/staff organizational units only.
In the Breakout rooms panel, choose the number of breakout rooms. You can create up to 100 breakout rooms in a call.
Call participants are then distributed across the rooms. To manually move people into different rooms, you can:
Enter the participant’s name directly into a breakout room.
Click the participant’s name. Hold down the mouse, drag the name, and then drop it into another breakout room.
To randomly mix up the groups again, click Shuffle .
In the bottom right, click Open rooms.
Click here to move onto Step #2
Step #2: Launch the Flipgrid Screen Recorder in a Topic Response

Now that you are live in your Breakout room, head over to Flipgrid and access the Topic you wish to collaborate on. Once you’re logged into the Topic, click the add a response button or the red record button. When the Flipgrid camera opens, click on the “Options” icon. Then click on “Screen Recorder.” Now, with your screen shared, you can capture yourself and all the others on your web call / meeting!
Step #3: Sharing Screens
You can get creative with this! The user who initiates the Flipgrid response doesn’t have to be the only one who shares their screen. Have students take turns sharing screens by having the Flipgrid camera screen record the web meeting / call. Students can share each others’ screens through the call platform, allowing for everyone to share.
Tip: Use the pause button between students to save recording time and engagement.
Now, your students have collaborated in the same Flipgrid response!
Stay #interACTIVE!
-👗➕🕶️
For more tips, tricks and lesson ideas for making learning more interACTIVE, check out our books The InterACTIVE Class and Flipgrid in the InterACTIVE Class on Amazon!


How to Use Flipgrid During Remote Learning
Remote learning is challenging, but infusing technology can help make tasks easier. Flipgrid gives both educators and students opportunities to share content in creative and unique ways. In this blog post you’ll learn about some of our favorite ways to use Flipgrid throughout remote learning.

Remote learning is challenging, but infusing technology can help make tasks easier. Flipgrid gives both educators and students opportunities to share content in creative and unique ways. In this blog post you’ll learn about some of our favorite ways to use Flipgrid throughout remote learning.
Click on any subheading to jump to that section:


Educator Ideas
Here are some ways that educators can use Flipgrid throughout remote learning (and beyond!)

Use the Shorts Camera!
From the Flipgrid educators dashboard, locate the “Shorts” tab from the top. Clicking on it will give you access to the Flipgrid Shorts camera. Use the Flipgrid Shorts camera to record lessons, launch lessons, or simply teach to a specific target. Educators have a maximum of ten minutes of recording time.
Embed a Flipgrid Topic / Group into your LMS
If you’re currently using an LMS (Learning Management Software), you can easily embed a Flipgrid Topic or Group right into it. From a Flipgrid Topic or Group, click the blue “Share” button. Then click the embed icon (</>). It will appear as though nothing happens, but your device has just copied the embed code. Simply paste it into your LMS’s embed editor. Now, your Topic / Group will appear right in the LMS.
Flipgrid and YouTube LIVE Hack
Educators can launch a live YouTube lesson right within a Flipgrid Topic! To do so, launch a live YouTube video and then create a new Topic. Next, click on YouTube in the Topic’s media section. Paste the link to your YouTube live video. You are now live in the Flipgrid Topic!
Virtual Office for Parents / Video Voicemail
Allow parents (or students) to reach out with questions any time and respond when its convenient for you! Set up a Topic and share the Join Code or QR Code with families.
Fluency Checks
Set up a Topic for your students to monitor their fluency. Assign a reading passage in the Topic (or attach a link) and select a recording time for your students. Students open the passage and hit record!
Anchor Charts
Use the Flipgrid Shorts Camera to create digital anchor charts. Add resources as Photo Stickers, then resize / move as needed.
For a full tutorial on how this works, click here.

Send Home Messages with the AR (Augmented Reality) Feature
Use the Flipgrid Shorts Camera to record a message for your students. Share the message by downloading the Flipgrid AR QR code. Send out the QR code and then have your students open the message using the Flipgrid app. Doing so will open the video up in augmented reality.
Modeled Science Experiments
Use the Flipgrid Shorts Camera to record the guided steps of a Science experiment. This will allow students to start / stop the video to follow along.

Virtual Field Trips
The pandemic has eliominated any changes of taking your class on a “real” field trip, but that doesn’t mean that you can’t give them a similar experience a virtual field trip! Record a video of yourself at a preferred destination. Then, set up a Flipgrid Topic and upload the video. Have your students log onto the Flipgrid Topic and then either answer questions, or leave questions!
Click here or the image to visit The Met on Flipgrid’s Discovery Library
Student Ideas
Here are some recommended activities for using Flipgrid throughout remote learning - and even in-person!
Share Critical Thinking Skills
One of the easiest ways to use Flipgrid is to have your students explain their work. For example, after working out a math problem on a whiteboard, have your students explain their thinking in a Flipgrid video. This strategy then is seen by all the other students in the class - who theoretically are acting as young teachers themselves. Even the incorrect responses can teach us!


Whiteboard
Flipgrid’s Whiteboard feature is built directly into the Shorts camera. Have your students quickly turn their screen into a digital whiteboard where they can annotate over it.
Mic Only Mode
Mic Only Mode is a friendly way for camera shy students to share their voice. In Mic Only Mode, the students voice is recorded, but not the video. There are many creative uses for Mic Only Mode, but this Tweet from Ann Kozma (@annkozma723) is one of our favorites!

Text Comments
Like Mic Only Mode, this feature is ideal for students with low-bandwidth. Adding a text comment allows students to comment on videos without having to upload lots of data.
Opinion Writing
Working on Writing throughout remote learning is difficult. But, using Flipgrid to help students organize their thinking can improve their results. For example, students can use Flipgrid to debate the pros and cons of a topic prior to writing to generate their thinking.


Book Clubs
Educators can easily differentiate reading instruction on Flipgrid. By assigning students reading tasks, students can participate in Book Clubs where they exchange thoughts about what they are reading. This could also be an activity associated with Literature Circles.
Three Truths and a Lie
(with Non-Fiction Texts)
After reading a non-fiction text, have your students complete a Three Truths and a Lie video. This is where students give three facts about what they learned, and one lie. Other students watch the video to see if they can pinpoint which one isn’t true.


Main Idea Summarization
Have your students use the built in Flipgrid Frames feature to add the “breaking news” frame around their video response. Then, students explain what they believe the main idea of the text was.
Character Illustrations
Use the built in emoji stickers in the Flipgrid Shorts Camera to have your students retell the beginning, middle and ending of the story. Check out our example Tweet!

Emoji Math
Have students use the built in Flipgrid emoji stickers as math manipulatives when working with the digital whiteboard. Or, as an educator, make a math challenge that substitutes the numbers with emojis. Then, your students must guess what numbers the emojis represent.
Math Collaboration
Have your students design their own math challenges by recording a prompt on Flipgrid, then sharing it with their classmates. Their classmates must attempt to solve, and the creator checks their work!

Stay #interACTIVE!
-👗➕🕶️
For more tips, tricks and lesson ideas for making learning more interACTIVE, check out our book The InterACTIVE Class and Flipgrid in the InterACTIVE Class on Amazon!


20 Apps that Work with Flipgrid
There’s no question that Flipgrid is one of our favorite Ed Tech tools. One of the best parts about Flipgrid is just how well it integrates with other apps. Whether you’re app smashing, embedding, or just simply adding a link, here are 20 apps that work well with Flipgrid.
There’s no question that Flipgrid is one of our favorite Ed Tech tools. One of the best parts about Flipgrid is just how well it integrates with other apps. Whether you’re app smashing, embedding, or just simply adding a link, here are 20 apps that work well with Flipgrid.
Click on any image to jump to that section, or start reading below!


1. Adobe Spark
Create images, video, and webpages
Link 👉 https://spark.adobe.com/
Ways to Use with Flipgrid:
Design a podcast cover in Spark, then save it and upload it to Flipgrid. Record your podcast in Flipgrid!
Create a Spark page, then copy the link. Share the link in a Flipgrid response
Create a Spark video and download it. Then, upload it to Flipgrid!


2. BreakoutEDU
Engaging gamification for the classroom
Link 👉 https://www.breakoutedu.com/
Ways to Use with Flipgrid:
Have your students complete a Breakout challenge, then have them answer follow-up questions on Flipgrid
Use different videos for different puzzles, then have students respond to the appropriate puzzle’s video

3. Book Creator
A simple way to create digital books online
Link 👉 https://bookcreator.com/
Ways to Use with Flipgrid:
Create a collaborative class book, then embed a Flipgrid topic into the book. As your students read the book, they can add their thoughts into the topic.
Create a book on Book Creator, then share the link in a Flipgrid video.

4. Buncee
Create and share engaging content
Link 👉 https://app.edu.buncee.com/
Ways to Use with Flipgrid:
Create a Buncee that ties into a text, then have your students answer several follow-up questions on Flipgrid.
Create a Bitmoji classroom, then share the Buncee as a Topic Resource. This will add your Buncee Bitmoji classroom to the top of the Flipgrid Topic
Create a Flipgrid Topic and record a video as a student in that topic. Ask your students to solve some type of challenge. Then, from the Flipgrid educators dashboard, add a Buncee that hyperlinks to another Buncee. This Buncee should somehow tie into your video challenge, and can be used as a breakout or a way to access different “rooms.”
5. Canvas
Learning management system
Link 👉 https://www.instructure.com/canvas/
Ways to Use with Flipgrid:
From the Flipgrid Educator’s Dashboard, select a Topic or Group. Click the blue “Share” button, then click on the blue brackets symbol (</>) to copy the embed code. On a Canvas page, click on the “Edit/Insert Media” button. Next, click on “Embed,” and then paste the copied Flipgrid code. Click “Ok” to embed your Flipgrid content directly into the Canvas page!


6. Chatterpix Kids
Easily animate still images
Link 👉 https://apps.apple.com/us/app/chatterpix-kids/id734046126
Ways to Use with Flipgrid:
In the Chatterpix Kids app, animate a character from a story by explaining the characters’ feelings, or experience. Export your Chatterpix video, then upload it into Flipgrid as a clip.
Bring historical figures to life by animating them in Chatterpix Kids and exporting the video to your device’s camera roll. Then, upload it to Flipgrid and have your students watch their classmates videos and respond accordingly.
7. (Apple) Clips
Simple and easy video editor
Link 👉 https://www.apple.com/clips/
Ways to Use with Flipgrid:
Record a video in Clips to launch an exciting lesson. Download the Clips video to your camera roll, then upload it to a Flipgrid topic to share with your students.
In Clips, camera shy students can add a Memoji and place it over their face while they record. Once their video is ready, have them export the video to their camera roll. Then, upload it to Flipgrid to share!


8. Do Ink Green Screen
Primary friendly green screen app
Link 👉 https://apps.apple.com/us/app/green-screen-by-do-ink/id730091131
Ways to Use with Flipgrid:
Buy several green plastic table cloths from the Dollar Store, then hang them around your classroom. In the Do Ink app, have your students place themselves into a text. Add an image to the middle layer in Do Ink, then on the top layer have them use the live video camera (while they stand in front of the green screen). Export the video, then upload it to Flipgrid to share with other classmates!
9. Epic Reading App
The Netflix of books for kids
Link 👉 https://www.getepic.com/
Ways to Use with Flipgrid:
Create a class in Epic, then assign differentiated texts to your students. In the Flipgrid Educator’s Dashboard, create a Flipgrid Topic where the students can retell the story that they read. Add the links to the assigned Epic books into the Topic.
Have your students use Flipgrid’s screen record to share important parts of a book from Epic that they learned from. This could include a scavenger hunt for: text features, phonograms, compound words, etc.

10. Genially
Create interactive content
Link 👉 https://www.genial.ly/en
Ways to Use with Flipgrid:
Embed a Genially project as a Flipgrid resource, then have your students maneuver their way through the project. Have them answer questions in a Flipgrid video.
Have your students design their own projects on Genially, then share their links in a Flipgrid video. Fellow classmates can view their classmates Genially projects, then leave feedback on Flipgrid.


11. Herstory
Bring forgotten stories of women to life
Link 👉 https://www.lessonsinherstory.com/
Ways to Use with Flipgrid:
From the Herstory app, have your students save an image to their camera roll. Then on Flipgrid, have them upload the image as a sticker in the Flipgrid camera. Students can move the image appropriately, then explain what they learned in a video.
12. Nearpod
Classroom management and presentation
Link 👉 http://www.nearpod.com
Ways to Use with Flipgrid:
Embed a Flipgrid Topic or Group right into your Nearpod presentations
Add a Nearpod link to your Flipgrid Topics


13. Newsela
School-aged articles appropriate for all levels
Link 👉 https://newsela.com/
Ways to Use with Flipgrid:
Assign an article to your students in Newsela, then have them answer several questions on a Flipgrid Topic.
Create a Flipgrid Topic and attach a Newsela link. Have your students read the article, then respond accordingly.
14. Seesaw
Digital Portfolios and Family Communication
Link 👉 https://web.seesaw.me/
Ways to Use with Flipgrid:
From the Flipgrid Educator’s Dashboard, select a student’s video response. Click on the share button to copy the video’s URL. On the Seesaw Educator’s Dashboard, add the video as a link to share with families.
Have students create a video in Flipgrid, then download the video to their device. Upload it to Seesaw to share with their teacher and family.


15. Microsoft’s Sway
Simple and Efficient Web Pages
Link 👉 https://sway.office.com/
Ways to Use with Flipgrid:
Use Flipgrid to document the writing process. Type out the writing into a Word Document, then transform it to a Sway. Share final Sway product on Flipgrid so that classmates can see.
Use Flipgrid as a collaborative tool for students to discuss how to create / design their group Sway. Once the product is finalized, share it back on Flipgrid for the world to see!
16. Microsoft’s Teams
The “House” for All of Your Content
Link 👉 https://www.microsoft.com/en-ww/microsoft-365/microsoft-teams/group-chat-software
Ways to Use with Flipgrid:
Add Flipgrid as a tab in a Teams channel
Add Flipgrid in a Teams conversation


17. TextingStory
Create Fake Texting Threads
Link 👉 https://textingstory.com/
Ways to Use with Flipgrid:
Launch the TextingStory app, then re-create a conversation between two characters from a text. Export the video, then upload it to Flipgrid to share.
Alter a section of a story by recreating a conversation between two characters. Export the video, then upload it to Flipgrid to share.
18. ThingLink
Add Video and Text to Images
Link 👉 https://www.thinglink.com/app/
Ways to Use with Flipgrid:
Create a ThingLink project and add it as a Flipgrid Topic’s resource.
Use Flipgrid’s built-in screen recorder to record a ThingLink project.


19. Wakelet
Save, Organize and Share Content
Link 👉 https://wakelet.com/
Ways to Use with Flipgrid:
From a Wakelet collection, record a Flipgrid video. Then, share the Wakelet collection with your students.
Create a collaborative Wakelet collection and hyperlink a Flipgrid topic. Students can collaborate, then share their final answers on Flipgrid.
20. Wonderopolis
Higher Level Questioning
Link 👉 https://wonderopolis.org/
Ways to Use with Flipgrid:
Add a Wonderopolis article to a Flipgrid Topic’s resource or directly into the prompt.
Have students discuss their opinions after reading a Wonderopolis article.
Stay #interACTIVE!
-👗➕🕶️
For more tips, tricks and lesson ideas for making learning more interACTIVE, check out our books The InterACTIVE Class and Flipgrid in the InterACTIVE Class on Amazon!


How to Introduce Students to Flipgrid
You’re ready to give Flipgrid a try, but not sure where to start? We’ve got you covered! In this blog post you’ll learn how to set up Groups / Topics, what a student sees, tips for getting started, and even free recommended lessons.

Depending on how your district technology runs, you have several options when introducing your students to Flipgrid. In this post, you’ll learn (click on any subheading to jump to that section):
How to Set Up Your Class on Flipgrid
If you’re new to Flipgrid, it’s important to understand the verb-age. The two key terms that you’re immediately introduced to are: Groups and Topics. Groups are where Topics (or questions) are stored. If you were a high-school teacher, you may want to create a group for each of your periods (unless you want the students in different periods collaborating with one another). For example, you could create a group for Period #1, Period #2, etc. Topics are the question prompts you ask your students to complete. When you create a question / task for your students, you would create a Topic on Flipgrid for them. Students log onto the Topic and complete the assignment. When creating your class, we recommend staying organized from the get-go, as it will save you trouble later on.

Follow these steps to start setting up your class:
From the educator’s dashboard, click on the blue “Create a Group” button.
Give your new Group a name
Optional: Customize the Group’s join code. We recommend doing this because this personalizes how your students log onto Flipgrid. Try changing the join code to your last name, or something memorable.
Choosing How Your Students Will Log On:
Flipgrid offers several ways for your students to access assignments. When building your class, it’s important to make decision here, so let’s discuss what each of the permissions mean. If your students have access to email addresses, you can set up your class to where they use them to log in. You would set your class up as “Student Email” (note: this requires a Google or Microsoft email account). If your students don’t have access to email addresses, then they will need to log on using a Student ID. This can be a lunch number, birthdate, or something familiar to the student.
How to Set Up a Student Email Group:
Be sure that you have the Student Email option selected when creating your new Group.
Add the domain of your school’s email addresses (example: @school.com)
How to Set Up a Student Username Group:
Be sure that you have the Student Email option selected when creating your new Group.
Enter in the first name, last name, and student ID of your students. Note: If you have access to a CSV file of your class list, you can upload the entire class list at once.

Once you have selected how your students will log on, you can add a personal touch selecting or uploading an image for the Group cover. After you’re satisfied, click the blue “Create Group” button. Now you’re ready to start adding Topics into the Group.

How to Create a Topic in Flipgrid
Now that you have your Group set up, it will be easy to keep things organized from here on out. To add a Topic (or question that you would like your students to answer) to a Group, start in the Flipgrid Educator’s Dashboard. Click on the Group that you wish to assign the Topic to. Next, click the blue “Add Topic” button. On the next screen, enter a Topic title and prompt (or directions). You also have the option to add additional media to your Topic, such as: a video, image, GIF, YouTube, etc. This will place the media into the Topic so that your students will be able to see it once they log on. Just underneath the Media section is an area where you can adjust the Permissions and Essentials (adjust recording length, moderate the responses, toggle on/off video and text comments and include captions on videos). Once you’re happy, click the blue “Create Topic” button to launch the Topic.

How Students Log Onto Flipgrid
Depending on how you have set up your Group, your students will log onto Flipgrid using either their email address or student ID. Here’s what it will look like from a student’s perspective.

If Students Log on Using Email Addresses:
If your students are logging on using email addresses, they will go to: http://www.flipgrid.com or open the Flipgrid app. They will need to enter your Group Join Code (remember how we recommended customizing it? This is why!), then they will be prompted to log in using their Google or Microsoft email accounts. Once they do this, they will be logged into your class Flipgrid Group.
If Students Log on Using a Student ID:
If your students are logging on a student ID, they will go to: http://www.flipgrid.com or open the Flipgrid app. They will need to enter your Group Join Code (remember how we recommended customizing it? This is why!), then they will be prompted to log in using their student ID. Once they do this, they will be logged into your class Flipgrid Group.

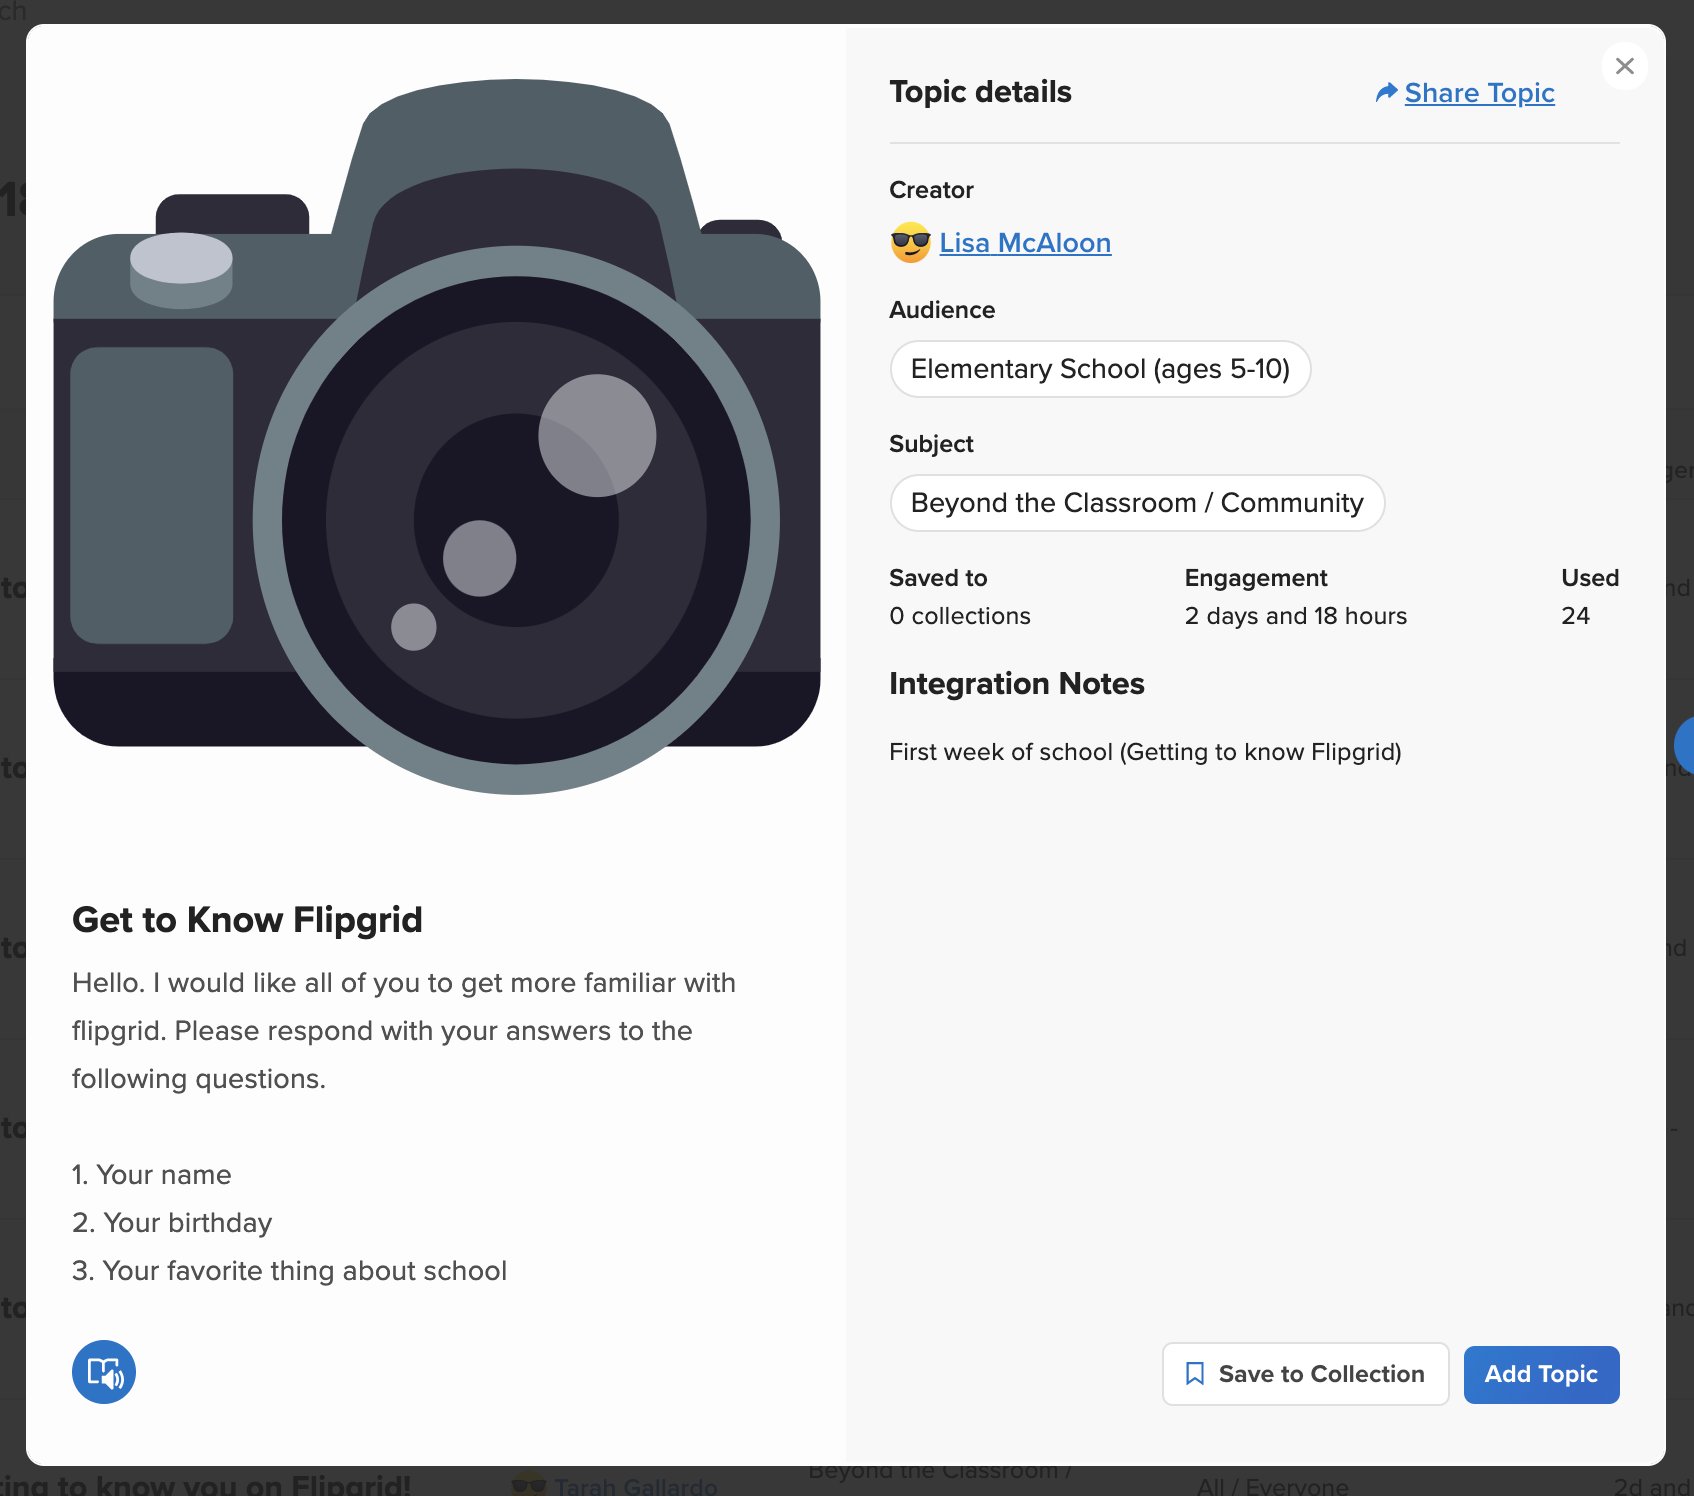
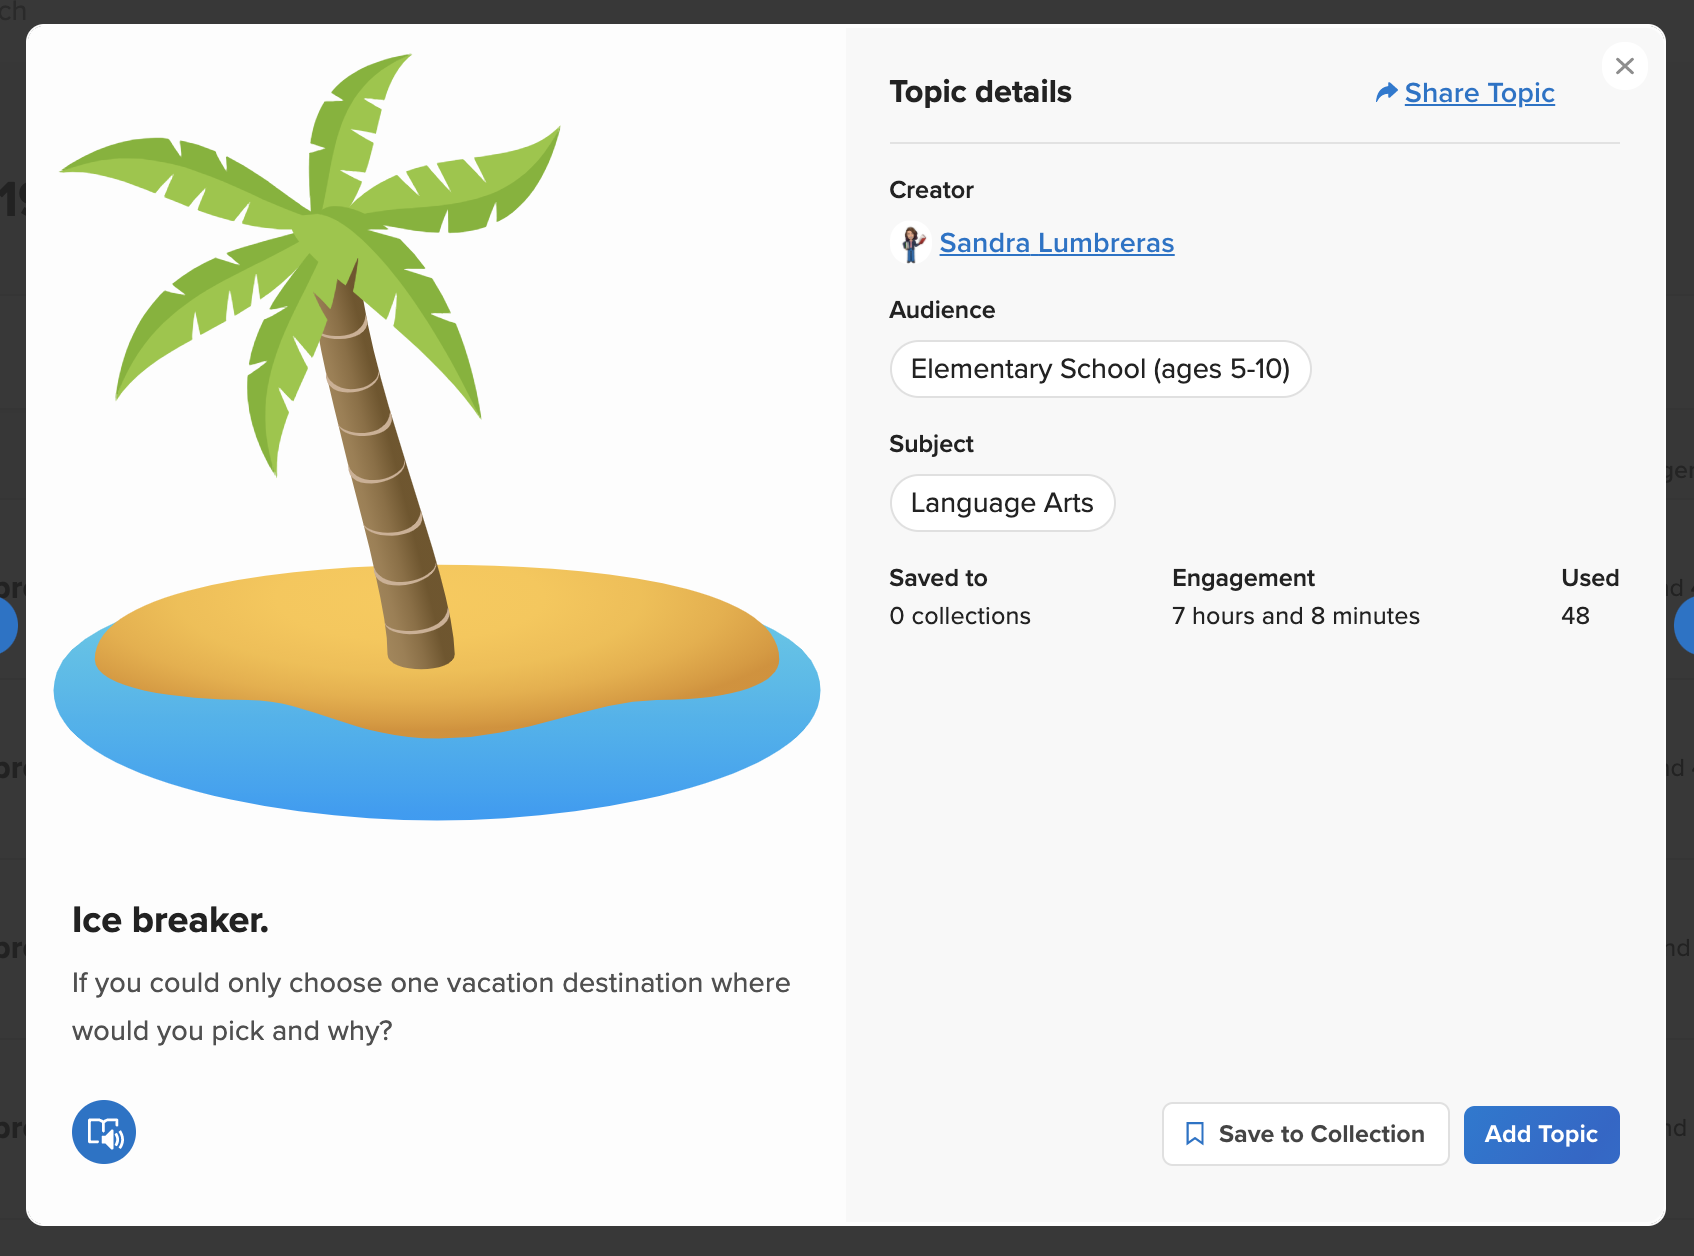
Ideas for Introducing Your Students to Flipgrid
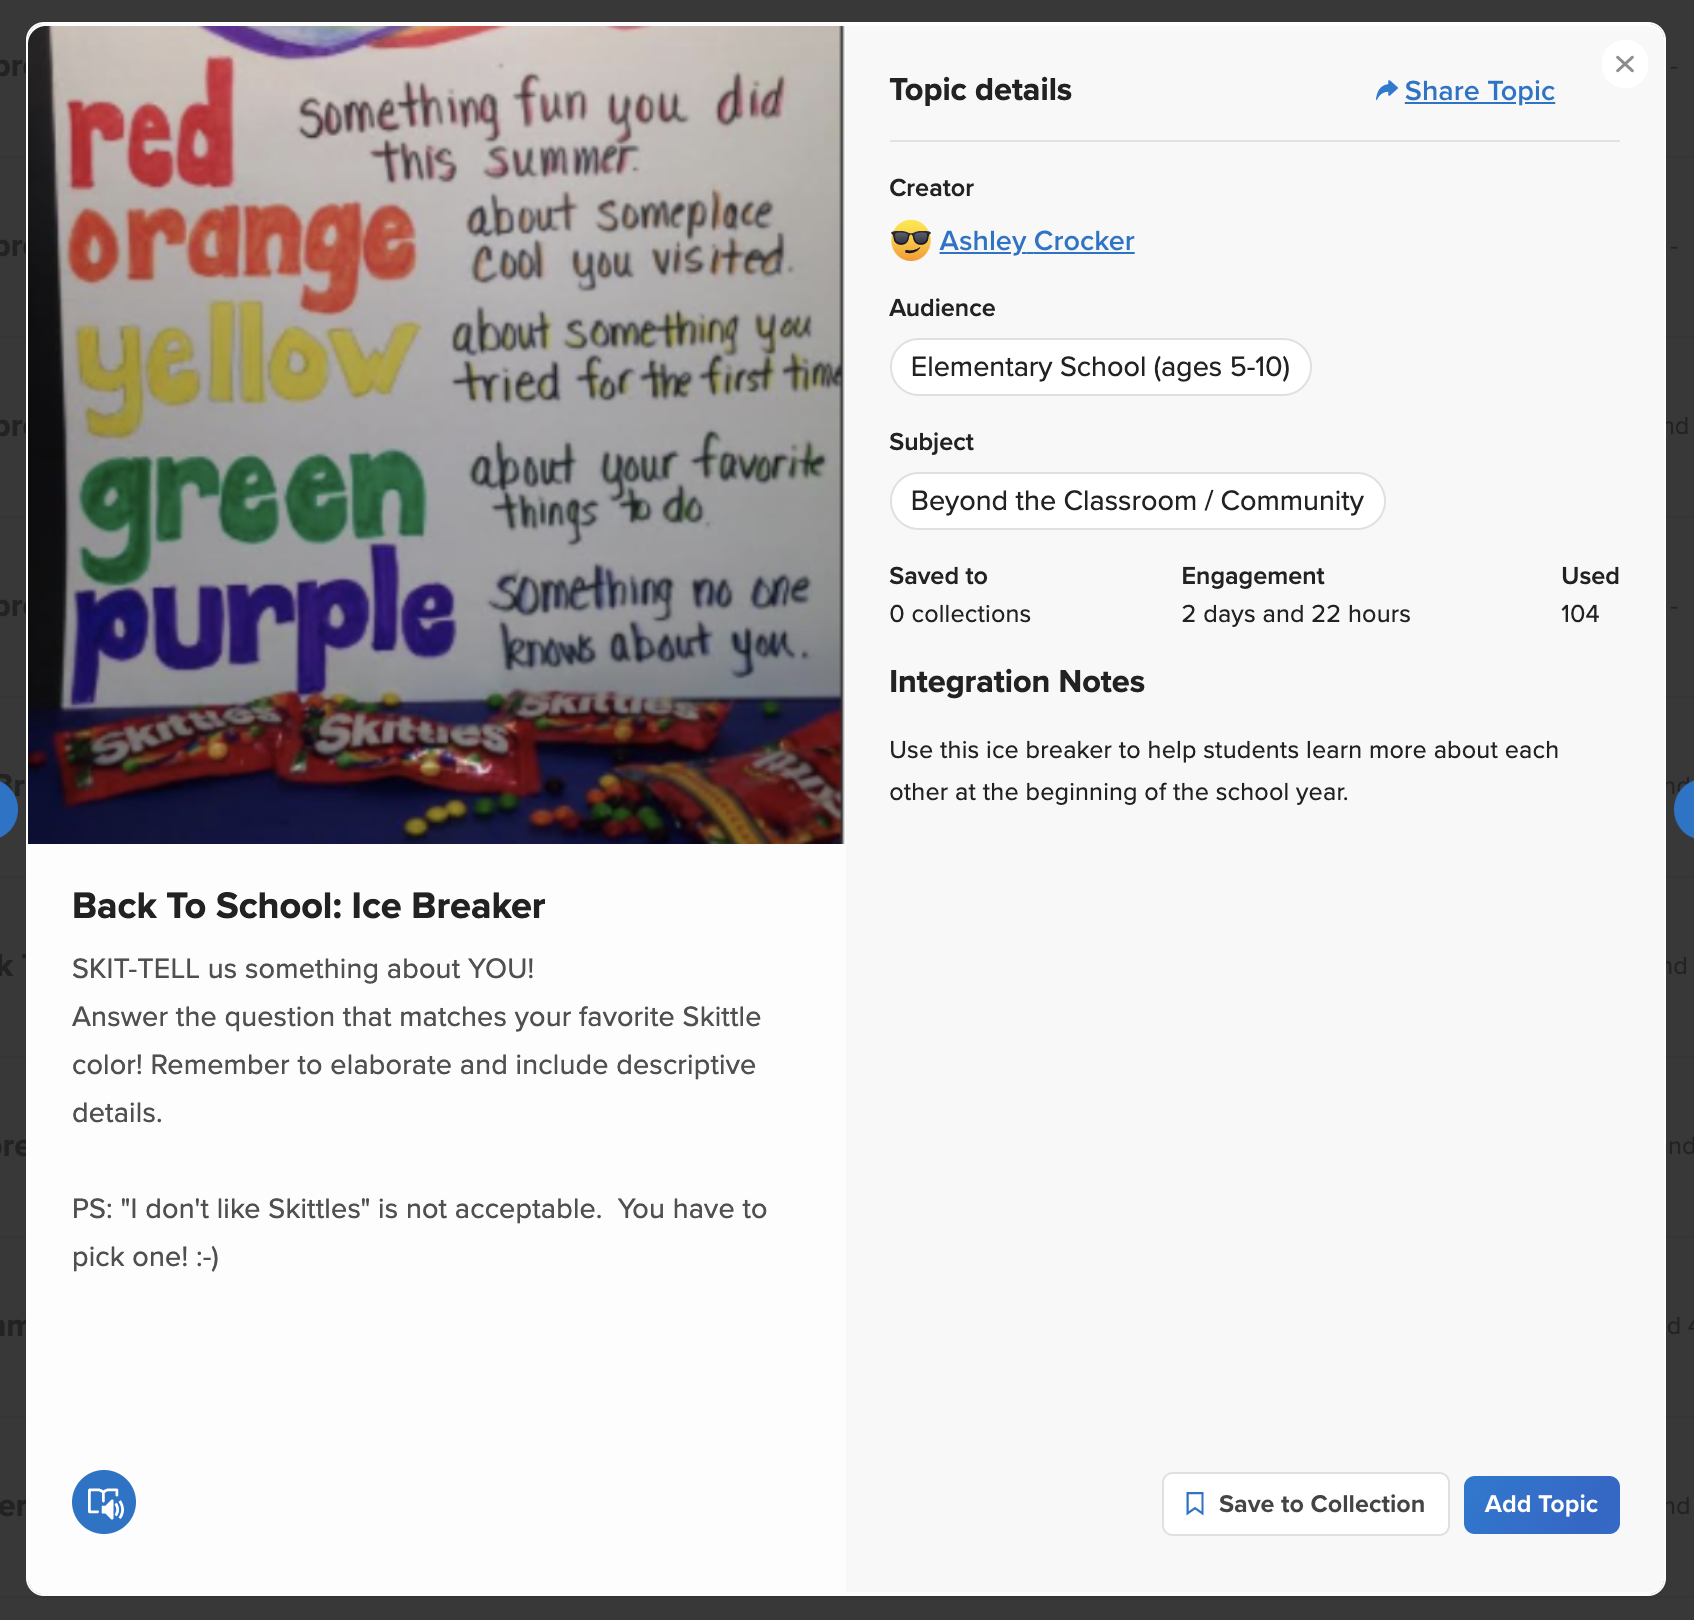
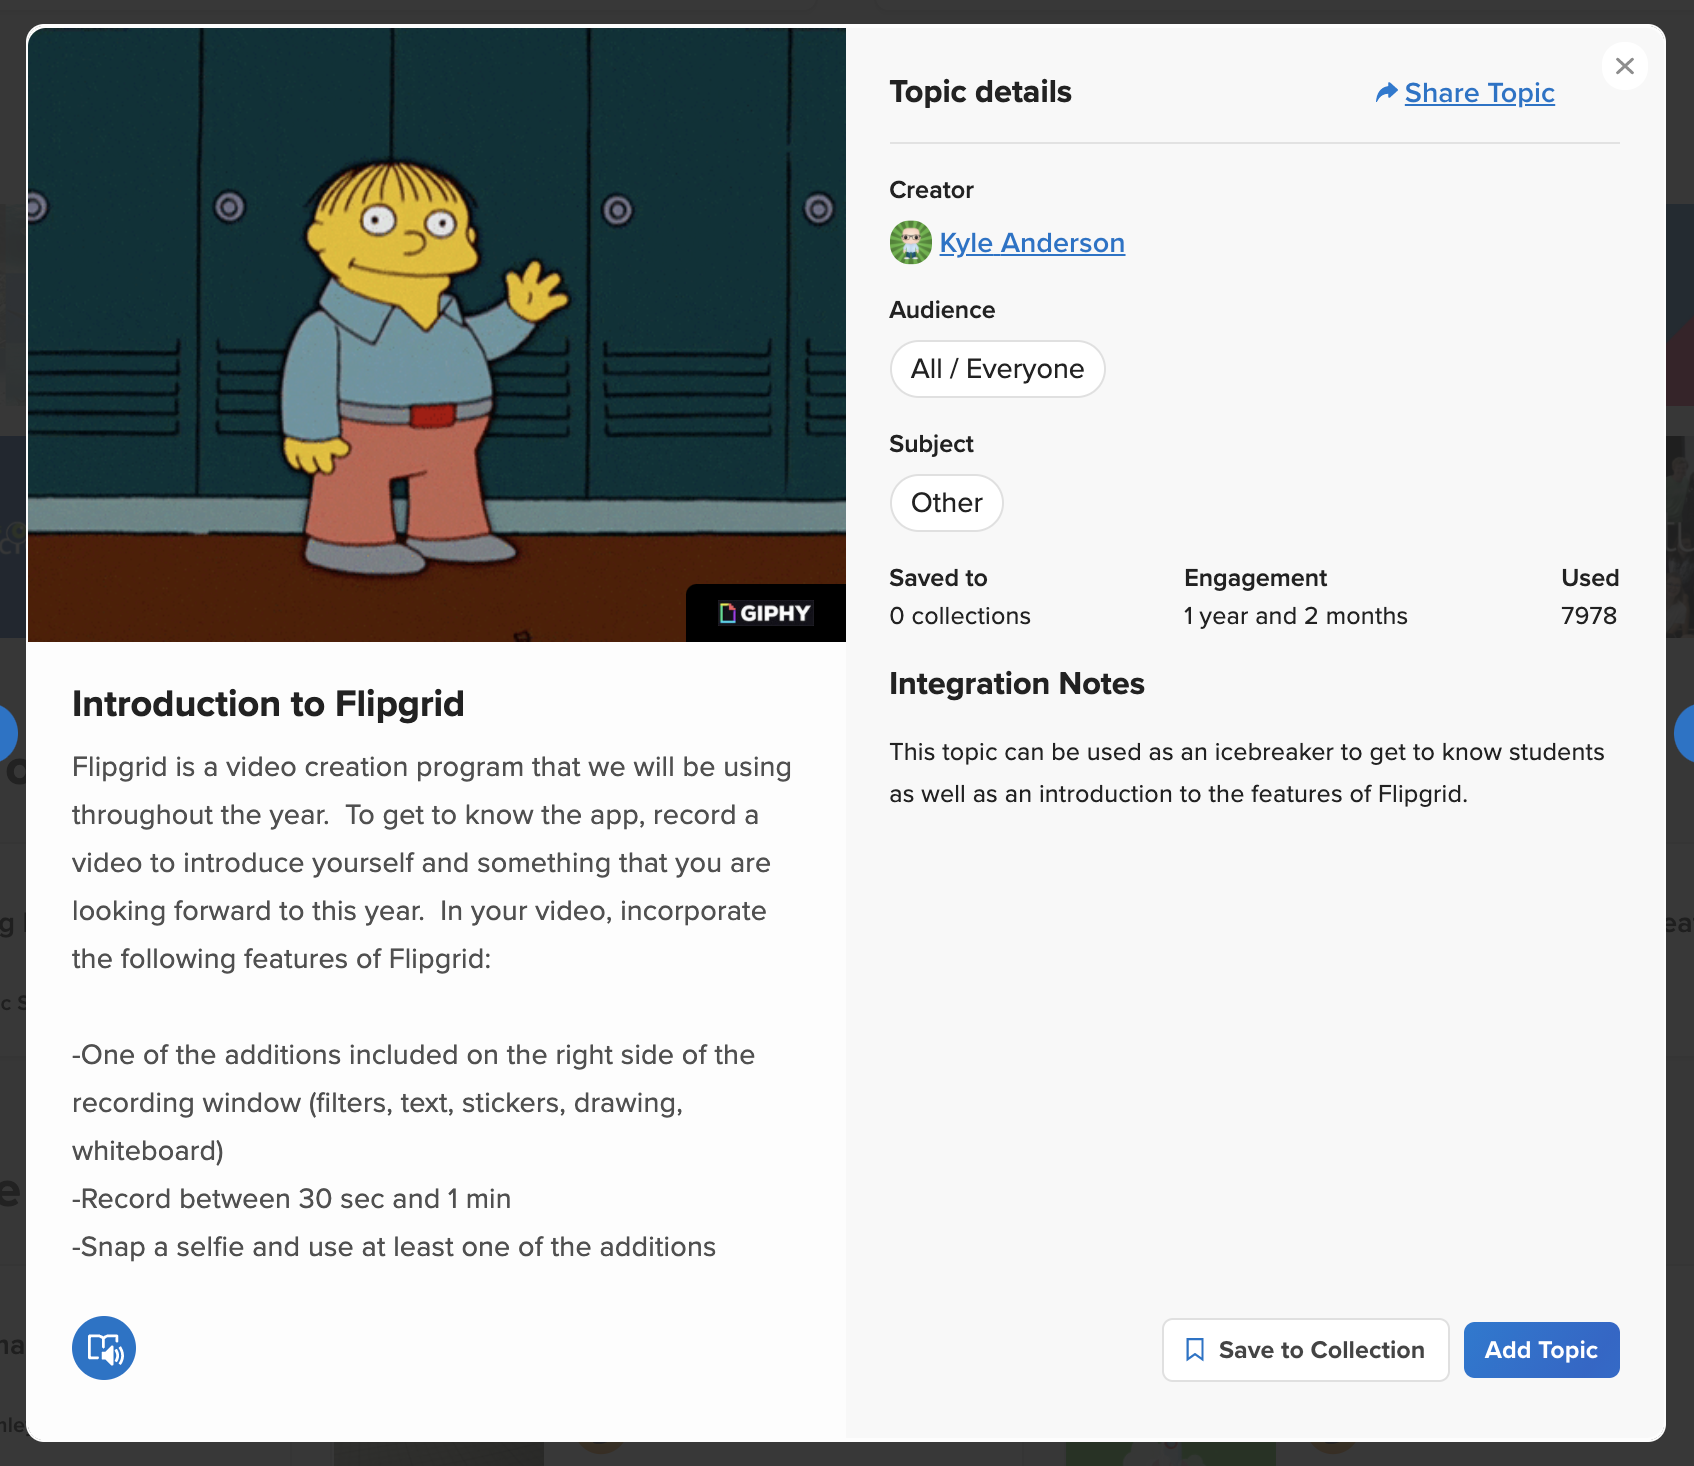
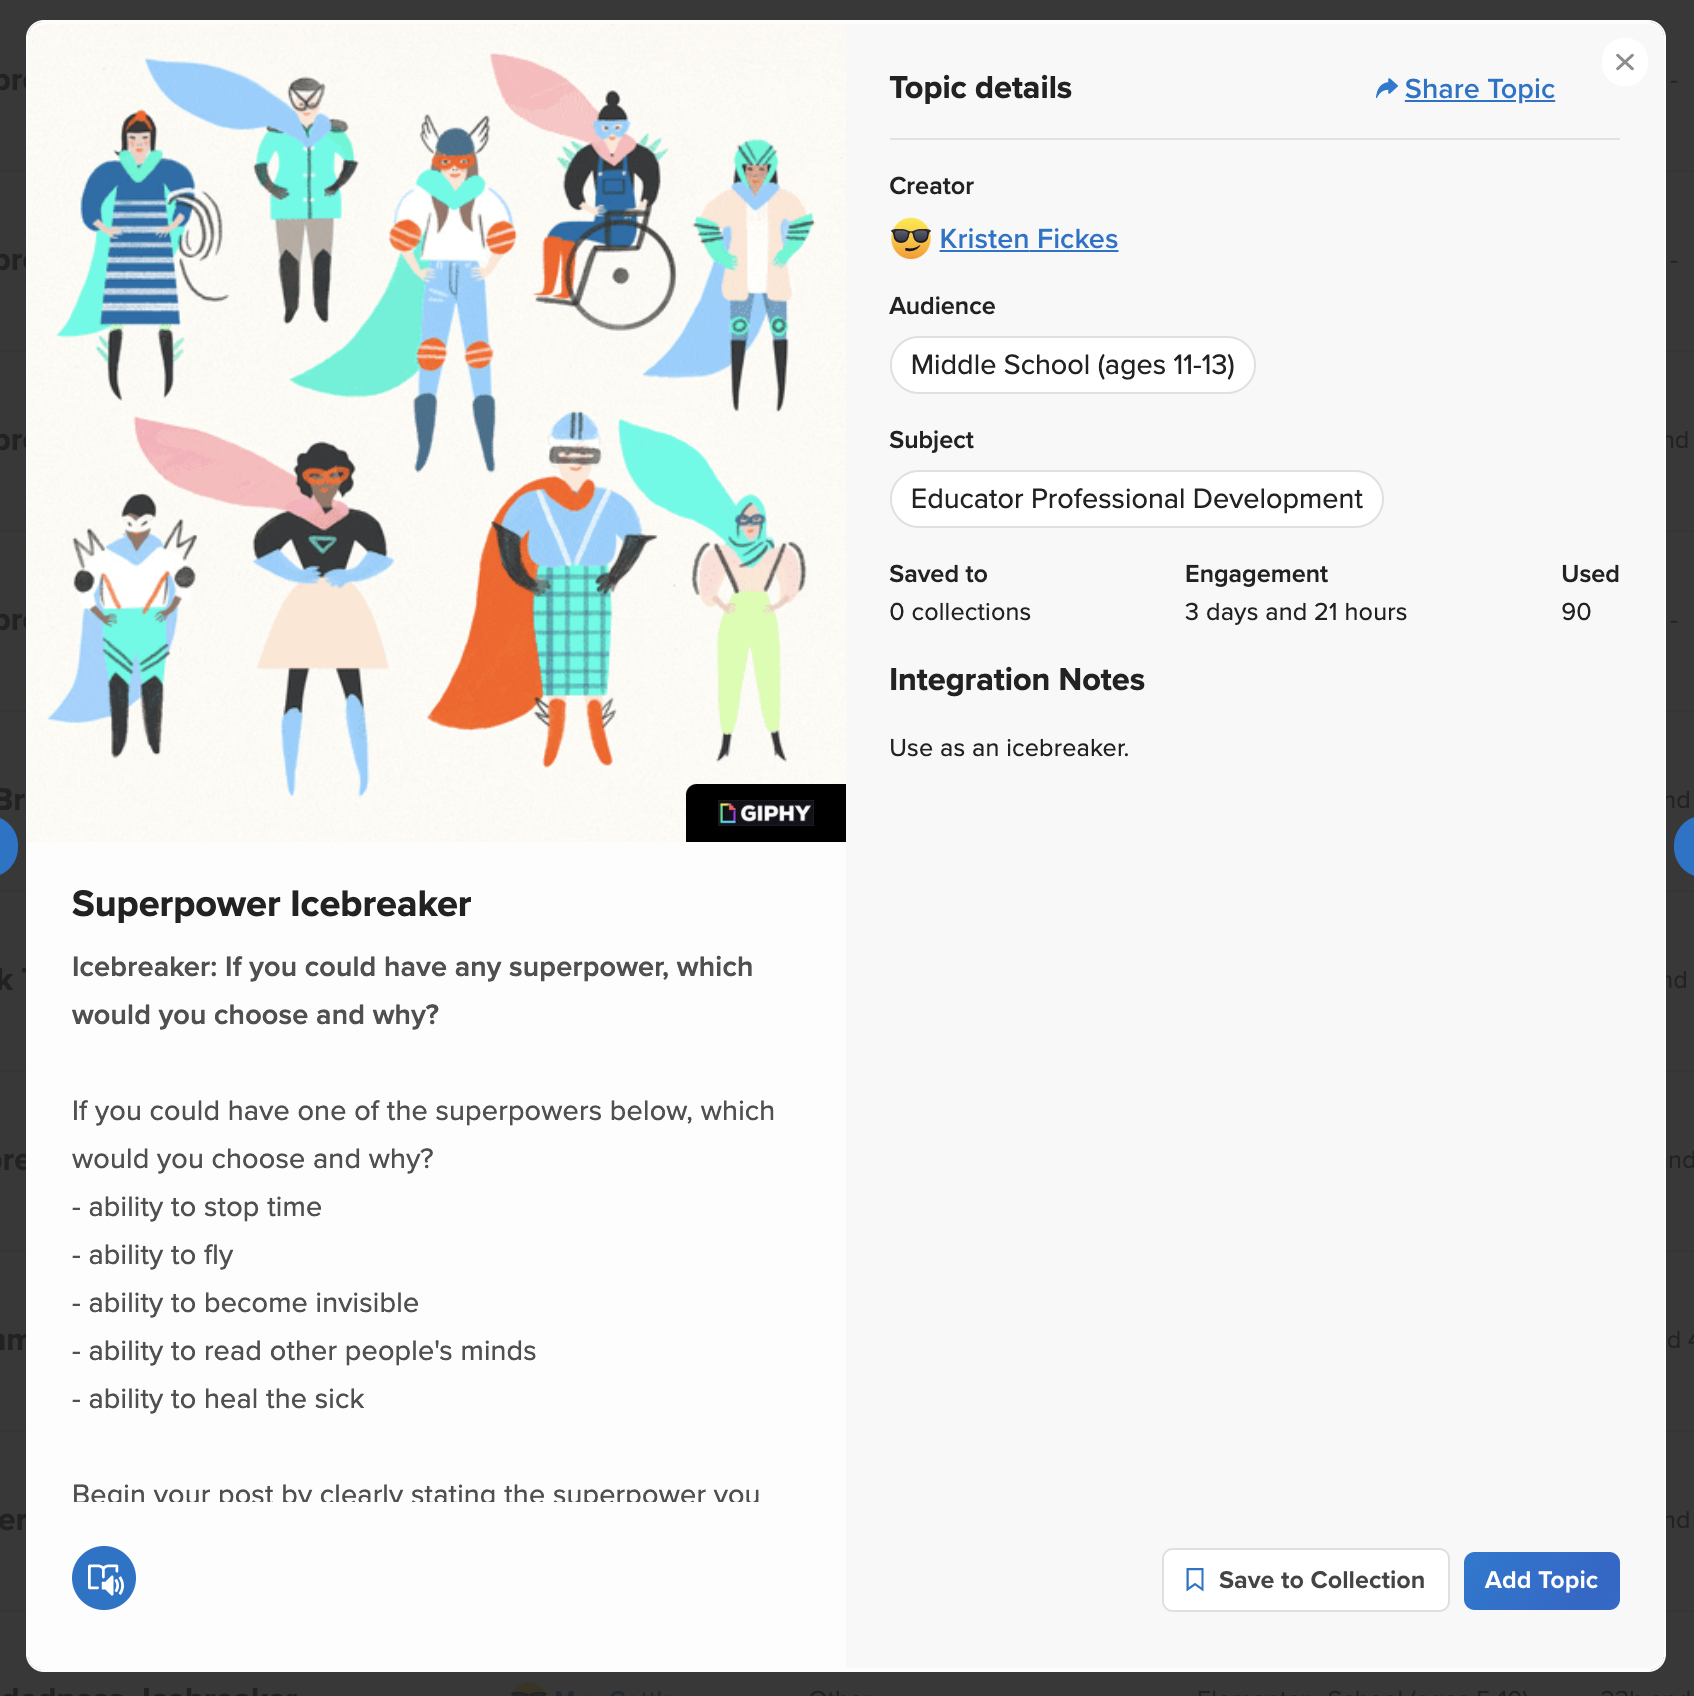
When first introducing Flipgrid to your students, we recommend starting off with something simple - like an ice breaker. This gets your students familiar with how the platform works, and once they’re comfortable - then you can things to the next level. Here are a few ideas from the Flipgrid Discovery Library to help you (and your students) get started. Click on any image to open and save it to your Flipgrid collection!

Video Tutorial
Still not quite sure how it all works? Mrs. Merrill has you covered! Check out her video on how to get started below!
Stay #interACTIVE!
-👗➕🕶️
For more tips, tricks and lesson ideas for making learning more interACTIVE, check out our books The InterACTIVE Class and Flipgrid in the InterACTIVE Class on Amazon!


Top Five (FREE) Apps of 2020!
2020 was a wild year - especially for educators. We experienced the world’s greatest PD event, but which apps / websites proved to be the most resourceful? We’ll walk you through five of the ones that we find ourselves using the most in our own classrooms.
Teaching in 2020 was like brushing your teeth while eating Oreos. It was like shoveling snow while it’s still snowing. Or maybe it was like being a chameleon stuck inside a bag of skittles. But educators are resilient and before we threw up our hands and said that it’s “forget this o’clock,” we tapered down for the world’s largest PD event. We became familiar with websites and apps that we had never heard of. We quickly realized the importance of the “mute” button, and that most of our “staff meetings” really could be sent out in an email. But, now that we’ve had almost a year of this under our belt, we can confidently say that some apps have proven to be essential throughout remote learning and our gradual return back into the classroom. So, without further-ado, these are our top five (FREE) most commonly used apps of 2020. These apps are compatible on any device. Click on any subheading to learn more about the app and how we have been using it in our classrooms.
5. Gimkit (Gamification in the Classroom)
4. Classkick (Instant Feedback / Monitoring)
3. Nearpod (Classroom Management / Content Delivery)
2. Seesaw (Student Portfolios / Where Everything “Lives”)
1. Flipgrid (Student Creation / Social Learning)

5. Gimkit
Gamification in the classroom
Link 👉 http://www.gimkit.com
Gimkit is a live quiz learning platform where students answer questions and can earn “money” for power-ups. It was developed by a high school student who built a game that he wanted to play in class. The free version allows educators to create and edit content as much as they need. However, games can only be hosted with 5 players or fewer and new assignments cannot be created while on Gimkit Basic. We highly recommend upgrading!
How To Use it in the Classroom:
Have your students develop their own questions in the “Collab” mode. Then launch the kit and see how they perform!
Math fluency review
Use Gimkit as a way for students to go back into a text and find the answers to the questions
TIP: The more questions that you have in each “kit,” the better!

4. Classkick
Instant Feedback and Monitoring
Link 👉 https://classkick.com/
Classkick is a free app that students work on and get help instantly from their teacher and peers. Students may receive assistance from teachers (and peers) instantly. Teachers create assignments, see all their students’ work in real-time, and give LOTS of student feedback. Best of all, students can help each other anonymously.


How to Use Classkick in the Classroom:
Create assignments that students can work home regardless of where they are
Save your Powerpoint files as JPEG’s, then upload them to a new Classkick assignment
Use Classkick for Number Talks / Number of the Day
TIP: Create an assignment titled, “White Boards,” and use them as daily digital white boards. Students can erase the white boards after daily use, and return to the same link / code the next day.

3. Nearpod
Classroom Management and Content Delivery
Link 👉 http://www.nearpod.com
Nearpod is a student engagement platform built to make teaching with technology easy. With Nearpod you can control what your students see and get feedback in real-time. With a free account, you have the ability to share assignments with your students and then transition what they see from slide-to-slide. For example, if you upload an assignment from Google Slides or PowerPoint, Nearpod will convert it into an assignment. Teachers have control of the assignment, and when they move to the next slide, it will automatically change on all devices logged onto that presentation.
How to Use Nearpod in the Classroom:
Upload an assignment from Google Slides or PowerPoint, then add a virtual reality field trip! (Click: Add slide > Virtual Field Trip)
Add an activity for your students to complete while in the lesson. Activities include: Draw It, Quiz, Poll, Collaboration Board, and more!
Differentiate by duplicating assignments and adjusting as necessary. Share the appropriate login codes with the assigned students.
You may also like:
How to Integrate Flipgrid into Nearpod
How to Embed Nearpod Presentations into Microsoft Teams

2. Seesaw
Student Portfolios and Where all of Your Content Can “Live”
Link 👉 http://seesaw.me
Seesaw is a platform where students share their learning in their Seesaw portfolio, giving teachers and families valuable insights into what the students know. Assignments can be easily created, differentiated, and shared - think of it as a “house” for all of your content. The best part of all: every time a student adds an artifact to their portfolio, it notifies their connected family member(s) so that they may be kept in the loop with their child’s learning.


How to Use Seesaw in the Classroom:
Create assignments and select the students that you would like to complete them (easy differentiation)
Allow students to add content on their own (let them take a photo, then annotate over the photo)
Keep families at home in the loop with what is happening in class
You may also like:
What’s New in Seesaw (2020)
Flipgrid
Student Creation and Social Learning Platform
Link 👉 http://www.flipgrid.comFlipgrid is a video based social learning platform. Educators pose a question or assignment, then students respond in the form of a video. Once the conversation starts, other classmates may view their friends’ videos and respond to them. This creates a web of discussion, which automatically elevates the overall curricular level of the classroom.
How to Use Flipgrid in the Classroom:
Allow students to explain their thinking by holding up a whiteboard or their writing
Sequence the events of a text or historical time period
Use the Flipgrid Camera to record your own lessons - even create digital anchor charts
You may also like:
How to Play Among Us on Flipgrid
Using the Draw Tool on Flipgrid
Creating Student Podcasts on Flipgrid

Stay #interACTIVE!
-👗➕🕶️
For more tips, tricks and lesson ideas for making learning more interACTIVE, check out our book The InterACTIVE Class on Amazon!