


How to Record Collaborative Videos in Flipgrid with Multiple Users
How can you allow multiple students to appear in the same Flipgrid video? @TheMerrillsEDU walk you through how to add a new element of collaboration to your lessons!

Remote Learning has challenged how educators can successfully implement collaboration within and outside of the classroom. The ability for students to work together and remain six feet apart, or even work together remotely has spawned numerous creative ideas, but this idea from our friend Adam may be our favorite: “Collaborative Videos in Flipgrid: Record with Friends, From Anywhere.” Check out his tweet:
So…How does this work? It’s actually not as difficult as it might sound! In this post we’ll walk you through each step.
(NOTE: this will not work on mobile devices at this time)
Click on any subheading to jump to that section:
🚀 Launch a ⚡LIVE⚡ Zoom / Google Meet / Teams / WebEx call with Breakout Rooms
(Click your preferred platform to jump to that section)
Microsoft Teams | Zoom | WebEx | Google Meet
🚀 Launch a ⚡LIVE⚡ Zoom / Google Hangout / Teams call
Step #1: Launching a collaborative chat session
It doesn’t matter what you’re using for this step - all the platforms will work! Start off by launching a new meeting / call. If you’re using one of the aforementioned platforms to conduct a class call, you can always generate breakout rooms to properly group your students.
How to Launch Breakout Rooms on Microsoft Teams
Start a new meeting. Then once in the meeting, look for the “Breakout Room” button located at the top right hand side of the screen. Click here to open new options.
After you have clicked the “Breakout Room” icon, you will have several options. Start off by selecting how many rooms you need. Then, select how you prefer to assign the participants (automatically or manually).
For more information on Breakout Rooms in Teams, click here.
Click here to move onto Step #2


How to Launch Breakout Rooms on Zoom
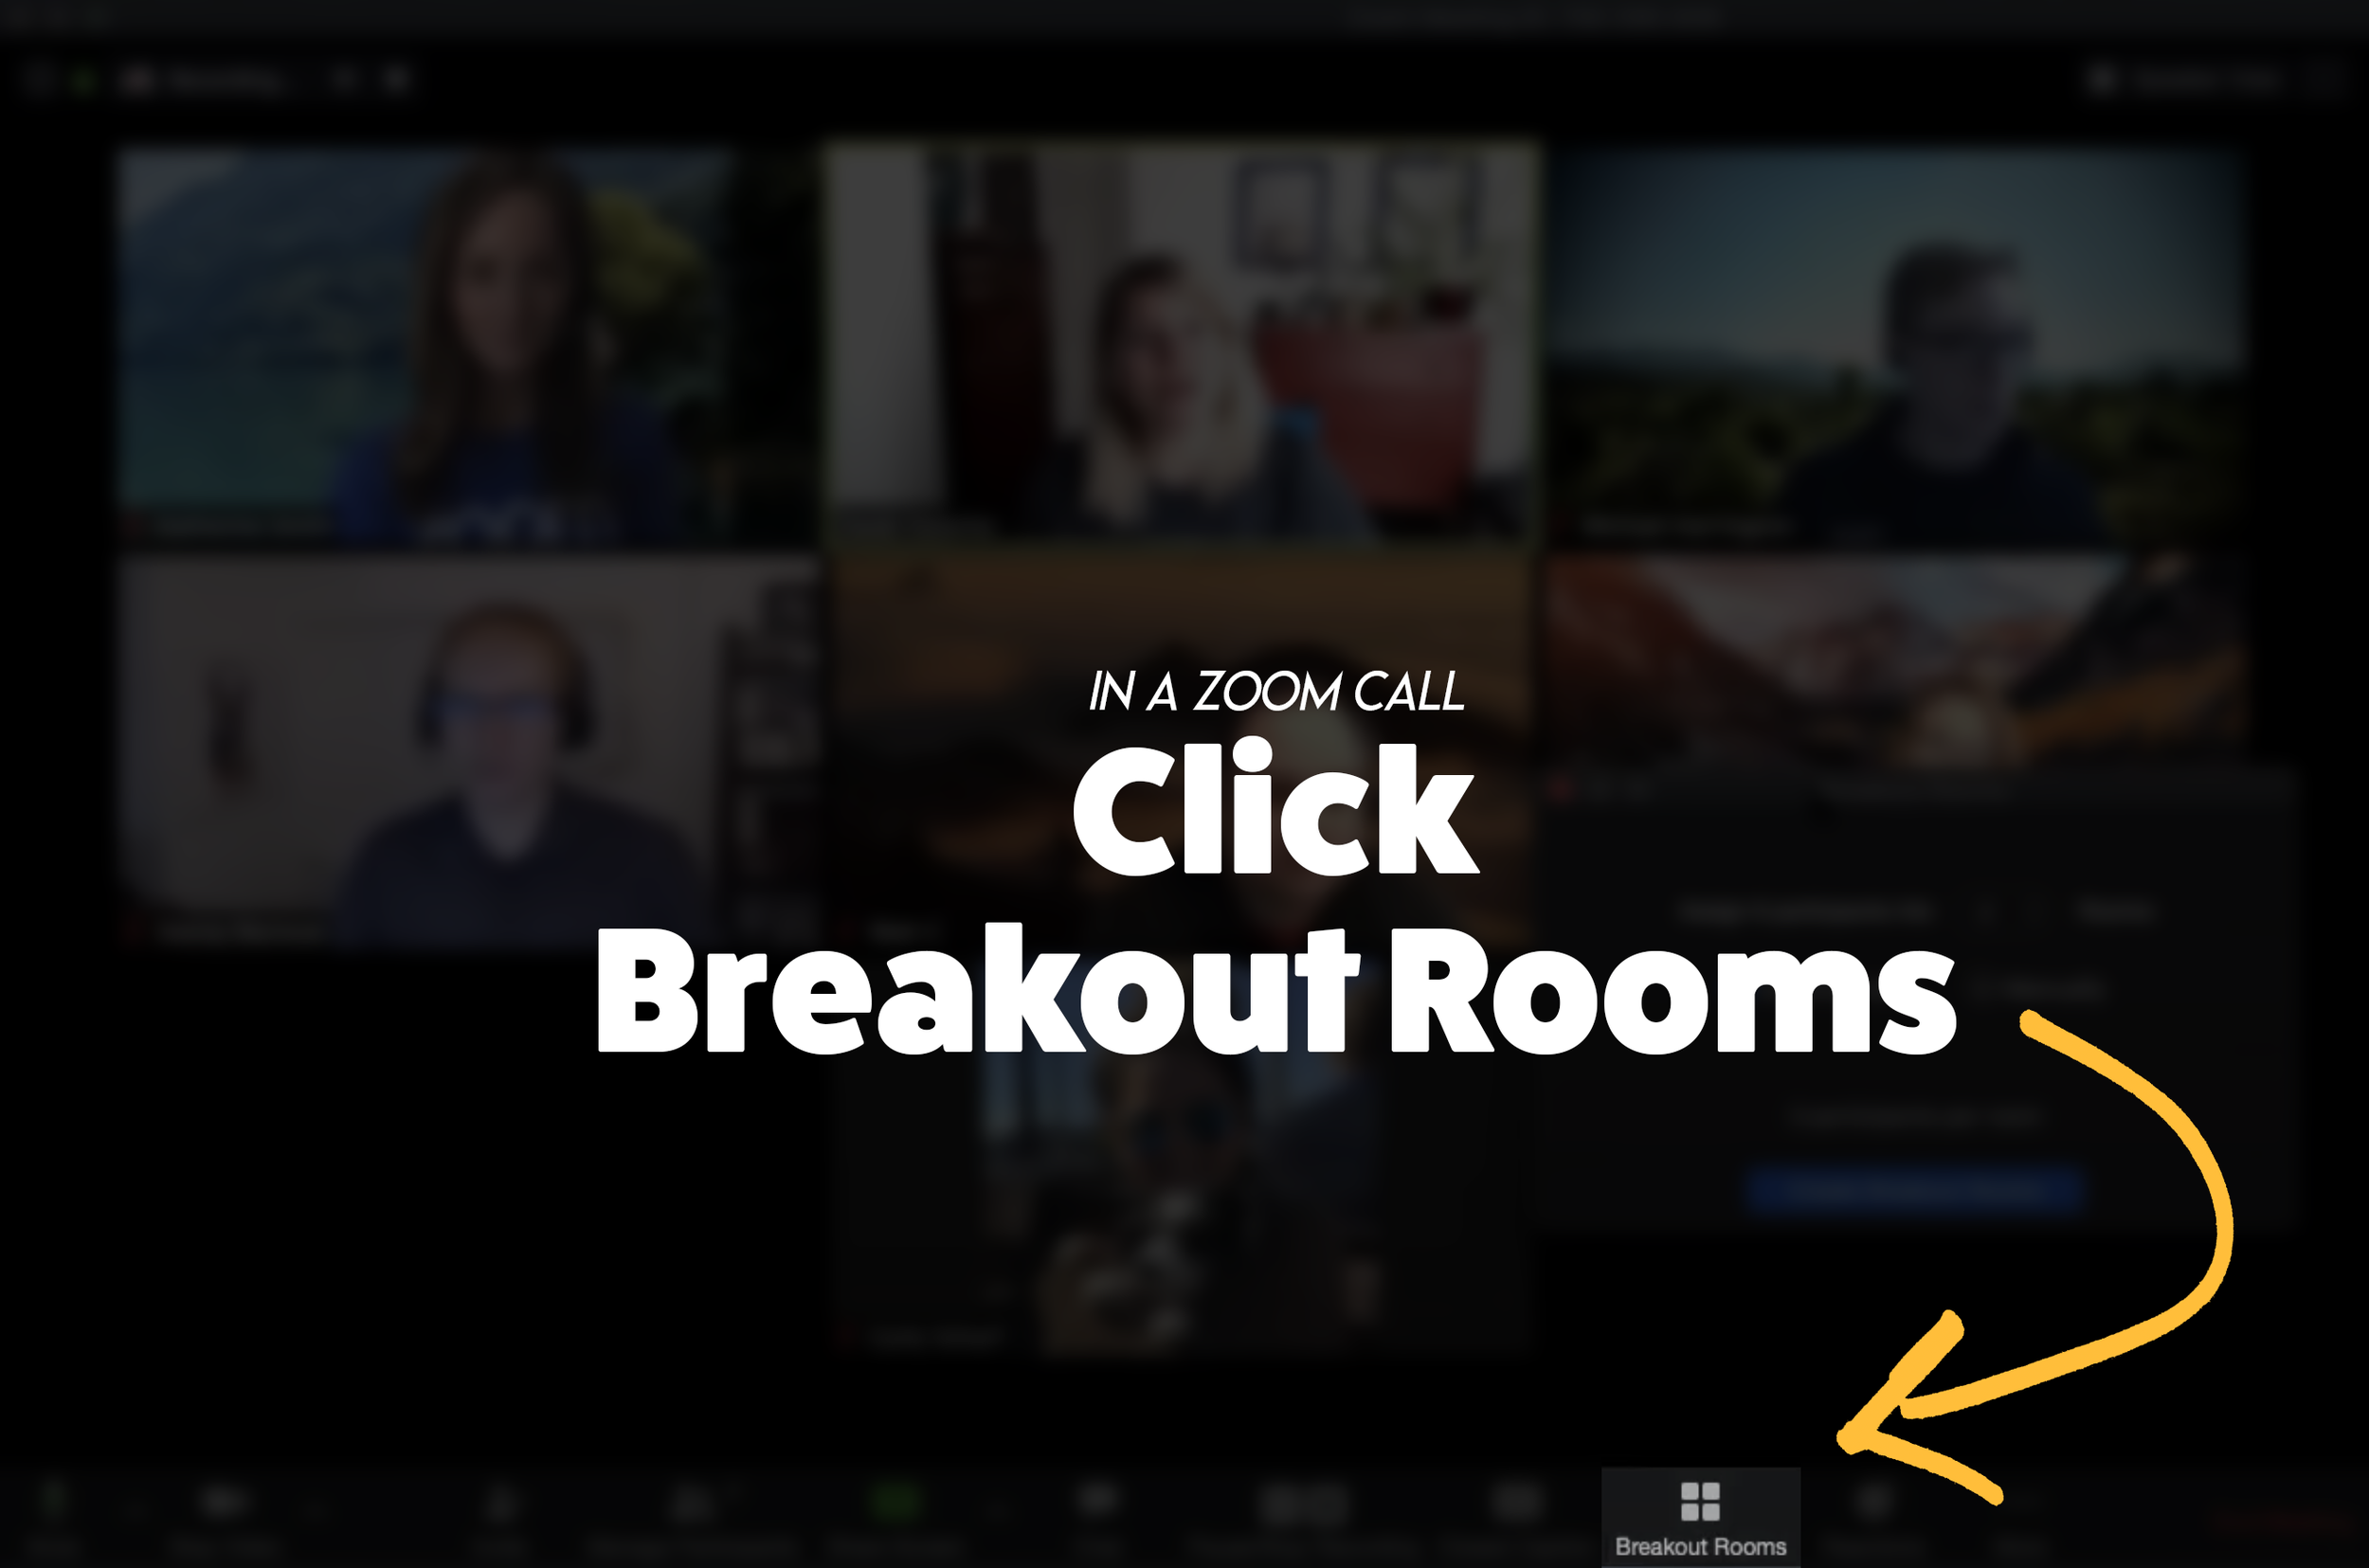
From a Zoom Call, click the “Breakout Room” icon. Then, follow the prompts to select the number or rooms and how to assign participants. If you need to enable Breakout Rooms on Zoom, follow these steps (or click here for more info):

Sign in to the Zoom web portal as an administrator with the privilege to edit account settings.
In the navigation menu, click Account Management then Account Settings.
Navigate to the Breakout Room option on the Meeting tab and verify that the setting is enabled.
If the setting is disabled, click the toggle to enable it. If a verification dialog displays, choose Turn On to verify the change.(Optional) Click the checkbox to allow meeting hosts to pre-assign participants to breakout rooms.
(Optional) If you want to make this setting mandatory for all users in your account, click the lock icon, and then click Lock to confirm the setting.
Click here to move onto Step #2


Launch a WebEx meeting, then select “Breakout Rooms” from the lower portion of the window. Next, select the Breakout tab and choose “Enable Breakout Session.”
Once enabled, “Enable Breakout Session” will appear with a checkmark and the button will appear at the bottom of the menu bar.
Click the “Breakout Session” button and then follow the prompts to set up your breakout rooms.
Click here to move onto Step #2
How to Launch a Breakout Room on Google Meet
For more info on Breakout Rooms in Google Meet, click here.

Breakout Rooms is currently available to users with G Suite Business, Workspace Essentials, Business Standard, Business Plus, Enterprise Essentials, Enterprise Standard, and Enterprise Plus editions. This is also available to users with G Suite Enterprise for Education license and permissions to create meetings.
On your computer, start a video call.
In the top right, click Activities Breakout rooms.
Tip: To prevent students from having the ability to create breakout rooms, admins should ensure Meet creation privileges are reserved for faculty/staff organizational units only.
In the Breakout rooms panel, choose the number of breakout rooms. You can create up to 100 breakout rooms in a call.
Call participants are then distributed across the rooms. To manually move people into different rooms, you can:
Enter the participant’s name directly into a breakout room.
Click the participant’s name. Hold down the mouse, drag the name, and then drop it into another breakout room.
To randomly mix up the groups again, click Shuffle .
In the bottom right, click Open rooms.
Click here to move onto Step #2
Step #2: Launch the Flipgrid Screen Recorder in a Topic Response

Now that you are live in your Breakout room, head over to Flipgrid and access the Topic you wish to collaborate on. Once you’re logged into the Topic, click the add a response button or the red record button. When the Flipgrid camera opens, click on the “Options” icon. Then click on “Screen Recorder.” Now, with your screen shared, you can capture yourself and all the others on your web call / meeting!
Step #3: Sharing Screens
You can get creative with this! The user who initiates the Flipgrid response doesn’t have to be the only one who shares their screen. Have students take turns sharing screens by having the Flipgrid camera screen record the web meeting / call. Students can share each others’ screens through the call platform, allowing for everyone to share.
Tip: Use the pause button between students to save recording time and engagement.
Now, your students have collaborated in the same Flipgrid response!
Stay #interACTIVE!
-👗➕🕶️
For more tips, tricks and lesson ideas for making learning more interACTIVE, check out our books The InterACTIVE Class and Flipgrid in the InterACTIVE Class on Amazon!


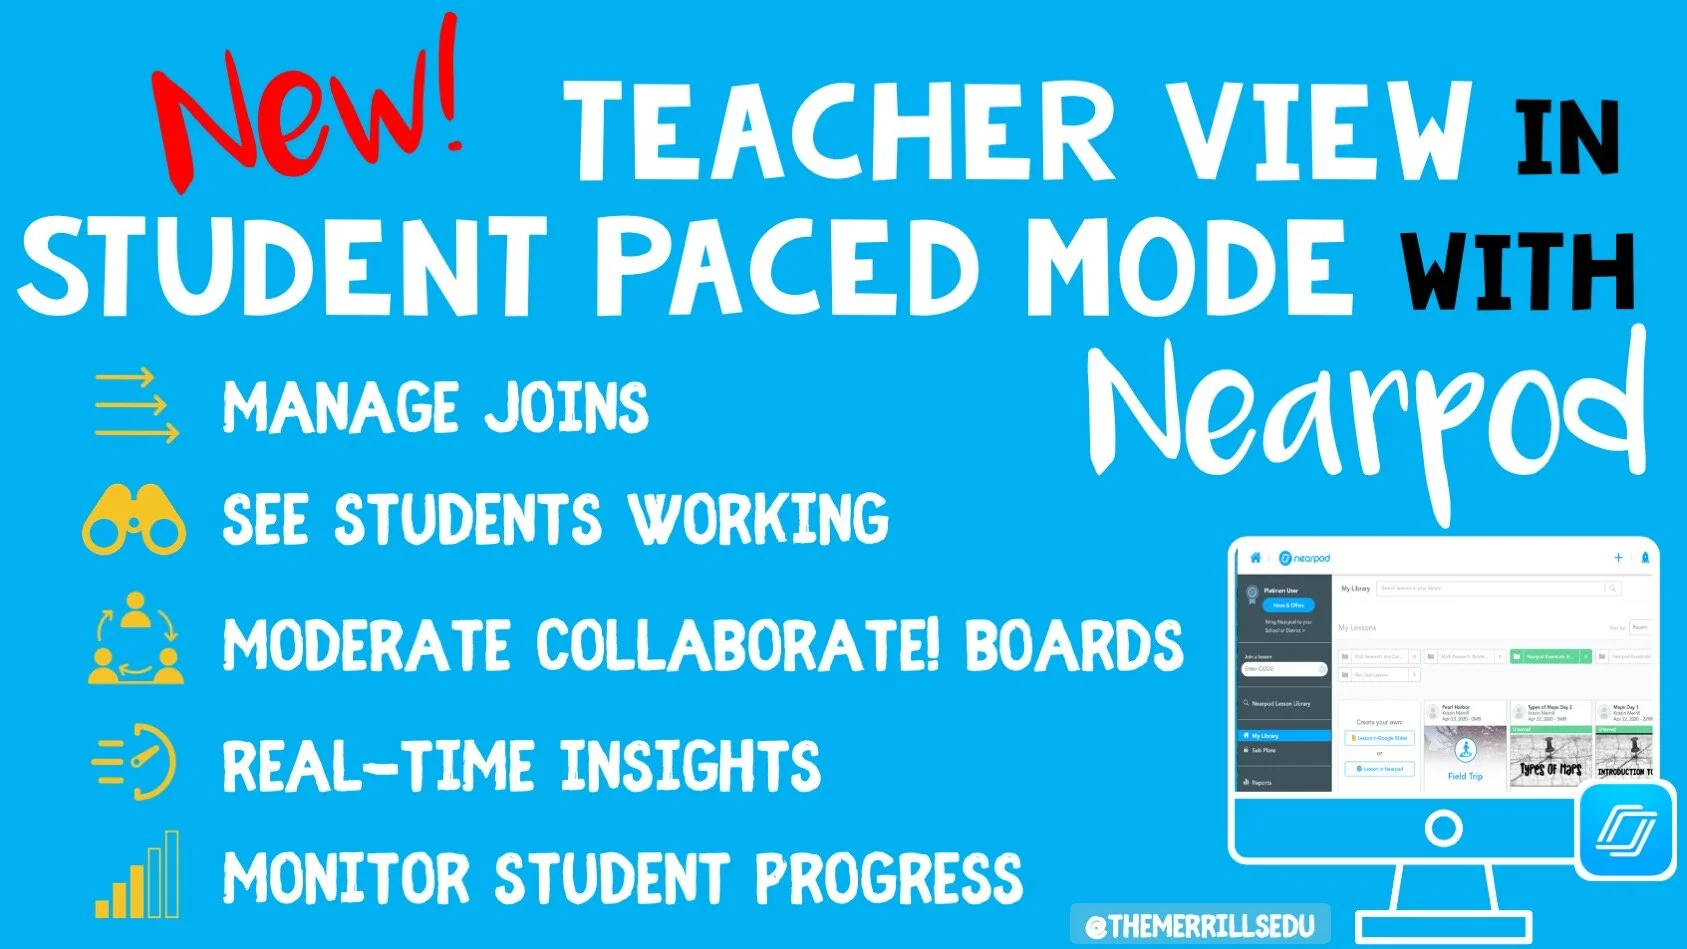
Using Teacher View in Student Paced Mode with Nearpod
With teachers all over the world ending the school year with remote learning, Nearpod has come through with a helpful update to their already robust platform—teacher view during student pace mode!
With teachers all over the world ending the school year with remote learning, Nearpod has come through with a helpful update to their already robust platform—teacher view during student pace mode! Teachers were used to having specific control during teacher-led mode, and now many of these same features are available when lessons are set to student paced. This gives teachers the opportunity to create asynchronous lessons for students to complete when their schedule permits, while still giving teachers the ability to monitor and moderate over that extended time.
Using Teacher View to Monitor and Manage
Teachers are using Nearpod’s self-paced mode more than ever during remote learning, and these new features released will help teachers be even more efficient while monitoring and managing student work.
Manage Students as They Join
Teacher view allows you to quickly see who has joined your student-paced lesson. It can be helpful to know who is working on what lesson when, but this features also makes it easier when giving feedback to students. Now you can give feedback faster since you know they are are on and working.
Moderate Collaborate! Boards
Monitoring student work is a foundation of good teacher and it has become one of the hardest things to do during remote learning. Now teachers can moderate student responses when using the collaborate feature. They can delete posts from Student-Paced collaborate boards by viewing the board in their reports. Read more on how to enable collaborate boards in student paced mode here!
Monitor Student Progress
One of the great features of Nearpod is it’s ability for teaches to see in real time how their students are comprehending and taking in new information. Now this can be done in self-paced mode too. Teachers can go in and see a student’s collaborate response, their quiz report or other activities in real time for immediate feedback and updates just like when using live!
Stay #interACTIVE!
-👗➕🕶️
For more tips, tricks and lesson ideas for making learning more interACTIVE, check out our books The InterACTIVE Class and Flipgrid in the InterACTIVE Class on Amazon!


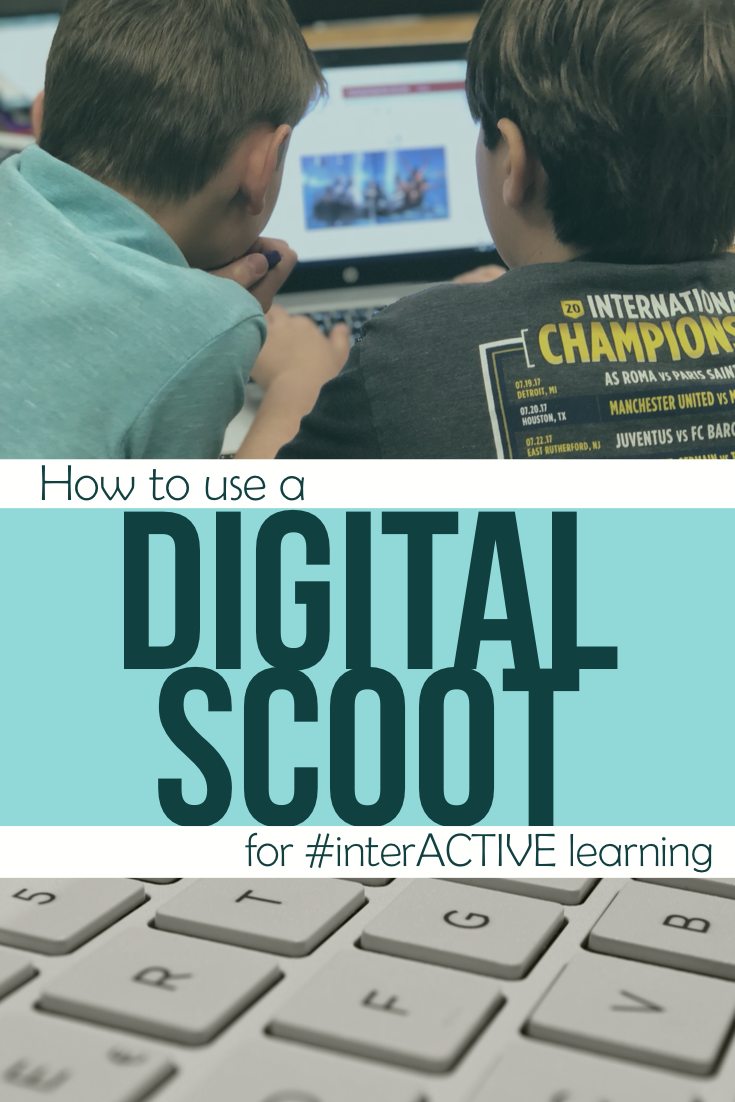
"Scooting" Through the End of the Year
It’s during times like this where I am challenged the most to continue making learning engaging and #interACTIVE. It’s very easy to curate a packet for students to write about end of year memories, but rather I still strive to make memories until our last day.
This can be a challenging time of year. The days seem to drag on and the students are just plain worn out. If you’re like me, we had about four weeks of state testing where all various types of assessments—both state and district—were given. I think my class had at least 7 days worth.

It’s during times like this where I am challenged the most to continue making learning engaging and #interACTIVE. It’s very easy to curate a packet for students to write about end of year memories, but rather I still strive to make memories until our last day in room 6-004.
I like to end our year reading a novel that wraps up our entire year of learning. We cover topics like using our voice to make a difference, acting courageously and focusing on what we can do where we are to make a mark in the world. But this book takes place in a very specific time period and to ensure students understand and hopefully connect with the story we must first cover some grounds in our social studies book. For whatever reason social studies seems to be the hardest content for me to engage my students in. So this year as we were working through it I took those end of unit review questions and I had my students “scoot” through them.
I created what is referred to in the edTech world as a Digital Scoot. The questions were organized in a PowerPoint presentation with one question per slide. I had some questions where students answered using Emojis, poll questions, and even one that were to be answered with drawing. Each device was opened to a different slide and each students was assigned a computer (and slide) to start at. Once they completed the activity, answered the question, or finished the task on the slide in front of them, the student simply “scooted” to the next. Around the room they rotated completing tasks as they went. It’s a fun way to get students physically moving, while also collaborating and sharing ideas with others. I like how this activity also makes every student responsible for their own thinking and contributions within the discussion and gives the teacher a real-time snapshot of where each student is in regards to their thinking and mastery of the content. For primary students you might simplify the activity from answering questions to possible leaving emojis as answers. If you don’t have a device for every student, use what you have and make it more of a center activity allowing students to rotate though the assignment throughout the week.


If you want to give your PowerPoint presentations a little facelift try using predesigned slides from sites like Slide Carnival. This is an easy way to update a lesson without having to put in a lot of extra time designing slides.
Getting students up and moving rarely every lets me down and is an easy way to mix things up! It keeps engagement up and most importantly it’s an easy way to keep students interacting with content as the year winds down.
-K 👗

Number Talks in Microsoft’s Teams
Mental Math in younger grades can be tough for some students. But, with today’s technology and group collaboration, we can make this area of learning fun!
Are you looking for ways to improve mental math and fact fluency with your students? Then, Number Talks may be the perfect exercise for your class!
When starting out with Number Talks, think of it as a “number of the day” activity. The teacher gives the students a number, then the students must think of ways to make that number. For example, if the teacher gives the number “25,” students might suggest: 12+13. But the purpose of Number Talks is to show as many ways as you can to make the number. So, that same student might also show: 10+10+5, or 30-5, etc. Typically this activity is done on whiteboards, and the students have a set amount of time to show their thinking. But, how can we make this more exciting for our digital aged learners? The answer is simple: Microsoft’s Teams!
For this activity, I had created a specific channel (or thread of conversation) for my class Number Talks on Teams. Once my students were logged on, I simply sent a message to the class with the number they were to use. Before I sent the message, I explained that they are NOT allowed to post the same equation twice. So if someone else beat them to posting it, then they had to think of another equation. Then, I sat back and watched the show!
I watched as they posted equation after equation. Struggling students quickly realized that they could decompose their classmates equations into new equations. It was a beautiful thing!
After the time was up, I allowed the class to go back through the equations and give “likes” for correct answers, or polite suggestions for incorrect responses. Then, we reviewed them. This entire activity was completed in less than 10 minutes, but the higher level of thinking continues with each time we complete this activity! —J 👓