
Gimkit is notorious for building engagement and with Ink, Gimkit delivers on a whole new level. Ink creates a refreshing take on writing, storytelling and much more. In this blogpost, you’ll learn:
(click on any subheading to jump directly to that section)
✏️What is Gimkit Ink and How Does It Work?
⚡Quick Start Guide:⚡
🚀 Launch a Project
💪 Having Students Add Content
📚 Publishing Student Work
👀 Viewing Other Students Work
💡What are The Paper and Time Machine Features?
What is Gimkit Ink?

Gimkit Ink is a fresh take on how writing should look in 2021. Instead of turning in documents or PDF’s, Gimkit Ink allows students to publish their work online and share them directly back to the educator, classmates and beyond (if they chose to do so). Students may be reluctant to share their writing, so Gimkit Ink provides them with several key elements to help. For example, students who submit their writing can share directly to the teacher or with the entire class. But, if they are nervous about sharing with the class, they may post their work under a pseudonym. The key here is that the students understand that they are creating for a broader audience them just themselves. With this understanding, they will likely place more effort into the quality of their work (since they know it will be shared).
Gimkit Ink is available to all users! However, the free version of Ink is limited. Teachers can create 10 projects on the Gimkit Basic plan. There are no other restrictions at this time.

Quick Start Guide
Step #1: Launch a Project

Educators can launch Gimkit Ink tasks from their Gimkit Hub (or login page). Click “Gimkit Ink",” which will take you to the educators dashboard. To get started immediately, click on “New Project” under Projects. Fill out the information on the next page, then select your privacy settings. Once everything looks good, click the blue “Start Project” button. Doing so will launch a live link / webpage where content will be shared and delivered. Share this link with your students to have them start adding content. This link is important, as it also acts as the “house” where all of the content submitted will “live” or be posted. Students will be able to return to this link to view content from their peers after they have submitted their own work.
Step #2: Having Students Add Content

After you have shared the link with your students, they are ready to start adding content. Have them click the blue “+ Create New Post” button. This opens several options for them: create a new article or story.

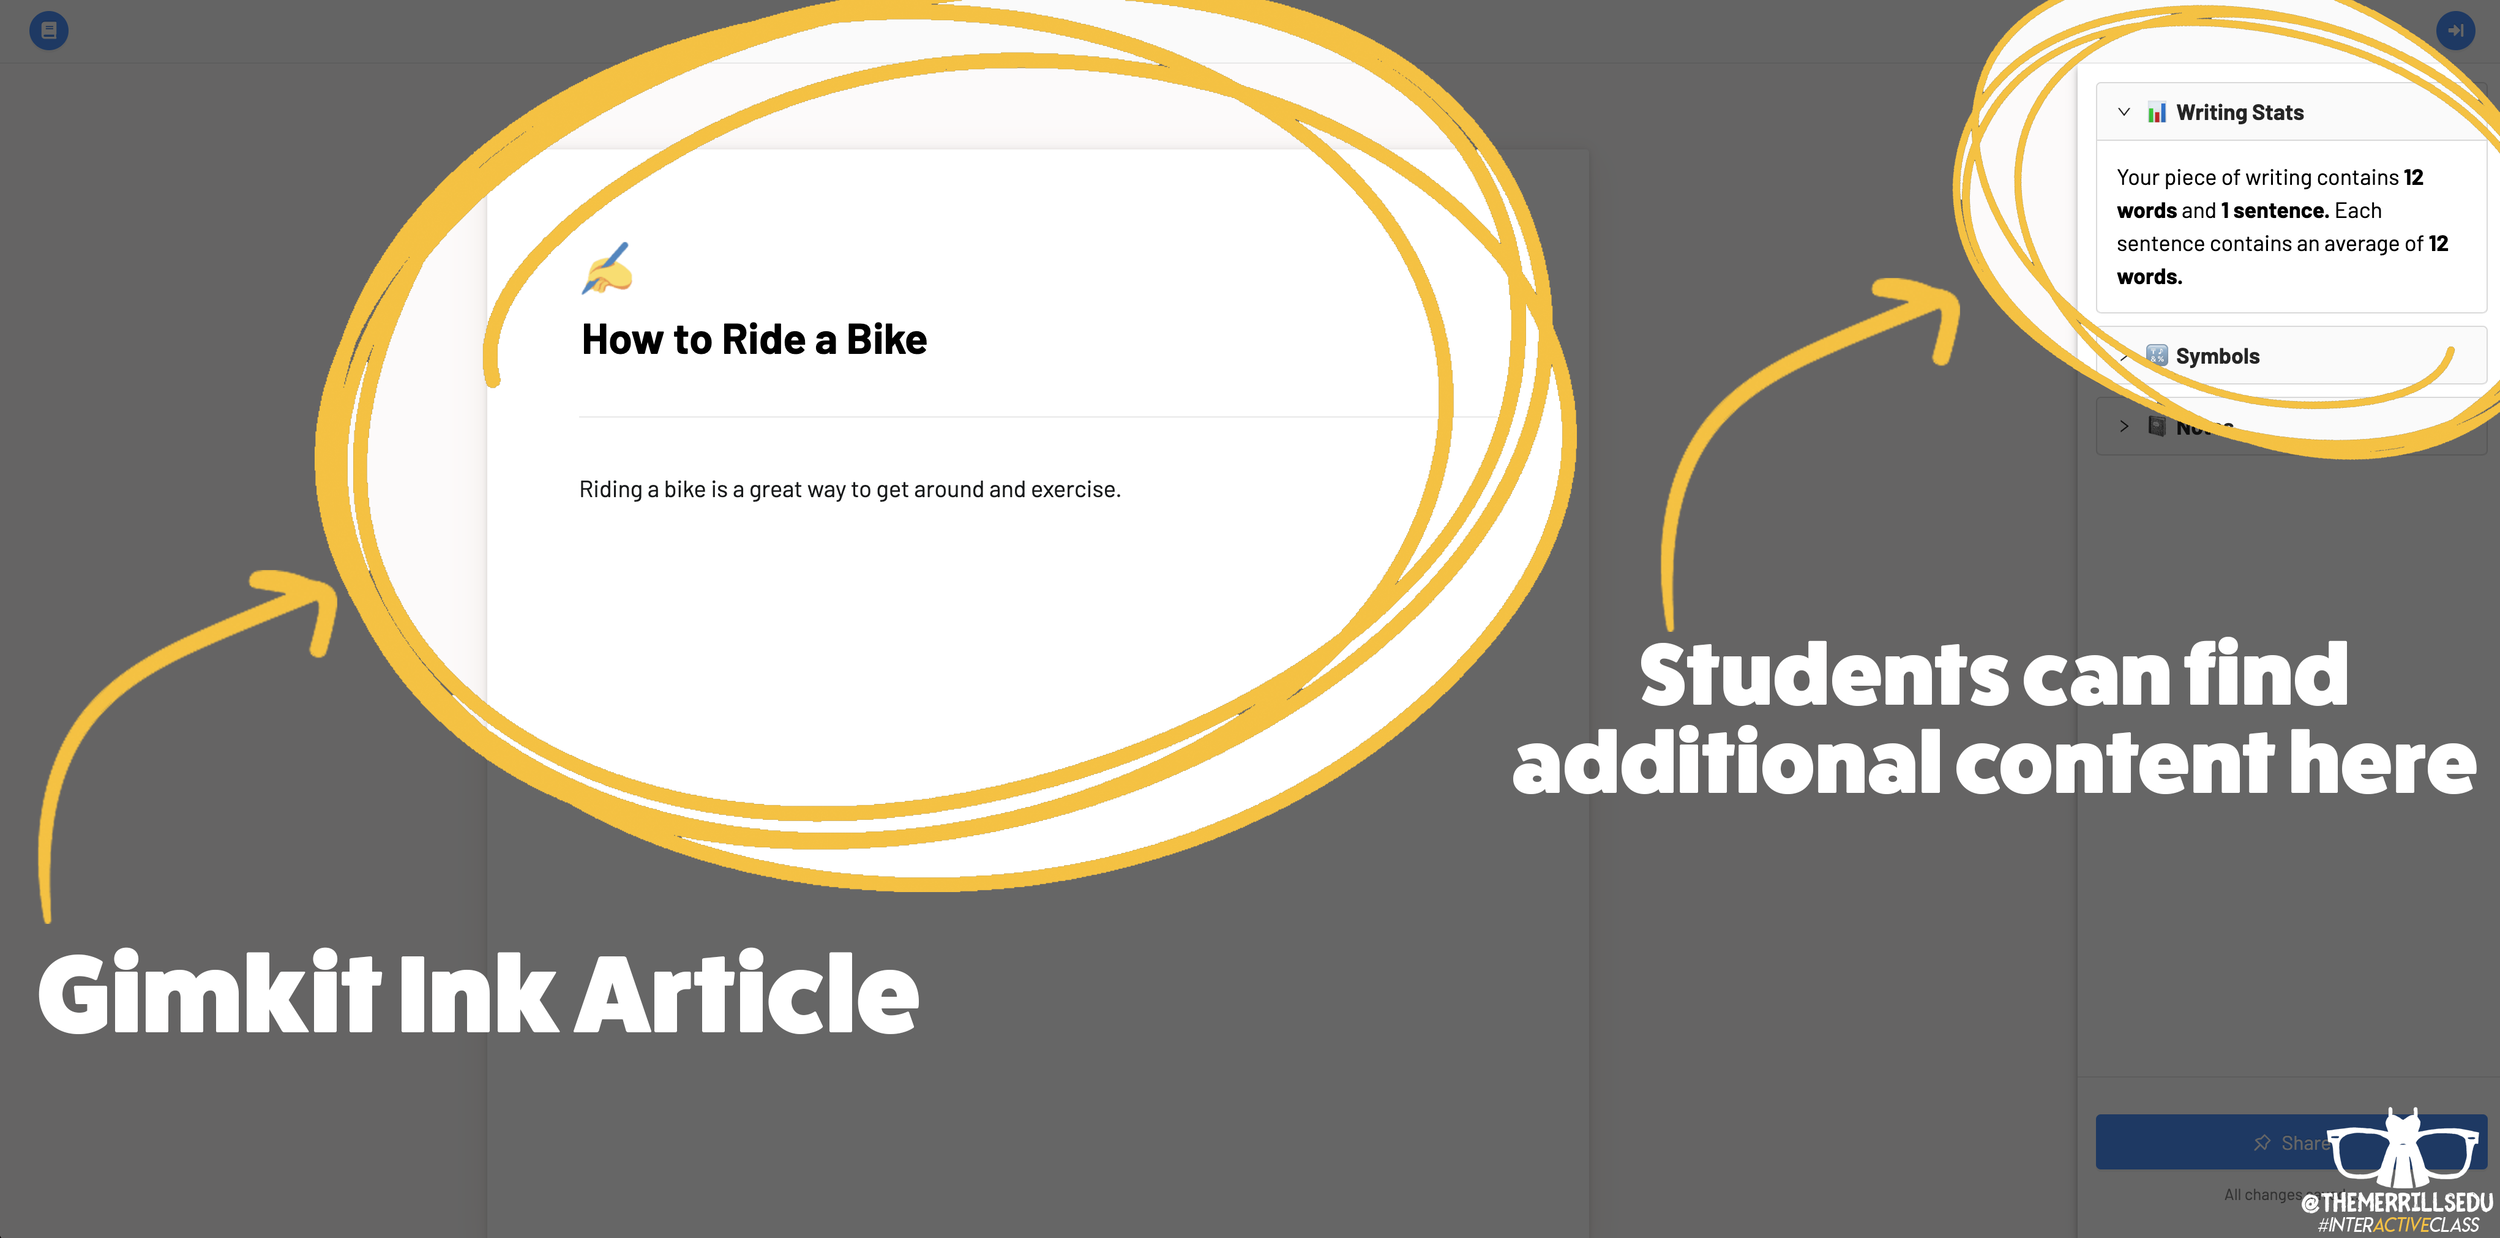
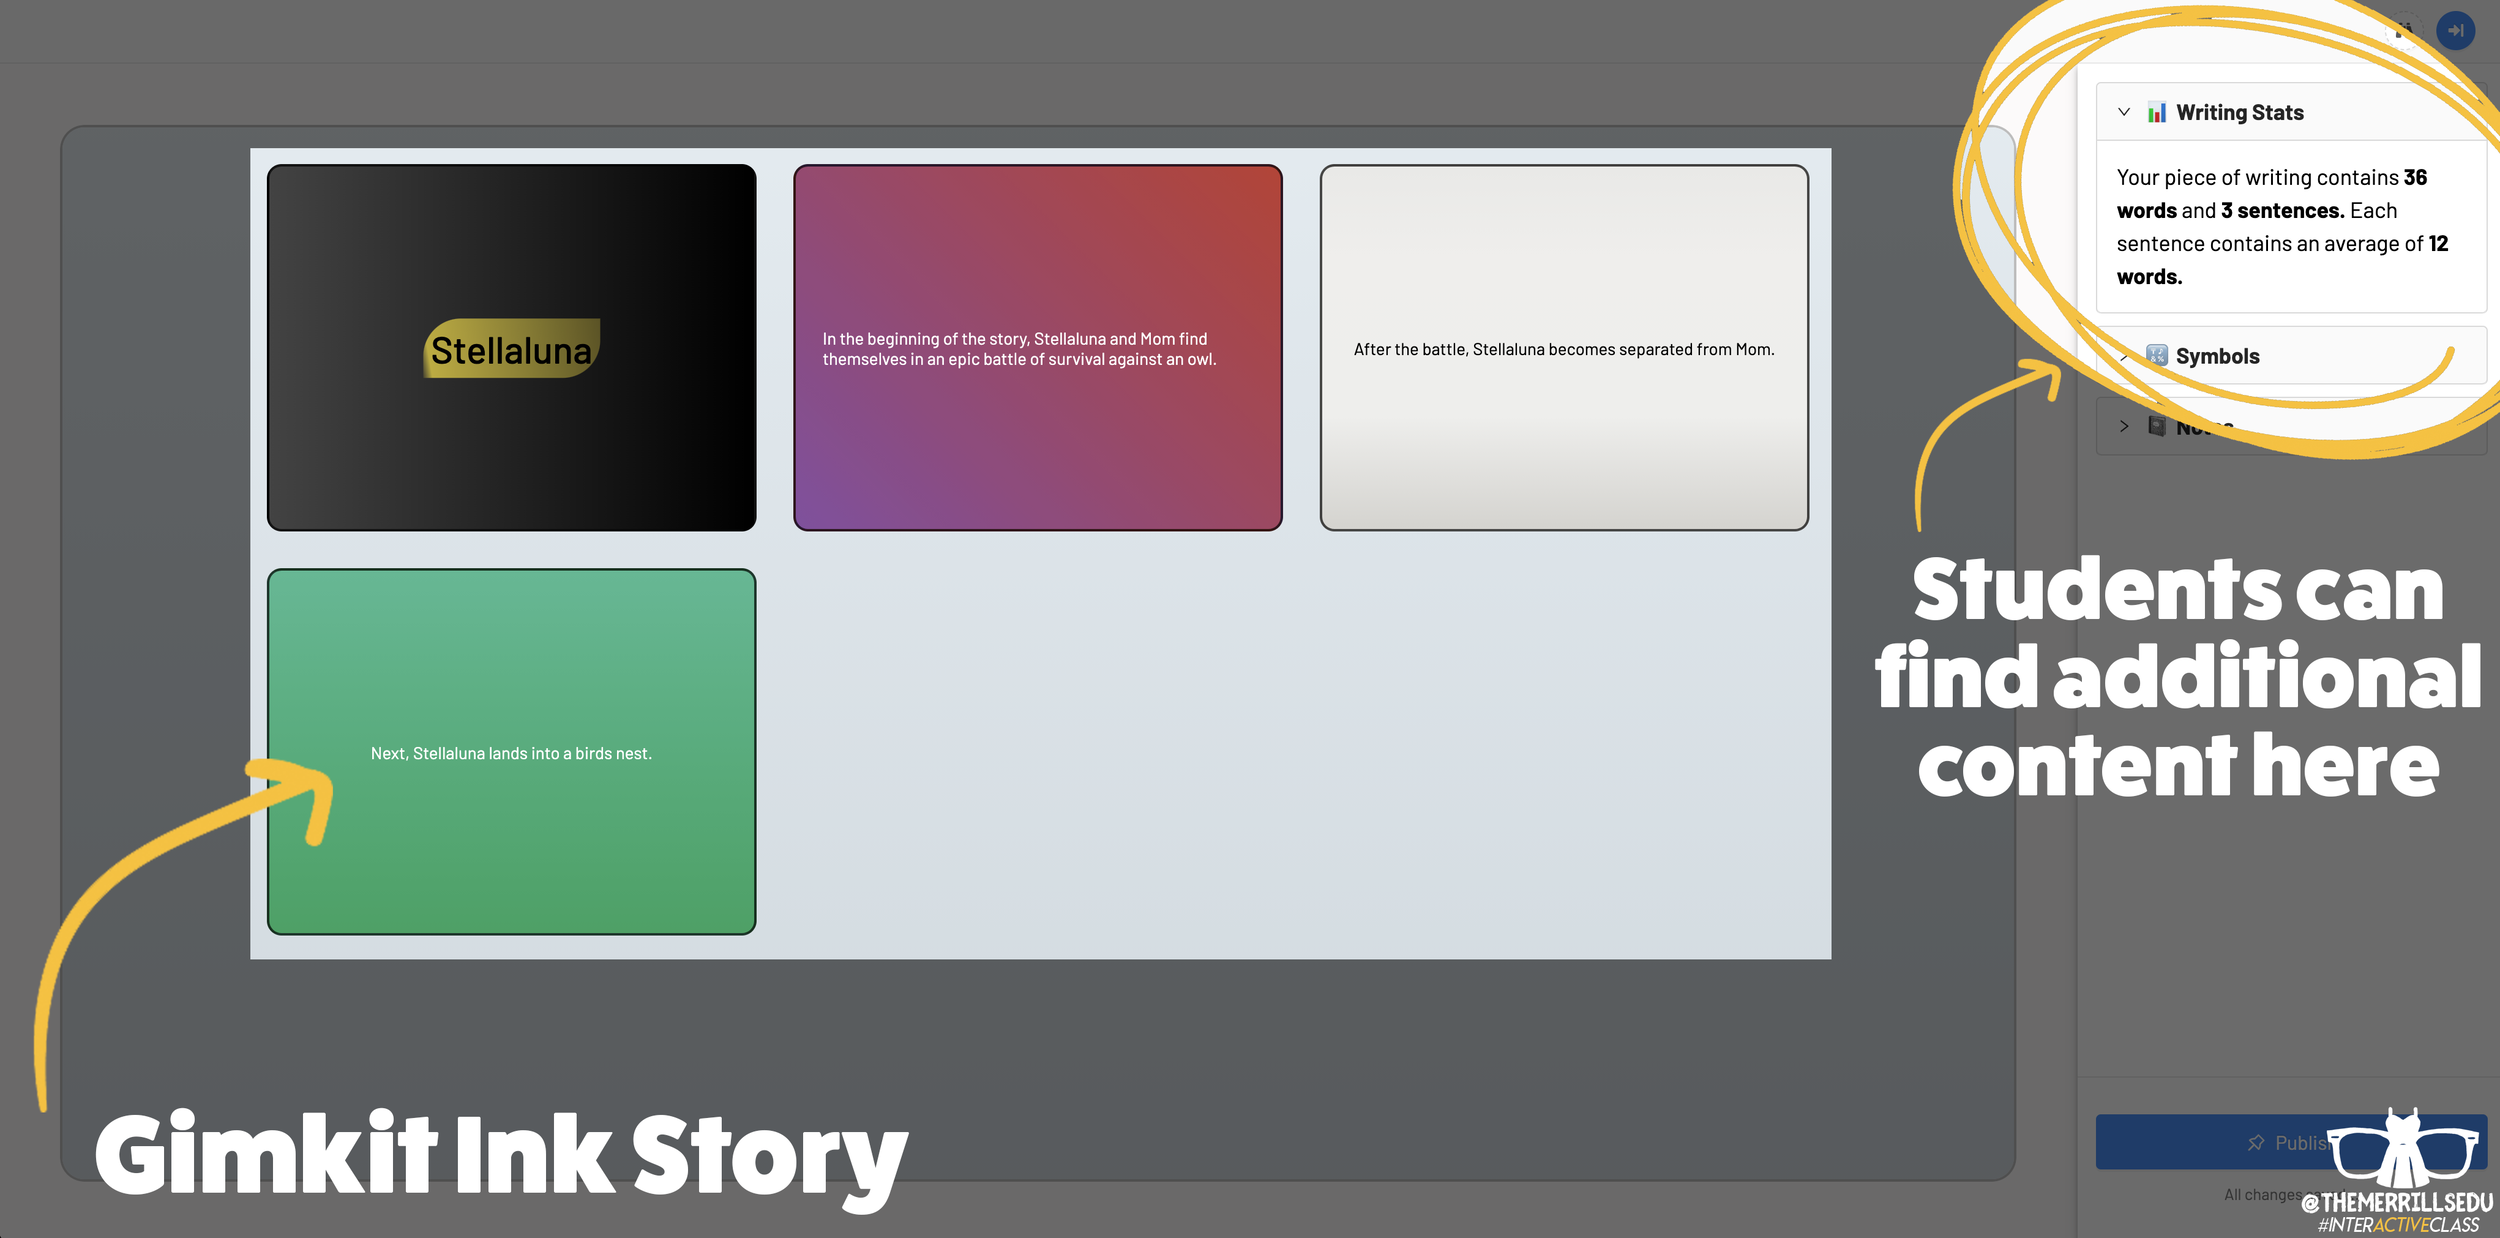

Writing an article on Gimkit Ink provides an editable document where your students can add titles, subtitles, text and more. This is perfect for sharing an idea - similar to a newspaper, blog post, etc. Adding a story gives students options to generate a storyboard or mind map experience to generate their writing. It’s more visual and allows the writer to control the pace. This is ideal when working to tell a story, and can be extremely powerful for young learners who are trying to organize their thoughts. In a Story, students have the capability to add features such as: images, YouTube videos, Desmos Graphs, Flipgrid Shorts recordings, Scratch projects, Google slides / sheets / docs, Anchor podcasts and Codepen. Students can add additional frames to their story, creating an easy to follow flow map - but Gimkit intelligently permits students to move their frames around (in case something gets placed out of order, just move it around!). This allows for easy editing and correction.

Step #3: Publishing Student Work
Once Your students have completed adding their information, they are ready to publish their work. To do so, they click the blue “Publish” button. It will prompt them to check their work - are you ready to publish or should you go back and edit? Once they are sure everything looks good, have them click the blue “Ready to Publish” button. The next screen asks your students to enter a title for their work and to select an emoji that they would like associated with it. After entering this info, students are to click the blue “Continue” button. Next, they must pick who can read their work: anyone or just the teacher. After making the first selection, Gimkit asks if they would like to share their name. Students may choose anyone or just the teacher. From here, they are to click the blue “Publish” button. Now, their work is live and ready to be viewed. Note: each student post has it’s own unique URL. So, this may be shared with families at home through other apps like Seesaw, Microsoft Teams, Google Classroom, etc.
Step #4: Viewing Other Students Work

Once your students have published their own work, they are prompted with a screen that shares their own personal URL to their project. Additionally, they have the option to “Open the Project,” which will take them back to the original landing page that you the educator created (“the house!”). Now your students can see everything that is and has been shared. If enabled, students can leave emoji reactions for quick peer-to-peer feedback. It’s a great way to provide an outlet for your students to share content with their friends!

The Paper and Time Machine
The Paper is Gimkit Ink’s workflow that shares all of the latest post from across all of your projects. This is helpful if you have multiple projects going at the same time and need to bounce back and forth efficiently. Your posts can also be found by clicking on “Time Machine” from the Gimkit Ink dashboard.
-- Stay tuned for more on how you can embed Gimkit’s Ink into your classroom! 👓👗
For more tips, tricks and lesson ideas for making learning more interACTIVE, check out our books The InterACTIVE Class and Flipgrid in the InterACTIVE Class on Amazon!


