
Remote Learning has challenged how educators can successfully implement collaboration within and outside of the classroom. The ability for students to work together and remain six feet apart, or even work together remotely has spawned numerous creative ideas, but this idea from our friend Adam may be our favorite: “Collaborative Videos in Flipgrid: Record with Friends, From Anywhere.” Check out his tweet:
So…How does this work? It’s actually not as difficult as it might sound! In this post we’ll walk you through each step.
(NOTE: this will not work on mobile devices at this time)
Click on any subheading to jump to that section:
🚀 Launch a ⚡LIVE⚡ Zoom / Google Meet / Teams / WebEx call with Breakout Rooms
(Click your preferred platform to jump to that section)
Microsoft Teams | Zoom | WebEx | Google Meet
🚀 Launch a ⚡LIVE⚡ Zoom / Google Hangout / Teams call
Step #1: Launching a collaborative chat session
It doesn’t matter what you’re using for this step - all the platforms will work! Start off by launching a new meeting / call. If you’re using one of the aforementioned platforms to conduct a class call, you can always generate breakout rooms to properly group your students.
How to Launch Breakout Rooms on Microsoft Teams
Start a new meeting. Then once in the meeting, look for the “Breakout Room” button located at the top right hand side of the screen. Click here to open new options.
After you have clicked the “Breakout Room” icon, you will have several options. Start off by selecting how many rooms you need. Then, select how you prefer to assign the participants (automatically or manually).
For more information on Breakout Rooms in Teams, click here.
Click here to move onto Step #2


How to Launch Breakout Rooms on Zoom
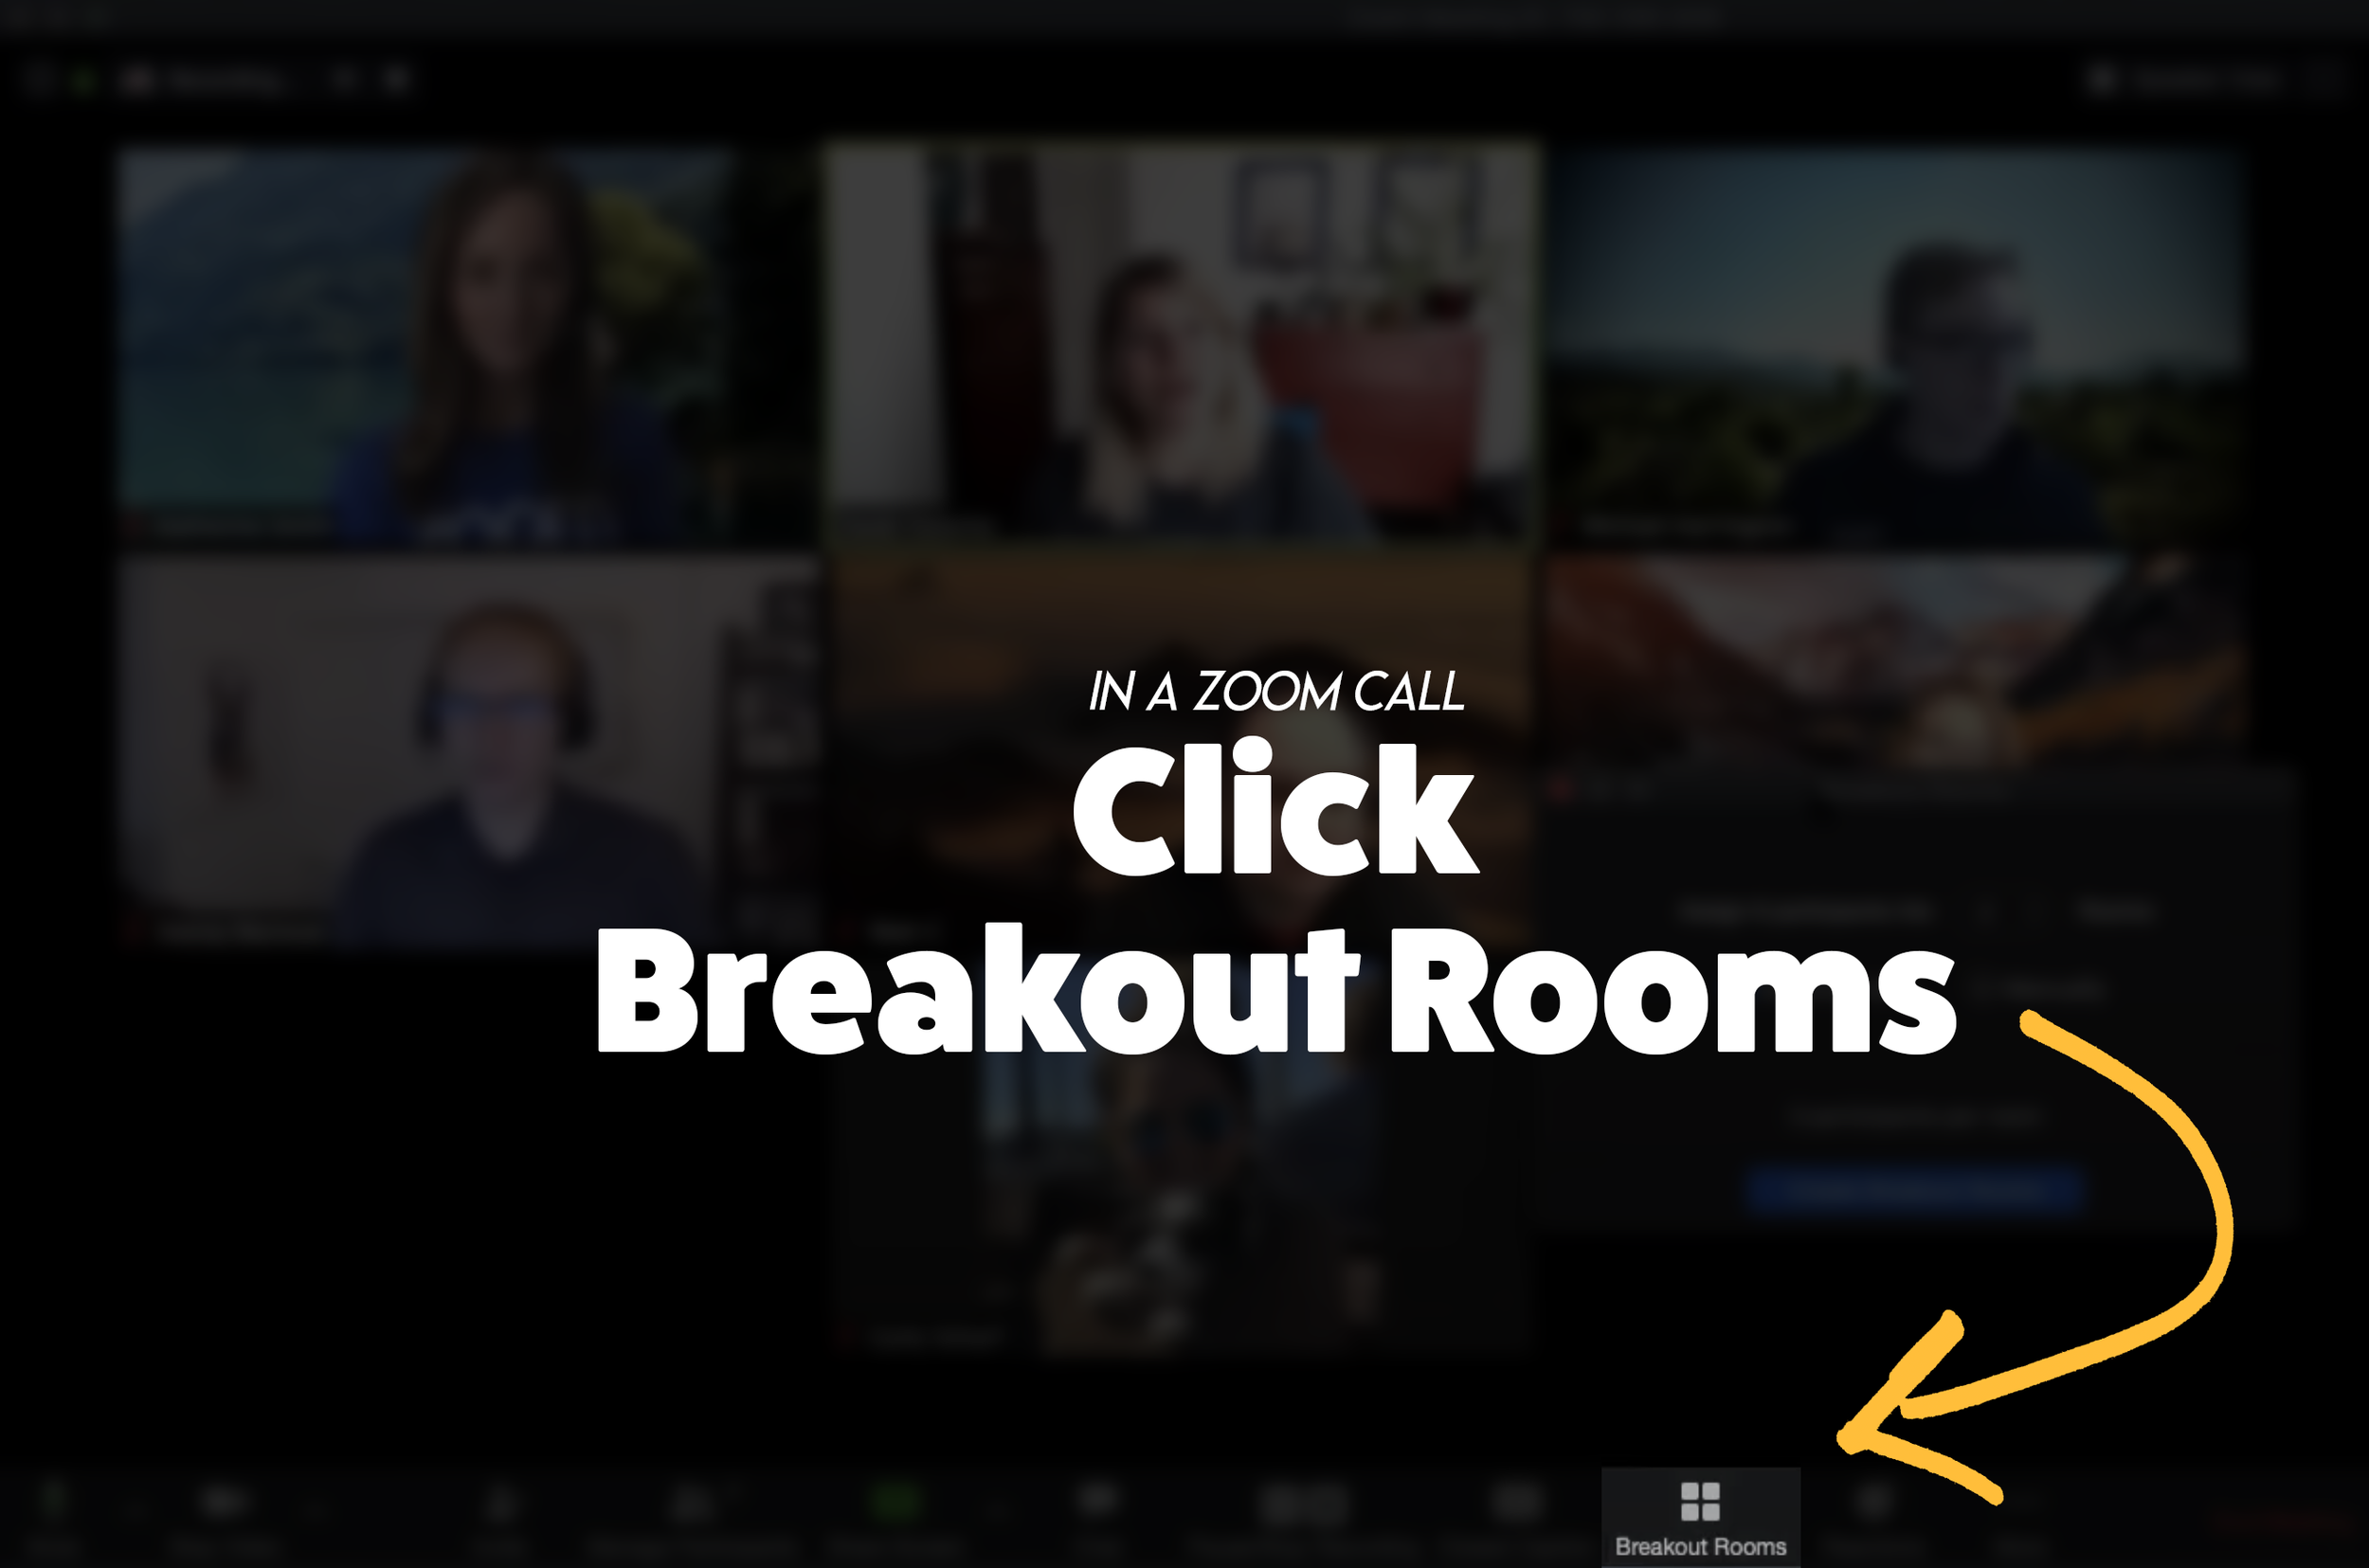
From a Zoom Call, click the “Breakout Room” icon. Then, follow the prompts to select the number or rooms and how to assign participants. If you need to enable Breakout Rooms on Zoom, follow these steps (or click here for more info):

Sign in to the Zoom web portal as an administrator with the privilege to edit account settings.
In the navigation menu, click Account Management then Account Settings.
Navigate to the Breakout Room option on the Meeting tab and verify that the setting is enabled.
If the setting is disabled, click the toggle to enable it. If a verification dialog displays, choose Turn On to verify the change.(Optional) Click the checkbox to allow meeting hosts to pre-assign participants to breakout rooms.
(Optional) If you want to make this setting mandatory for all users in your account, click the lock icon, and then click Lock to confirm the setting.
Click here to move onto Step #2


Launch a WebEx meeting, then select “Breakout Rooms” from the lower portion of the window. Next, select the Breakout tab and choose “Enable Breakout Session.”
Once enabled, “Enable Breakout Session” will appear with a checkmark and the button will appear at the bottom of the menu bar.
Click the “Breakout Session” button and then follow the prompts to set up your breakout rooms.
Click here to move onto Step #2
How to Launch a Breakout Room on Google Meet
For more info on Breakout Rooms in Google Meet, click here.

Breakout Rooms is currently available to users with G Suite Business, Workspace Essentials, Business Standard, Business Plus, Enterprise Essentials, Enterprise Standard, and Enterprise Plus editions. This is also available to users with G Suite Enterprise for Education license and permissions to create meetings.
On your computer, start a video call.
In the top right, click Activities Breakout rooms.
Tip: To prevent students from having the ability to create breakout rooms, admins should ensure Meet creation privileges are reserved for faculty/staff organizational units only.
In the Breakout rooms panel, choose the number of breakout rooms. You can create up to 100 breakout rooms in a call.
Call participants are then distributed across the rooms. To manually move people into different rooms, you can:
Enter the participant’s name directly into a breakout room.
Click the participant’s name. Hold down the mouse, drag the name, and then drop it into another breakout room.
To randomly mix up the groups again, click Shuffle .
In the bottom right, click Open rooms.
Click here to move onto Step #2
Step #2: Launch the Flipgrid Screen Recorder in a Topic Response

Now that you are live in your Breakout room, head over to Flipgrid and access the Topic you wish to collaborate on. Once you’re logged into the Topic, click the add a response button or the red record button. When the Flipgrid camera opens, click on the “Options” icon. Then click on “Screen Recorder.” Now, with your screen shared, you can capture yourself and all the others on your web call / meeting!
Step #3: Sharing Screens
You can get creative with this! The user who initiates the Flipgrid response doesn’t have to be the only one who shares their screen. Have students take turns sharing screens by having the Flipgrid camera screen record the web meeting / call. Students can share each others’ screens through the call platform, allowing for everyone to share.
Tip: Use the pause button between students to save recording time and engagement.
Now, your students have collaborated in the same Flipgrid response!
Stay #interACTIVE!
-👗➕🕶️
For more tips, tricks and lesson ideas for making learning more interACTIVE, check out our books The InterACTIVE Class and Flipgrid in the InterACTIVE Class on Amazon!


