


Memes For Themes
Common standard—needed a new delivery method. One of my favorite ways to engage students is by meeting them where they are at and this year we met to discuss theme….through MEMES. Student created and explained using Microsoft PowerPoint!
As always with everything, we are spiraling through our curriculum and it is time to review THEME. This standard is always hard for me to teach because of the complexity of the standard--you need to reviewing elements of plot (characters and problem) along with having the ability according to our state's standard to summarize.
So this year I do what I always do when I need inspiration--I turn to my PLN on social media. This lesson was adapted by something I saw by author, speaker and best selling author Catlin Tucker--Creating Memes to Explore Themes. (you can check out her original post here) If you aren't one of my many Twitter friends, you may not know this, but technology is a fluid tool in my classroom and something we use and learn from on a daily basis. When I saw this lesson idea I knew it would be an instant hit. I modified Catlin's original lesson a little based on my class make up and age level and you can read through those steps below.

Day 1
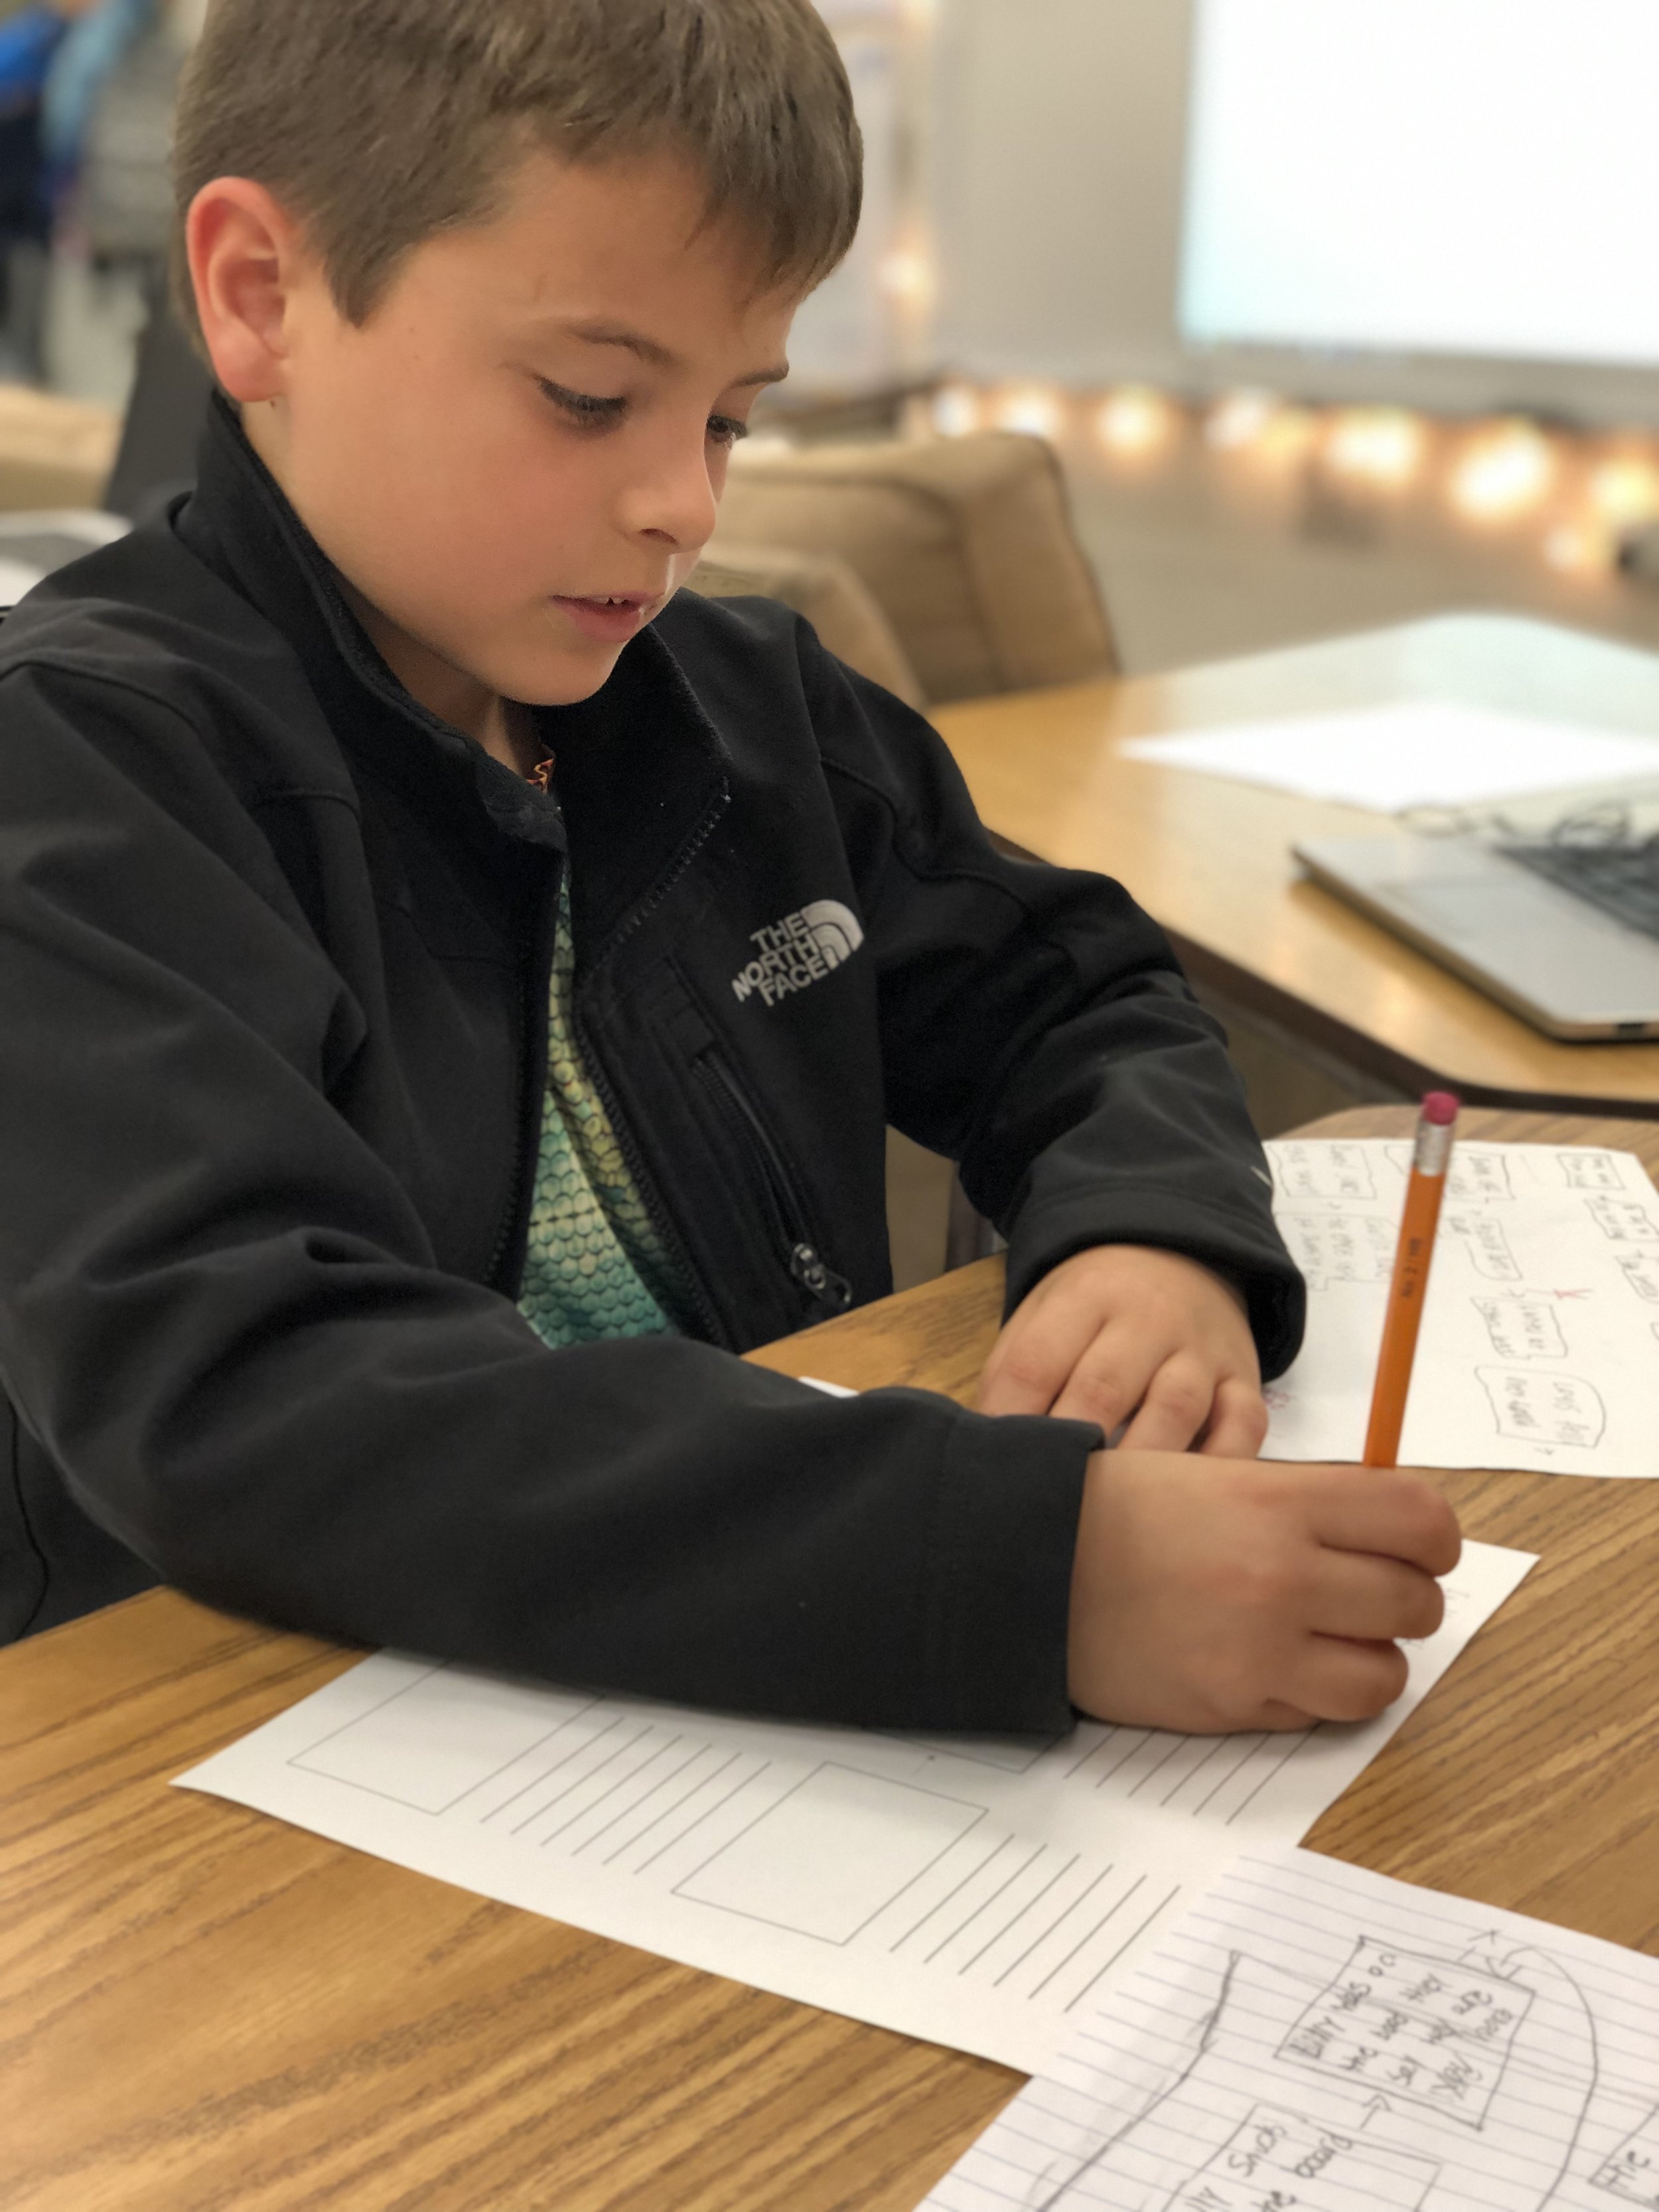
I split the lesson into two days to help address the multiple layers of our state standard. First, my students are required to show that they can summarize a story retelling the main events before they state and explain the theme. One of my favorite professional books is a book titled Summarization in Any Subject: 50 Techniques to Improve Student Learning by Rick Wormeli. One of the activities included is called "One Word Summary." Students use their selection of text and collaboratively come up with a list of words they could use to describe the story. Each students defends the "one word" they would use and explain/defend why they would choose that word. For this lesson, my students were working to summarize a novel we had read together as a class. This helped because it allowed me to be working on the same text with all students. After each student had brainstorm their word, their assignment was to "illustrate" their word. They drew the words with “animated” letters that fit with the topic and theme of the book.
When their word was completed, students flipped their papers over and explained why they chose the word they did. They explained their word through basic summaries of the story, using various elements of the story to support the word they chose. This part of the lesson took the first day and we continued with the memes the following day.
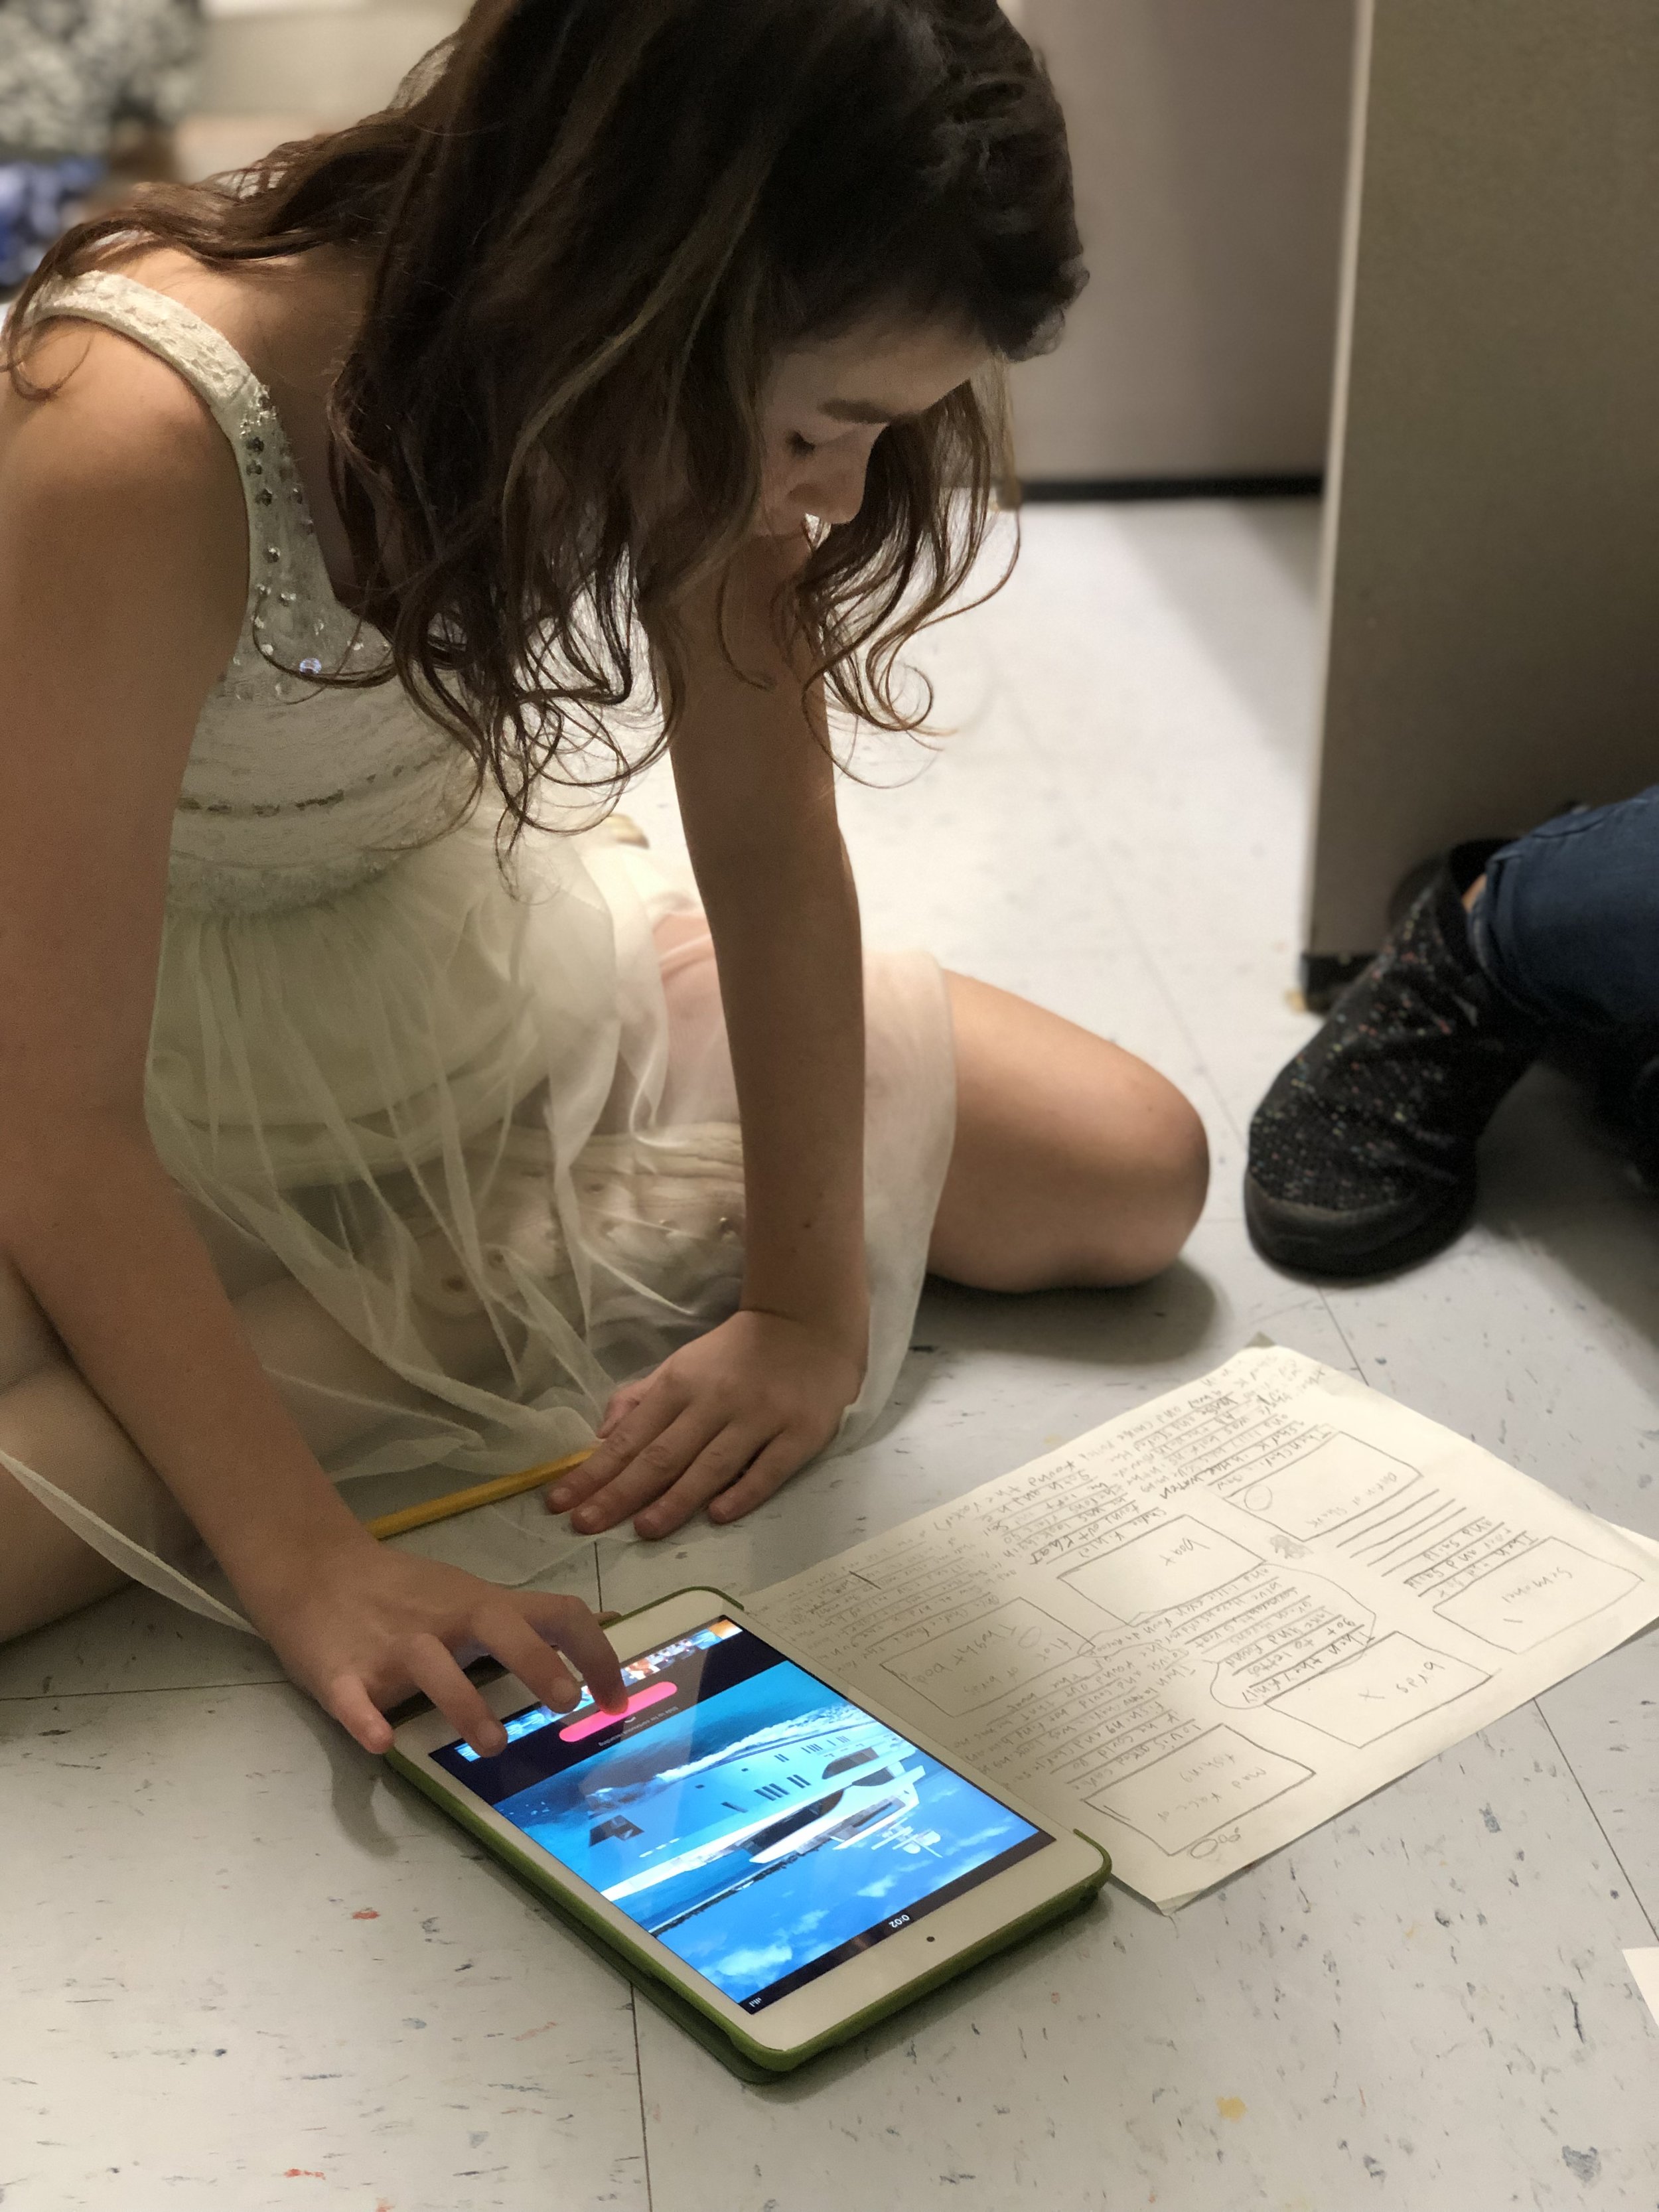
Day 2
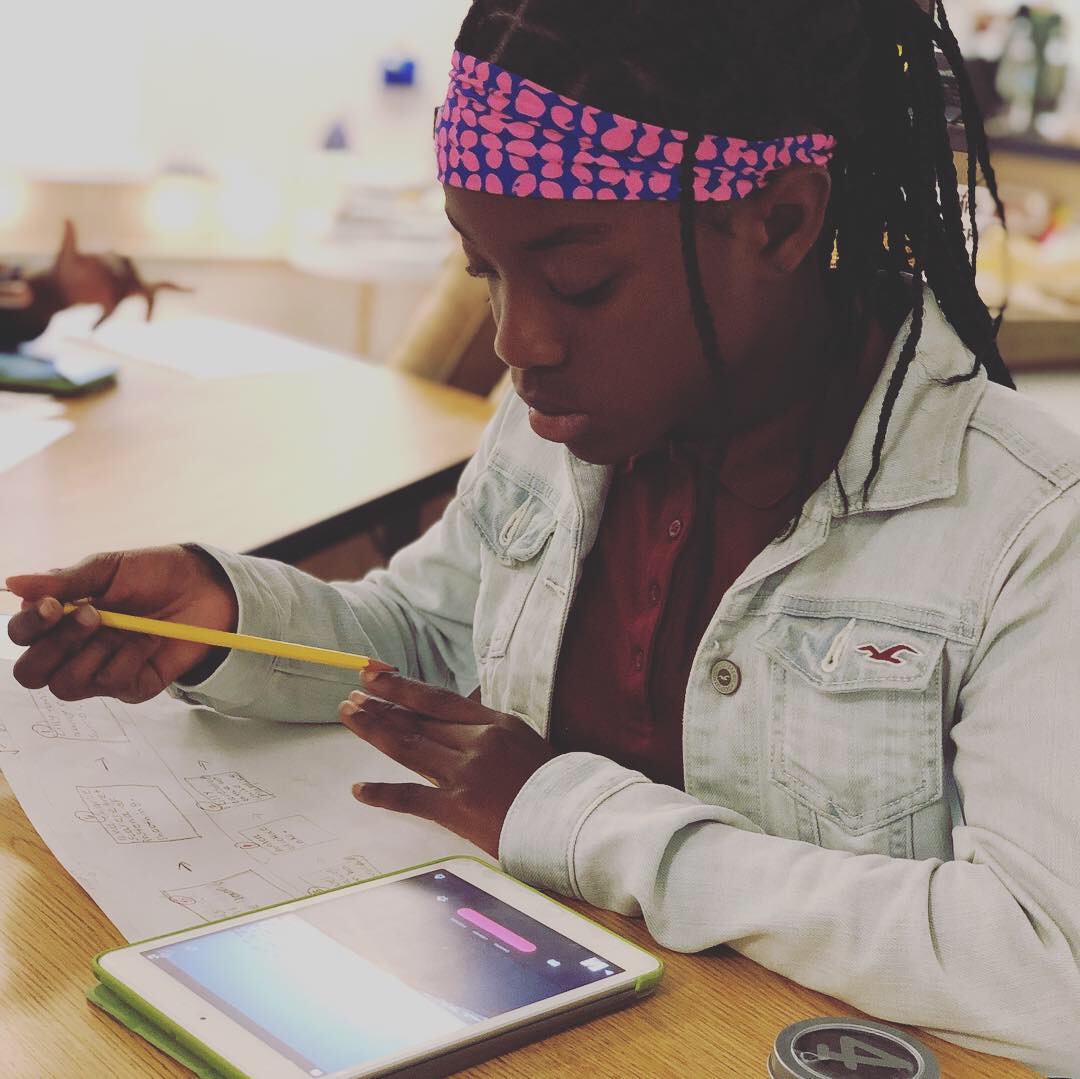
The next day we picked up right where we left off. Students came to the carpet for a time of modeling and instruction. I showed them the google slides I had prepared--complete with a slide for each of them (names already on it by class number). I modeled what my one word would be using a story we read aloud earlier in the year and then started creating my own meme. I first wrote my personal theme statement in the notes section of the slide. Then I chose a picture, and we brainstormed what text I could use to make my meme communicate the same theme as the book. This entire time I was also modeling how to find an image and how to maneuver through the google slides tools such as text size, font, etc. My example slide was the last slide in the google slides so the kids could refer back to it while they worked. When finished, we talked through any questions and then I let the kids get started. I rotated the room when needed, but also managed the class progress by scrolling through the google slides.
When a student felt they were finished, they came to me and we reviewed their meme. We read their theme statement (located in the notes section) and I then checked to see if it matched what the meme was trying to communicate. I didn't use this time to correct a student with an incorrect theme statement, but rather was looking to see if they could create a meme that visually represented the theme they came up with. I used this as an assessment so I wanted their work to be their own and to represent their knowledge of theme--even if it wasn't 100% correct. I later pulled the few students that struggle the following week to review theme again and to discuss the elements that might have been lacking from those students' original projects.
I have included a few of the memes created along with the theme statement that corresponded with each.

Theme Statement: One small person can make a big impact.

Theme Statement: Doing what you think is right may be scary but if you stick with it you may find yourself enjoying it.

Theme Statement: What we work hard to do can make a big impact on others.

Summarizing Scenes-Designing Creative Assessments
Students needed to show that they were able to summarize a story and then use that summary to tell the theme. I referred back to that quote—if I were a child, how would I want to show my ability to retell a story? In today’s digital world, retelling and summarizing happens in 30 sec clips, 7 sec vines and numerous other forms of visual media. So when I looked at it through my students’ eyes the answer was crystal clear!
One of the first things to often be “taken away” from teachers is unfortunately the right to choose what is taught and with what materials. Many districts have mandated curriculum that is to be used that goes along with specific state standards that are to be taught. At first glance, this can be a hard thing for teachers to adjust to and is challenging to do well while also keeping creativity alive in the classroom.
I remember reading a quote a while back that went “A creative adult is a child who survived.” This really resonated with me and I am often reminded of it when I get stuck trying to plan a lesson. You know those lessons I’m talking about—the ones that aren’t engaging or #interACTIVE and the ones that both you and the students dread. Even worse are when those activities culminate into boring and uneventful assessments.
Assessments are the worst—or at least the traditional ones can be. Now, don’t get me wrong, I am a HUGE proponent of data driven instruction and in my classroom this comes in both summative and formative forms. But, there are only so many multiple choice, fill in the blank, short response answers to go around in . one room. The purpose of an assessment is to see what students know and what knowledge they have gained and what better way to showcase this than through some form of new, creative context. If a student has truly mastered specific content, then they should be able to take that knowledge and transfer it into some form of personally created work.
This past week this came to fruition in my classroom with a classic standard—summarization and theme. Students needed to show that they were able to summarize a story and then use that summary to tell the theme. We had just finished reading a novel as a class and as I procrastinated writing my weekly lessons I racked my brain trying to come up with a creative way form them to show mastery. I referred back to that quote—if I were a child, how would I want to show my ability to retell a story? In today’s digital world, retelling and summarizing happens in 30 sec clips, 7 sec vines and numerous other forms of visual media. So when I looked at it through my students’ eyes the answer was crystal clear!
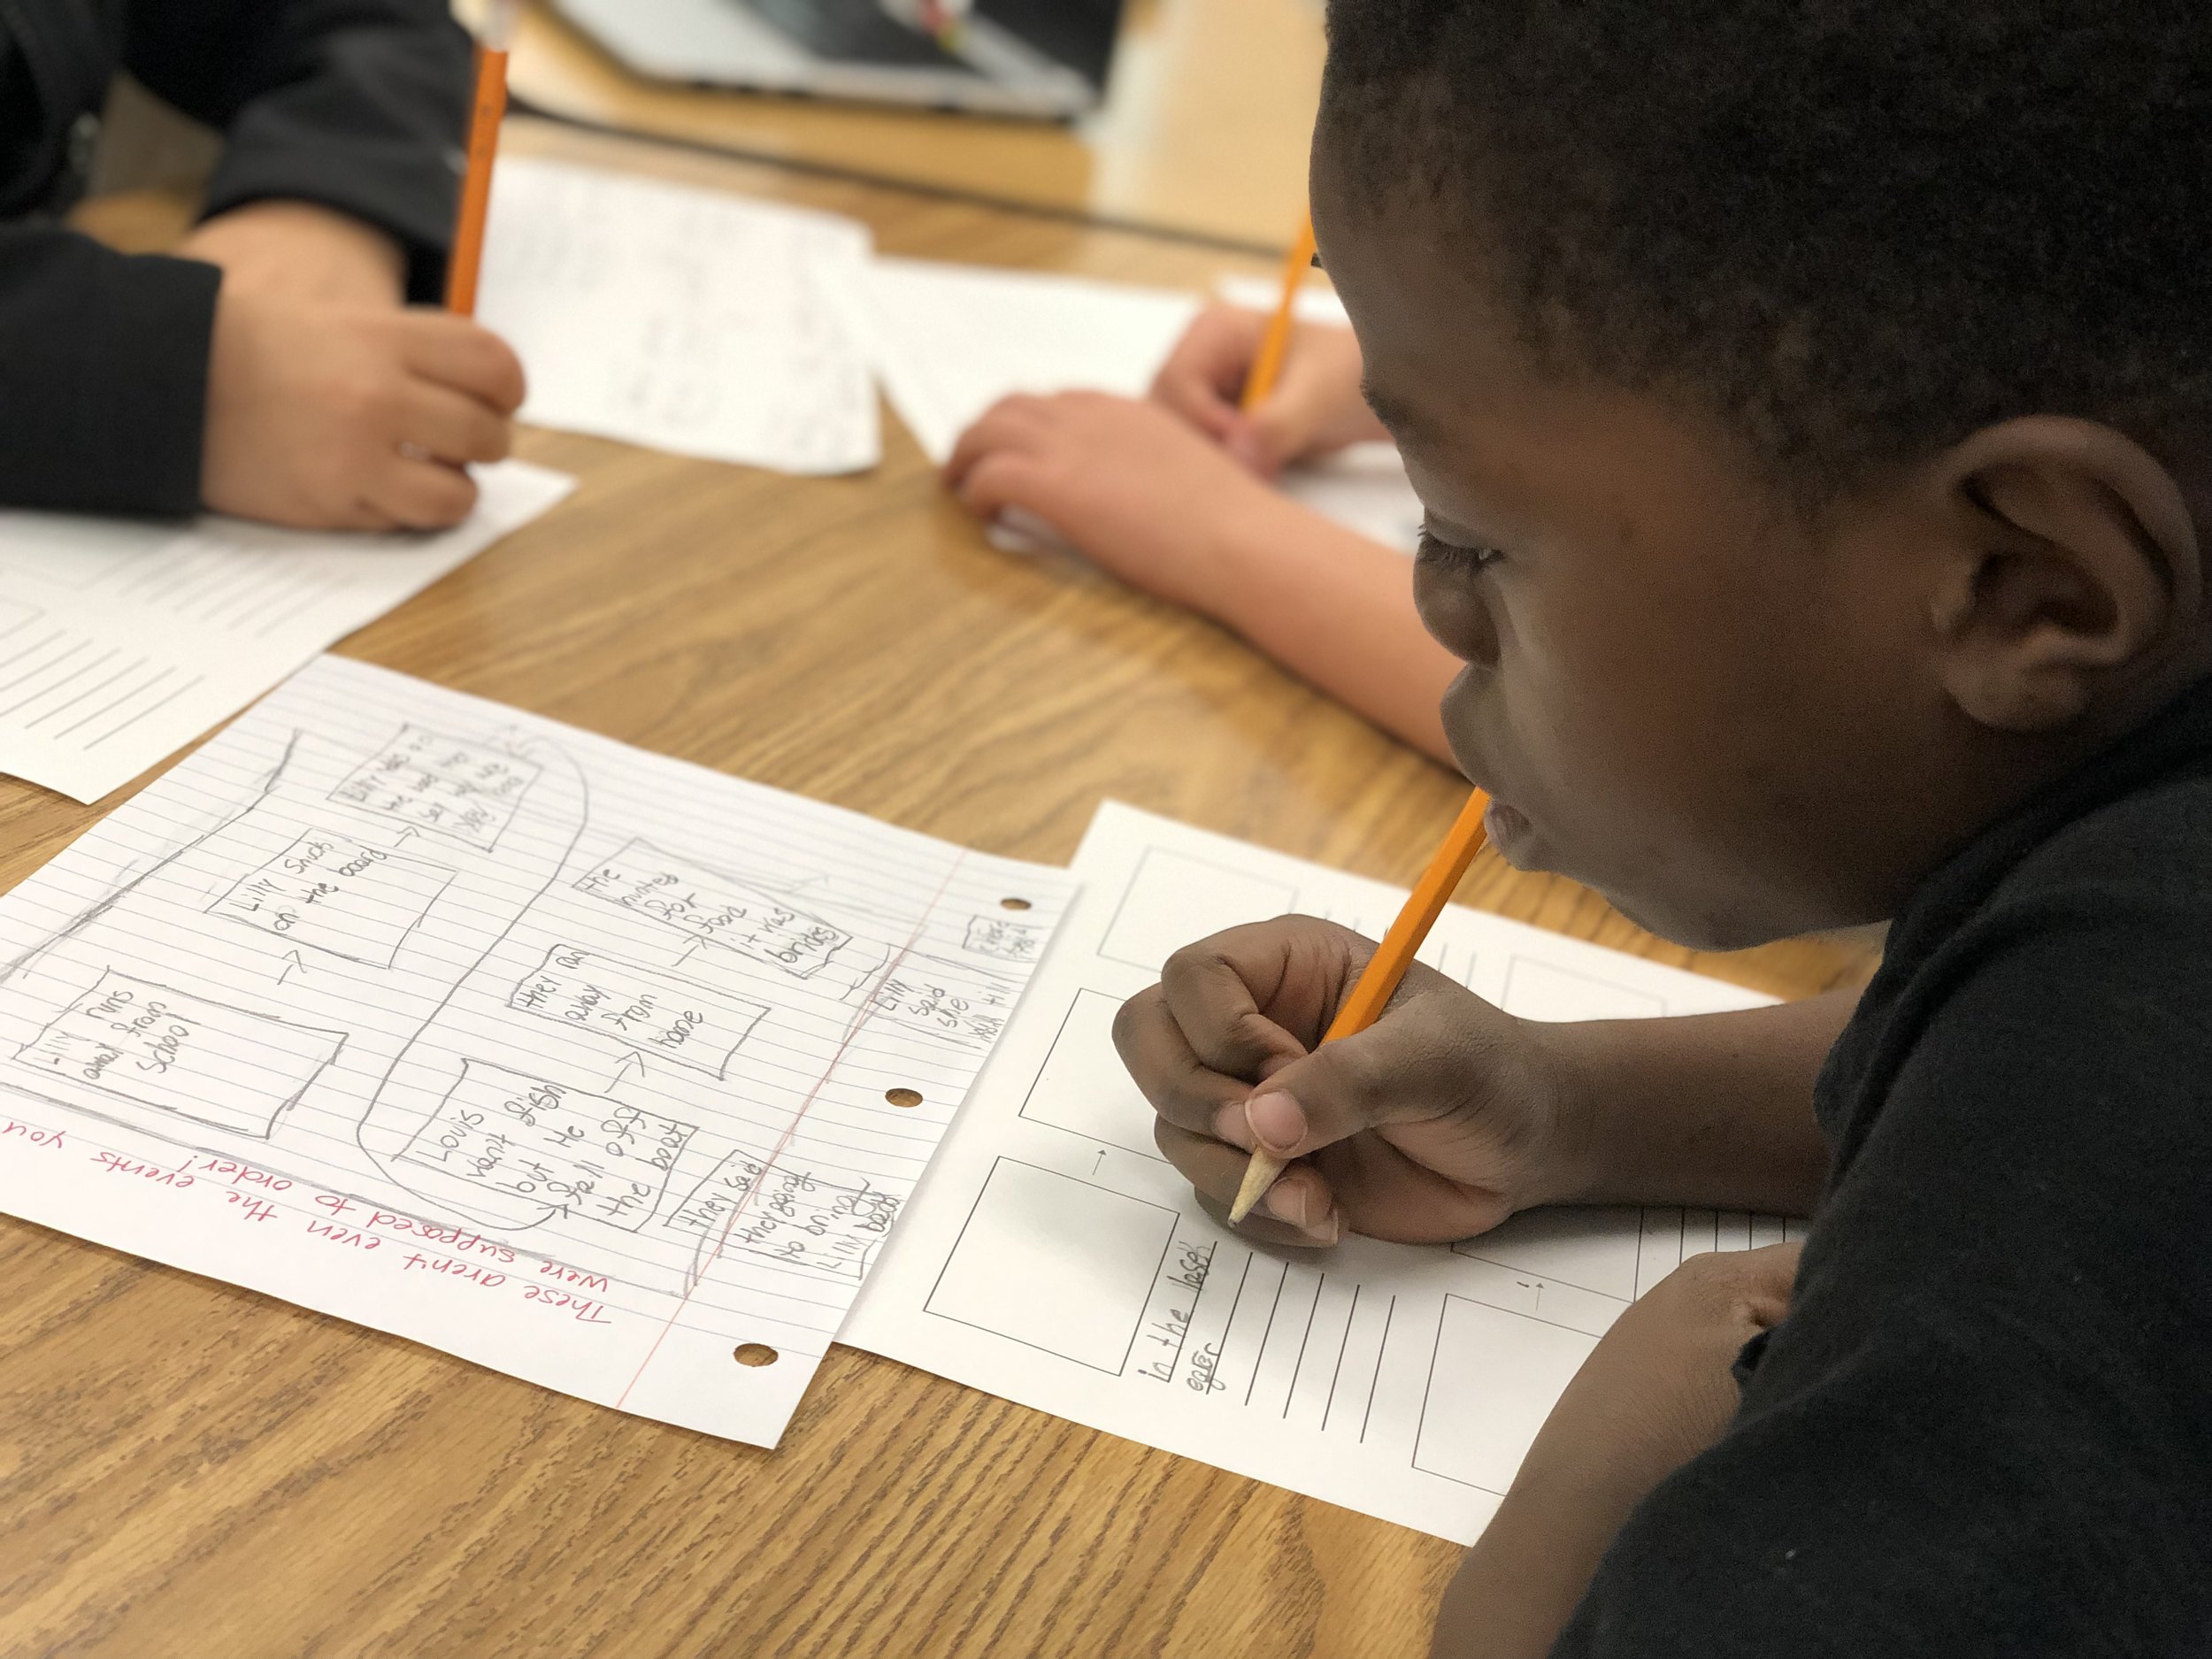
In the morning class we started out by brainstorming main events from the story and then they were given time to discuss the importance of each and to revise the list until only the most important, most relevant events remained. Students then took those main events and reordered them until they were in the correct chronological order creating if you will their own version of a “story board.” Next, students worked on finding visuals to correspond with each main event and for these Gen Z learners—-we chose emojis! When all the emojis were selected, the students smashed all their events, emojis and explanations together to create their own video summaries using Apple Clips.
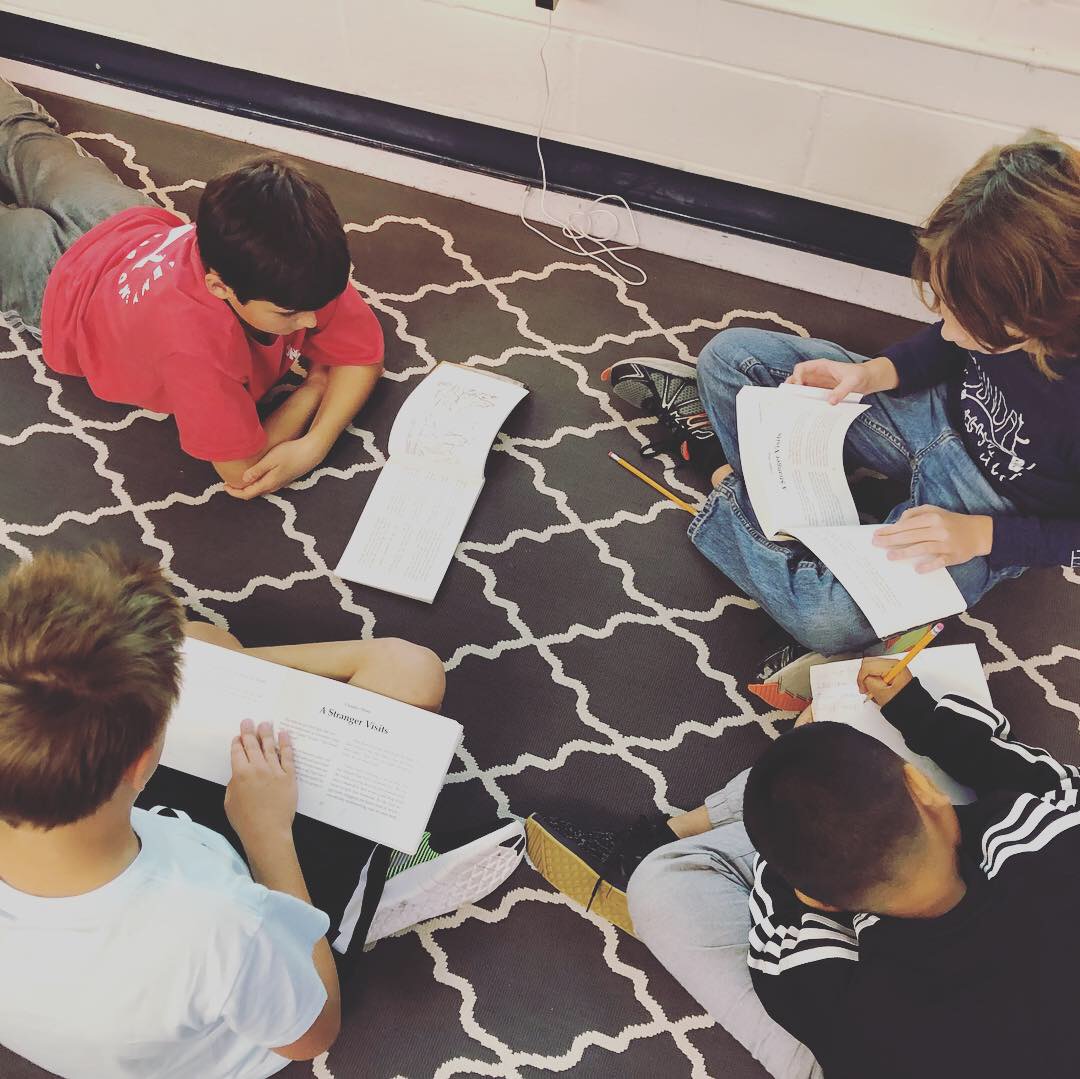
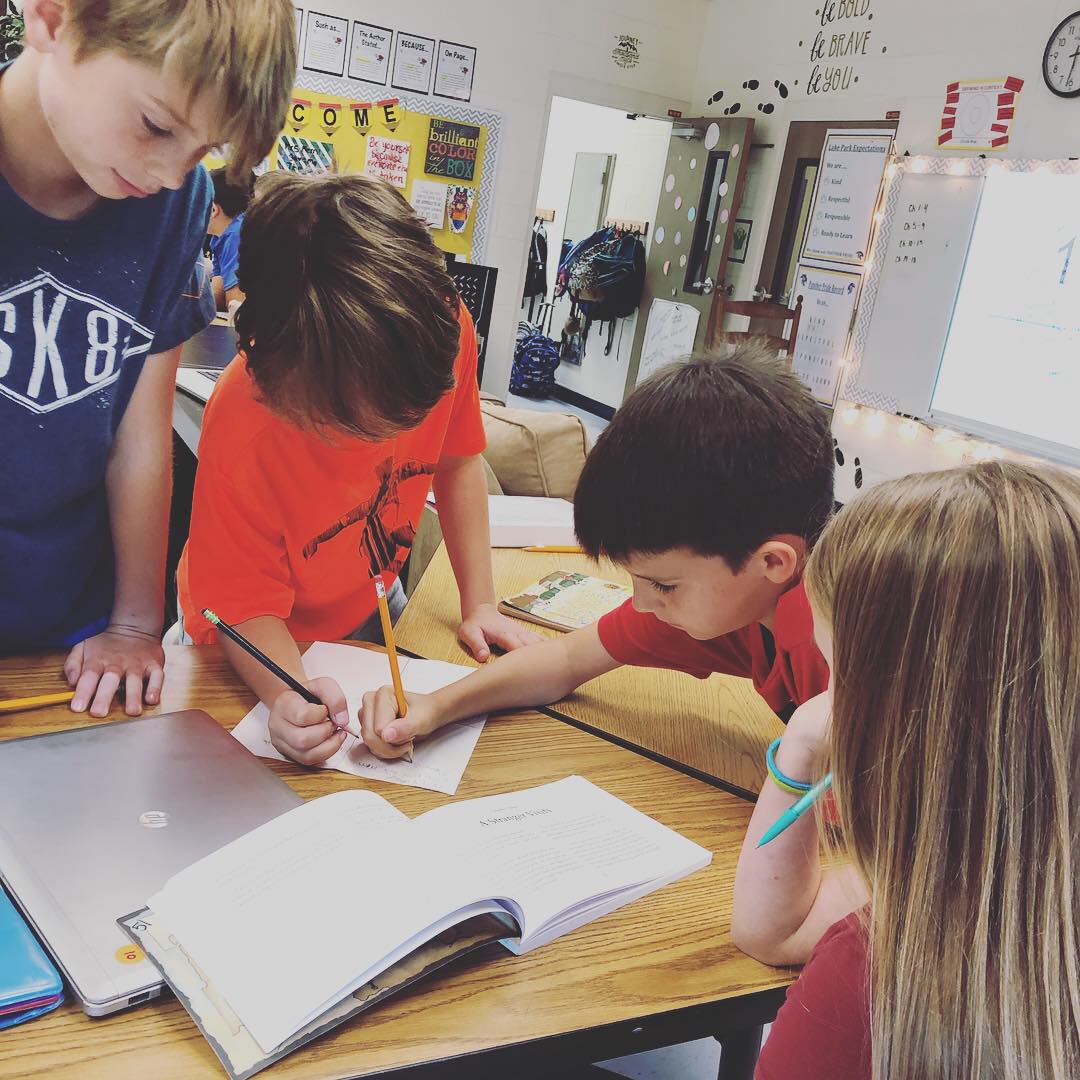
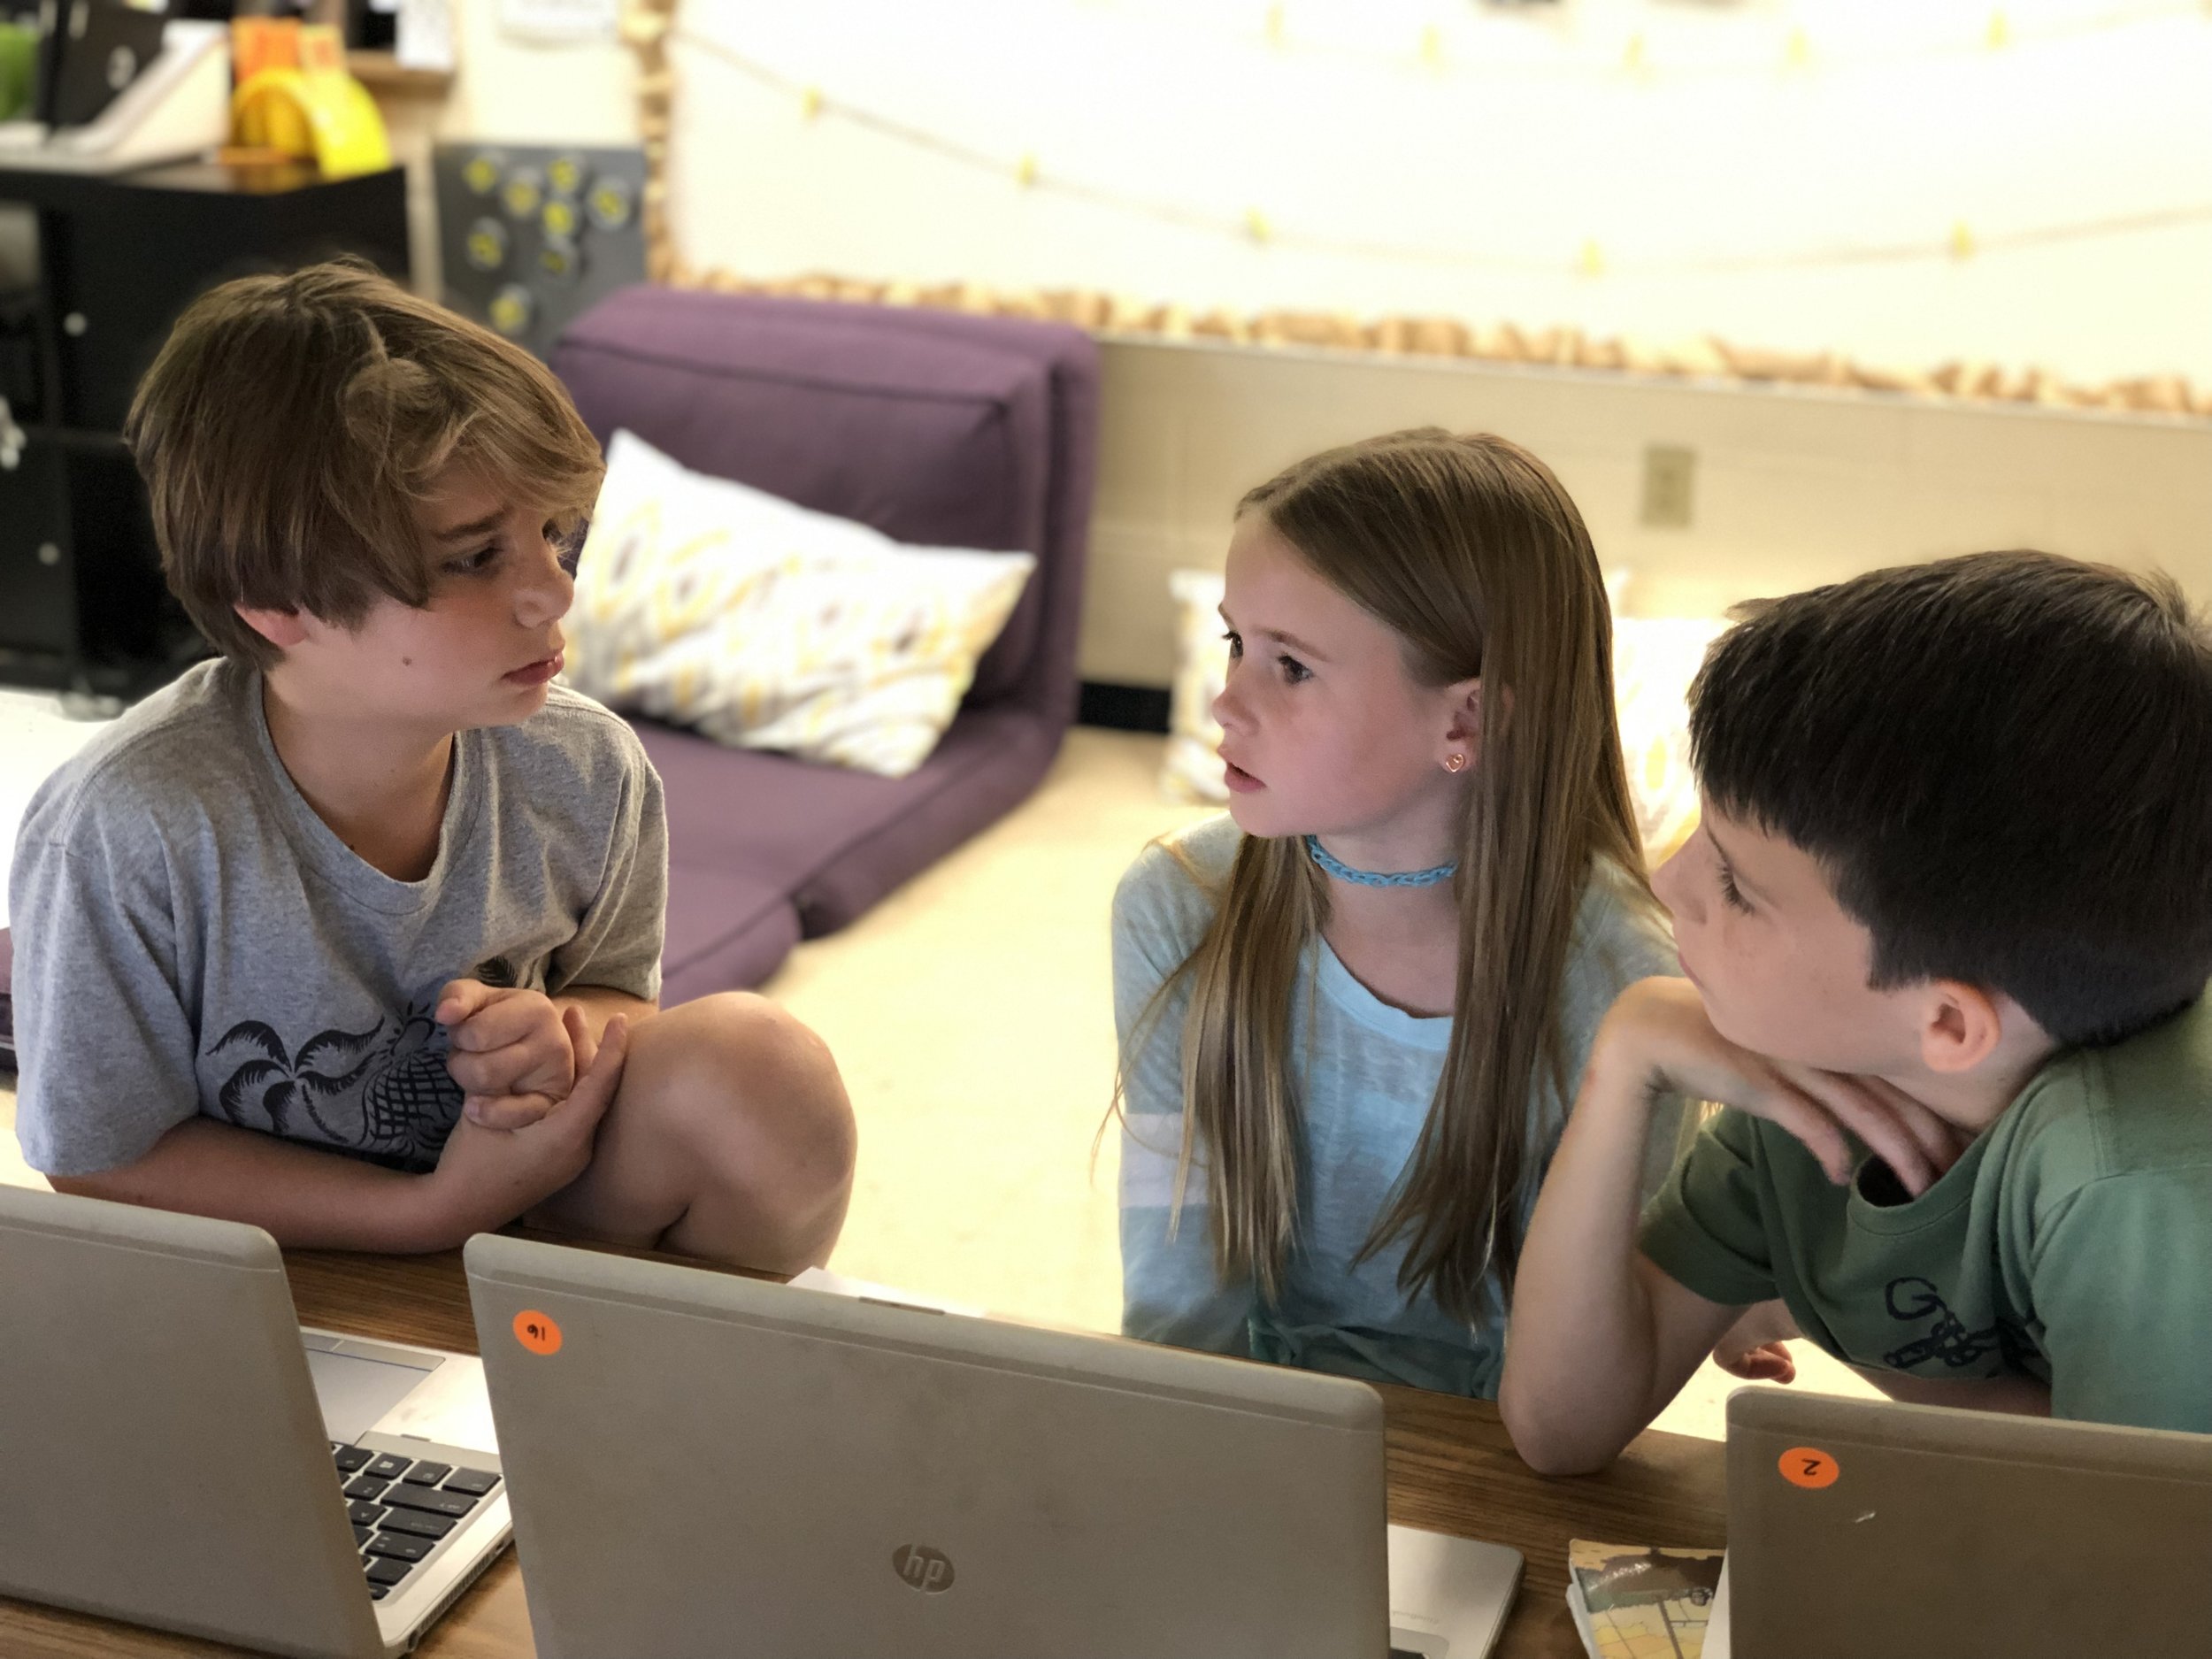
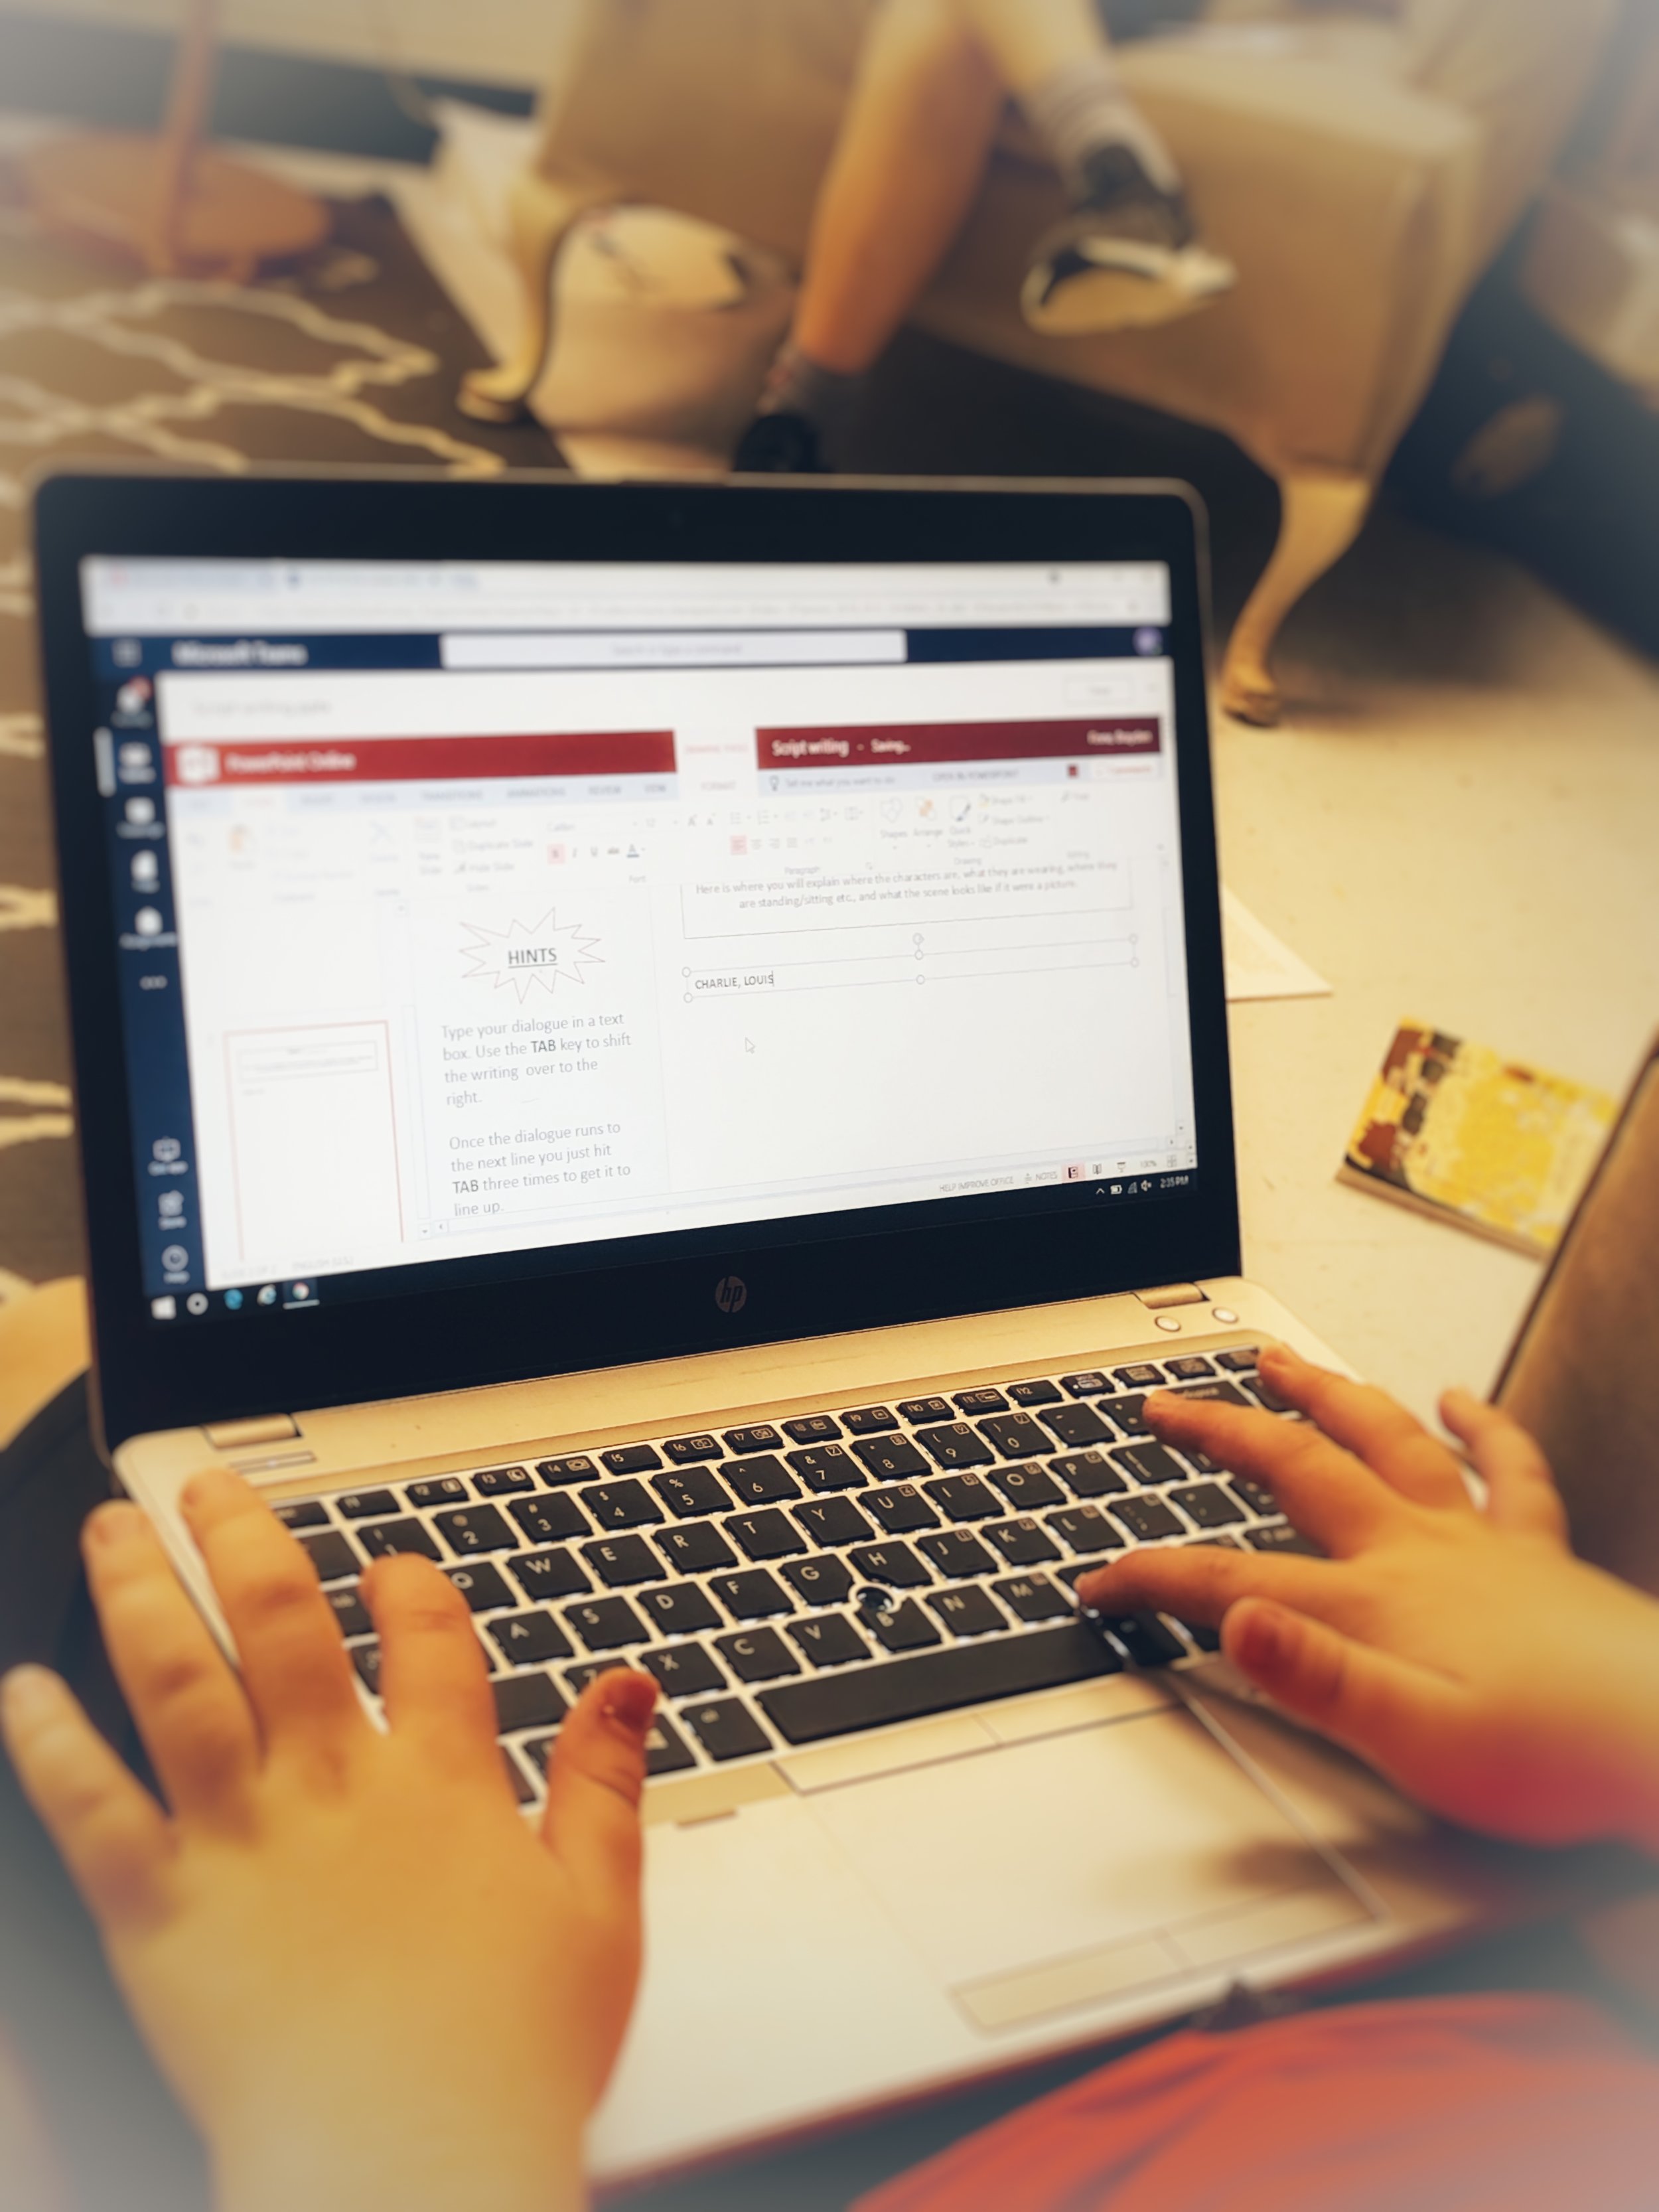
The second class I teach took a slightly different approach and instead of creating a summary in digital form, they created their summaries in a slightly more theatrical way. Students were placed in pairs, and then given the choice to group up with another set of two to create final groups of four. The novel was split into four sections (ex. Chapters 1-4, Chapters 5-10, etc.) with each student taking a different one. Students then were in charge of summarizing the main events that fell within their set of selected chapters by writing a script that the group would later act out. Students had to summarize though dialogue, descriptive language and stage directions. The groups edited and revised their plays as a whole—each helping their group members perfect their written sections before practicing. By the end of the week all groups had a fully written play that they then performed to the group.
“Creativity is seeing what everyone else has seen, and thinking what no one else has thought.””
By givings students an opportunity to creatively demonstrate their knowledge of summarization they all were able to cover the required standard while also strengthening additional skills such as video editing, public speaking and peer editing. The best part about these creative projects was that their creativity was never wasted—the more they used the more they had!
Stay creative friends! 👗-K