


Practicing and Assessing Sight Words in Canva!
Learn how to use Canva to practice and assess your students sight words! These ideas can be used to assess or as a center!

If you’re a primary teacher, you know the pain of assessing 20+ students. Chances are that this takes a great deal of time and can be frustrating for both teachers and students. We’ve used tools like Microsoft’s Reading Progress to assess sight words (click here to learn more), but sometimes you just need to sit down with a student to hear how they’re performing. That’s where this idea comes in! In this mini-blog post, you’ll learn how to use Canva to assess sight words. Click any subheading to jump to that section:


How to use Canva to Practice and Assess Sight Words
This idea can be used as a center for students, or as an assessment tool. The idea is to have your slides automatically advance so that they progress through the words relatively quickly. Here’s how it all works:
Start off by creating a presentation deck that has all of your sight words on it.

Once you’ve settled on a design, change the timing on your slides. To do this, click on the clock icon located at the top of the screen. Adjust the timing to your preference. We recommend around 5 seconds. Be sure toggle on “Apply to all pages,” which will place the same timing on all of your pages.
Now your deck is ready. When you want to start assessing a student, explain that a sight word will appear on the screen. If they know if, they can say the word. If they don’t know it, that’s okay. The word will change in a few seconds and they can try the next word. Here are the steps to launch the deck:
In the deck, click “present” to take the pages full screen. Now, change the type from “Standard,” to “Autoplay.” This will automatically transition the pages to the time you selected. Students read off the words as they appear on the screen.

Download our Excel template to
record student responses
If you prefer to manage your data digitally, we have you covered! We’ve designed a Microsoft Excel sheet that has all of our sight words on it. When a student gets a word correct, enter a “1” in the white box. Doing so will change the word from being highlighted to white - an indication that the student has mastered that particular word. This document will also automatically calculate the number of correct words. Record each assessment on the lower right side to keep accurate data. Note: this document is editable, but you may need to change the formulas if you edit it. Click here or the image below to download it now!


How to use Canva to Practice and Assess Sight Words (Video Tutorial)
Need to see it in action to understand all of this? We’ve got you! Check out the video tutorial below to understand each step.

Download our Free Canva Sight Word Deck
Does all of this sound awesome but you’re just not sure where to start? Teachers are busy, so we’ve got you covered here, too! You can download our Canva Sight Word deck by clicking here or the image below.

-- Please follow us on social media and tag us with how you’re using these Canva Sight Word ideas in your classroom! 👓👗
For more tips, tricks and lesson ideas for making learning more interACTIVE, check out our books The InterACTIVE Class and Flipgrid in the InterACTIVE Class on Amazon!


What is Microsoft's Reading Coach?
In late 2021, Microsoft released Reading Progress - a tool designed to help students become better readers and save educators time. Now, a new update and integration is here: Reading Coach!

In late 2021, Microsoft released Reading Progress - a tool designed to help students become better readers and save educators time. Now, a new update and integration is here: Reading Coach. In this blog post, you’ll learn what Reading Progress is and how it works, tips and tricks and how Reading Coach can help your students. Click any subheading below to jump to that section.


What is Microsoft’s
Reading Progress?
Reading Progress is a free tool built into Microsoft Teams designed to support and track reading fluency in your class. Students record their reading on camera and submit it to you. Imagine this, the same type of technology used in the Flipgrid Shorts Camera, combined with the power of Immersive Reader and the distribution power of Microsoft Teams. All of these ideas together form Microsoft’s Reading Progress. If you’re interested in learning more about all the nitty gritty details, click here or the image below. We’ll walk you through everything!


Tips and Tricks When Using Microsoft’s Reading Progress
One of the things we love most about Microsoft’s Reading Progress is that it is appropriate for all ages. We love how it can quickly and efficiently assess our students and how it saves time grading running records. We also appreciate how easy it is to use. Once your students are in the assignment, they’re recording themselves in (literally) just several clicks. But now that we have had almost a full year working with Reading Progress, here’s a few tips we can share:
If you teach younger students, we recommend lowering the sensitivity.

Younger students may have difficulty enunciating clearly, which sometimes leads to errors. This can be remedied by lowering the sensitivity to “Less sensitive.”
Take advantage of the option to limit time.
Toggling on the time limit might prevent frustration if a student is struggling with a passage. If a student is fluently reading, they will still feel successful when the timer stops. This feature can be turned on/off when creating the assignment - directly under the “Number of Attempts."
Assignments are now editable!

A little known secret is that Reading Progress assignments are now fully editable! When Reading Progress launched, if you made a mistake on the assignment, you would have to delete it and start all over again. Now, in an assignment, click the three dots and then click “Edit assignment.” No more deleting!
Reading Progress isn’t just for running records.
If you’re a primary teacher, you can use it to assess sight words, too! That’s right…automatically grade sight words! You can learn all about how this works in our blog post. Click here or the image to read all about it!

What is Microsoft’s Reading Coach and How Can it Help My Students?
Microsoft’s Reading Coach is another free add on to Reading Progress. Now, after your students have completed reading a passage, Reading Coach will intelligently (and immediately) identify words that the student struggled with. It will then provide the list of words to practice, prior to the student turning in the assignment. Here’s how it works:
Once a student has stopped the Reading Progress recording, Reading Coach will generate a list of words that the student struggled with. The student can then take time to practice the word(s).

When students click on a word, they have the option to hear the word read allowed, stretch the syllables out, or (if available) “see the word,” which pops up an illustration describing the term. Students can earn a star on the word for correctly saying the word by clicking on the microphone (located on the bottom of the screen).
Students can easily go through the words using the arrows. Notice, all of this can be done prior to turning in the assignment. Reading Coach is optional, though, and students may bypass it by just turning the assignment in. We recommend training your students to take the time to use it, which will give them even more (independent) practice on terms they struggled with.

But, students aren’t the only ones in on the fun! Educators now have access to valuable insights (available through Microsoft Teams by clicking on a student’s assignment, then clicking “Insights.” This report will generate information like correct words per minute, accuracy rate, practiced words, and much more.
If you’re a primary teacher, you can also use Reading Coach to help your students practice their sight words! Check out our blog post for downloadable templates of the 220 Dolch (Sight) Words. Upload them one-by-one and then students can practice the words ten at a time. If a student misses a word, Reading Coach will automatically help tech it to them!
-- Stay tuned for more Microsoft Education ideas that you can use in your classroom! Be sure to follow us on social media (@TheMerrillsEDU everywhere) for more! 👓👗
For more tips, tricks and lesson ideas for making learning more interACTIVE, check out our books The InterACTIVE Class and Flipgrid in the InterACTIVE Class on Amazon!


Summarizing Scenes-Designing Creative Assessments
Students needed to show that they were able to summarize a story and then use that summary to tell the theme. I referred back to that quote—if I were a child, how would I want to show my ability to retell a story? In today’s digital world, retelling and summarizing happens in 30 sec clips, 7 sec vines and numerous other forms of visual media. So when I looked at it through my students’ eyes the answer was crystal clear!
One of the first things to often be “taken away” from teachers is unfortunately the right to choose what is taught and with what materials. Many districts have mandated curriculum that is to be used that goes along with specific state standards that are to be taught. At first glance, this can be a hard thing for teachers to adjust to and is challenging to do well while also keeping creativity alive in the classroom.
I remember reading a quote a while back that went “A creative adult is a child who survived.” This really resonated with me and I am often reminded of it when I get stuck trying to plan a lesson. You know those lessons I’m talking about—the ones that aren’t engaging or #interACTIVE and the ones that both you and the students dread. Even worse are when those activities culminate into boring and uneventful assessments.
Assessments are the worst—or at least the traditional ones can be. Now, don’t get me wrong, I am a HUGE proponent of data driven instruction and in my classroom this comes in both summative and formative forms. But, there are only so many multiple choice, fill in the blank, short response answers to go around in . one room. The purpose of an assessment is to see what students know and what knowledge they have gained and what better way to showcase this than through some form of new, creative context. If a student has truly mastered specific content, then they should be able to take that knowledge and transfer it into some form of personally created work.
This past week this came to fruition in my classroom with a classic standard—summarization and theme. Students needed to show that they were able to summarize a story and then use that summary to tell the theme. We had just finished reading a novel as a class and as I procrastinated writing my weekly lessons I racked my brain trying to come up with a creative way form them to show mastery. I referred back to that quote—if I were a child, how would I want to show my ability to retell a story? In today’s digital world, retelling and summarizing happens in 30 sec clips, 7 sec vines and numerous other forms of visual media. So when I looked at it through my students’ eyes the answer was crystal clear!
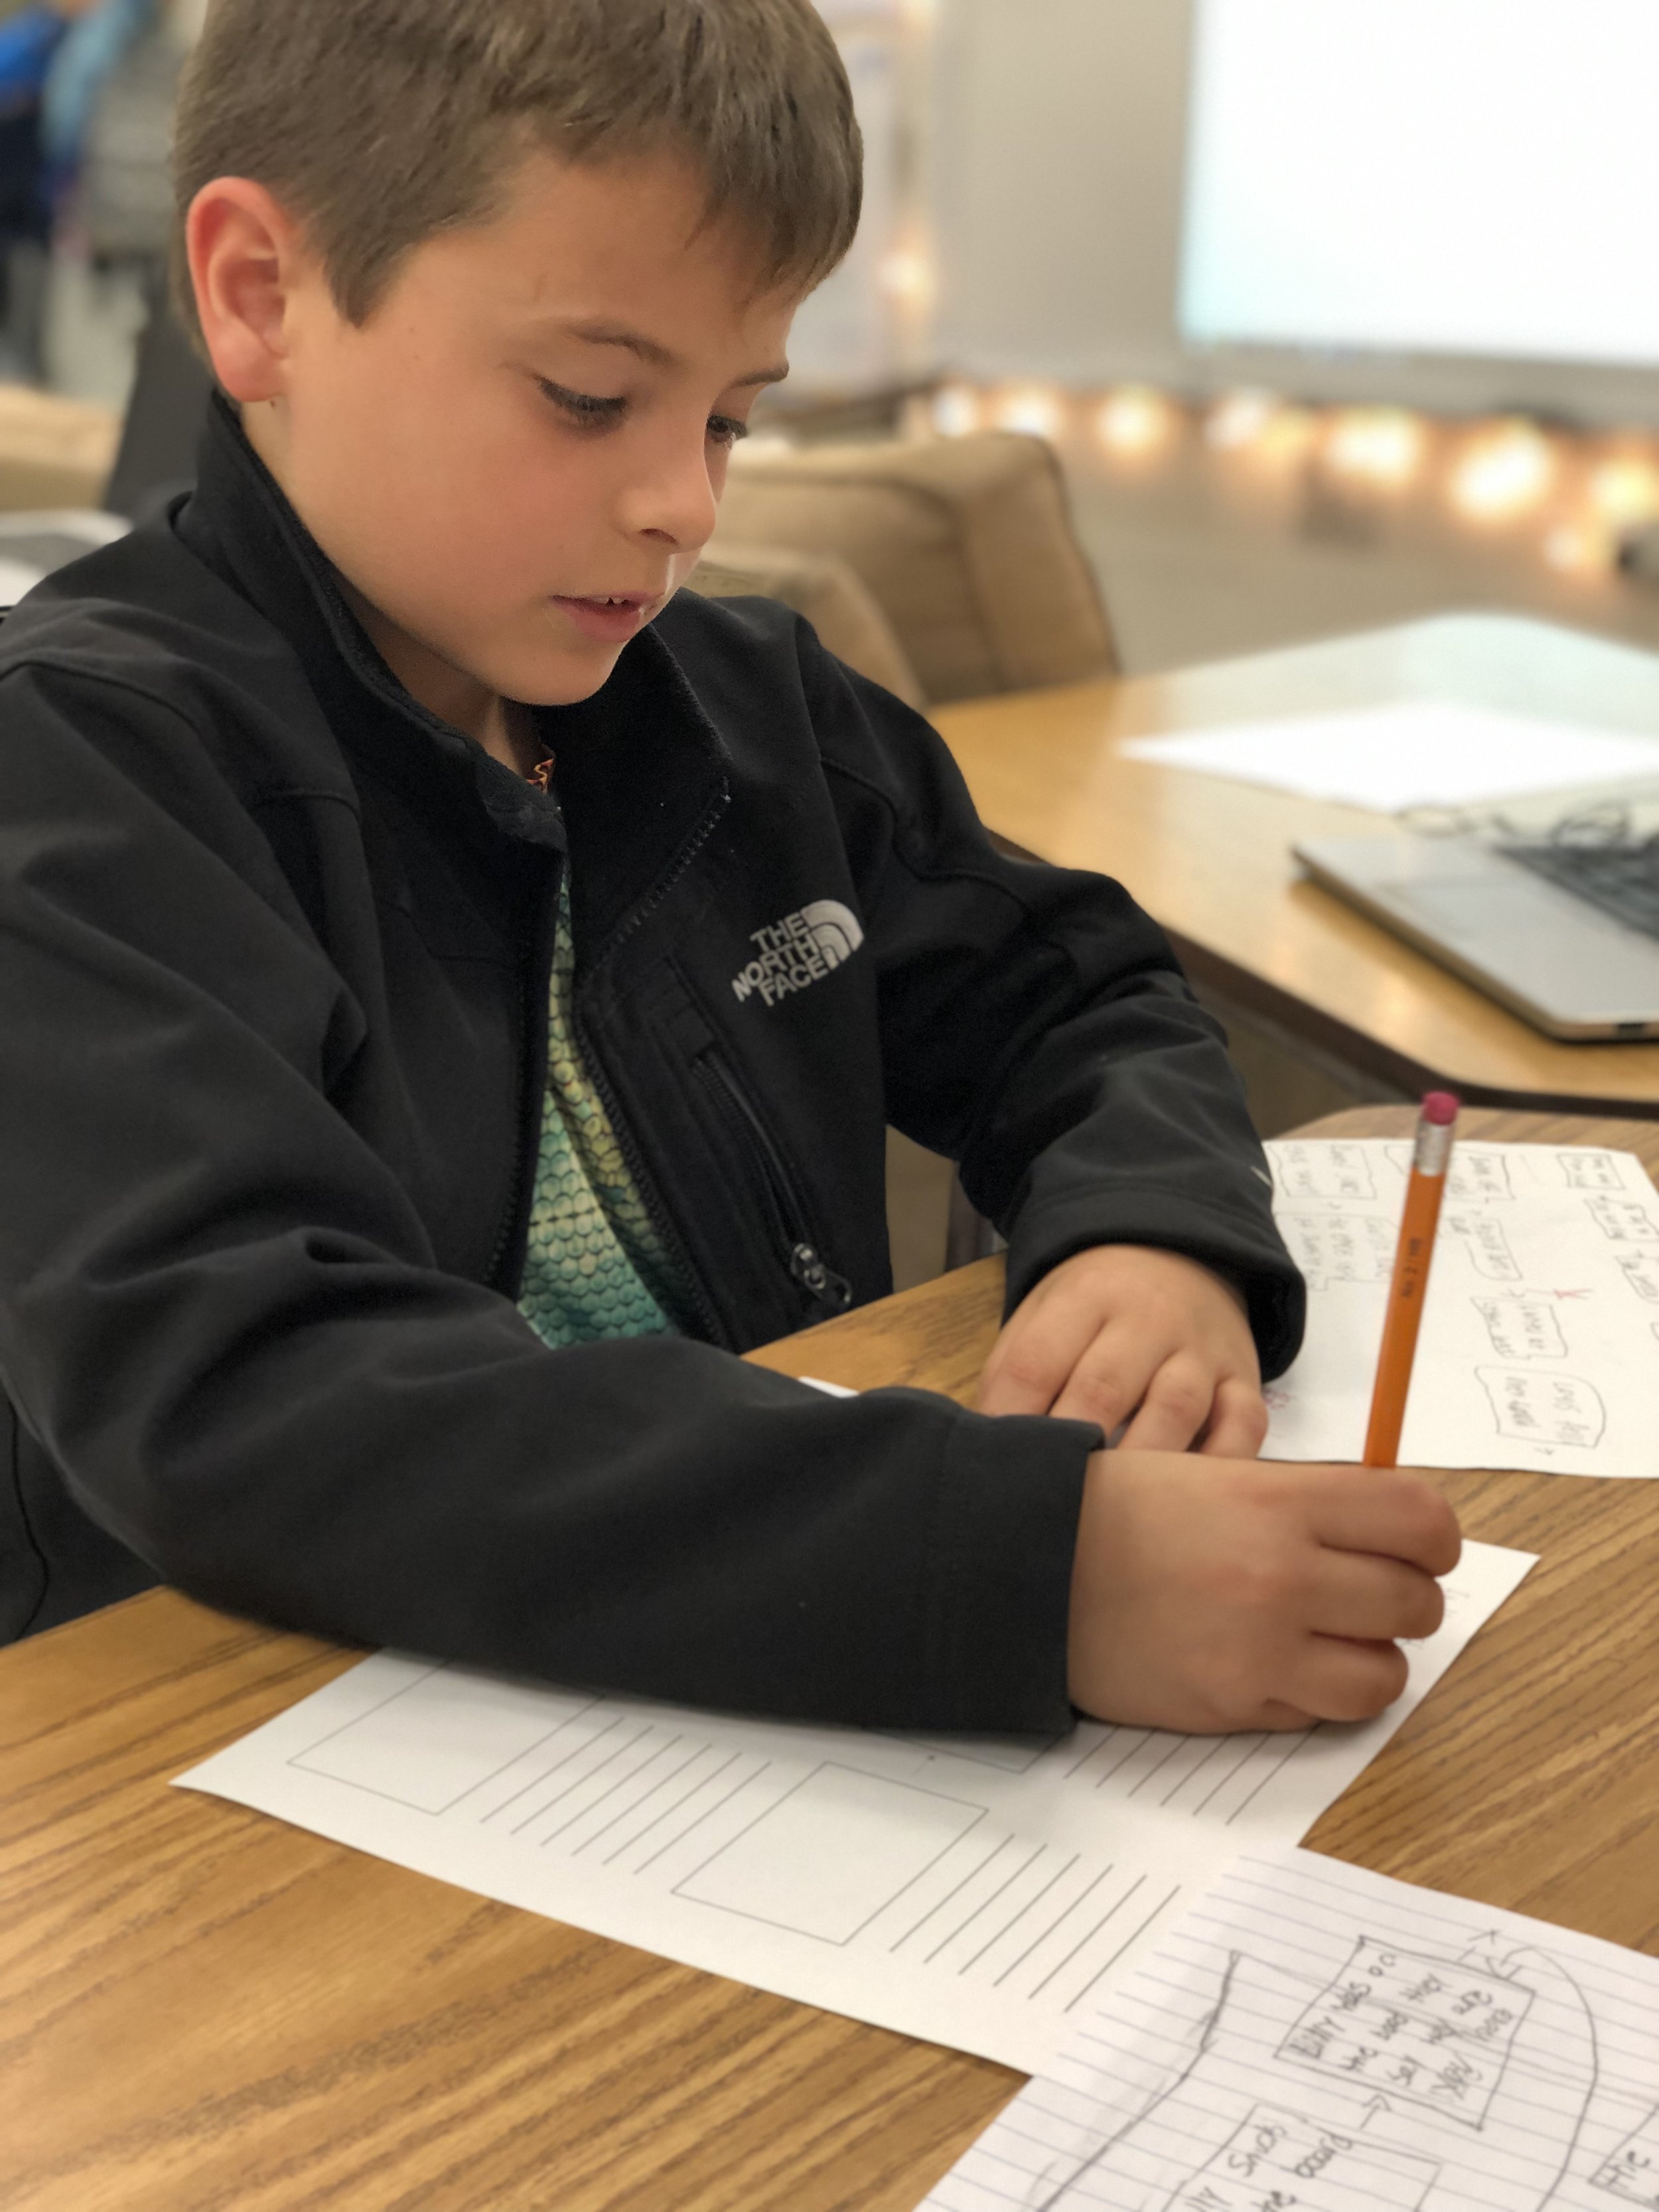
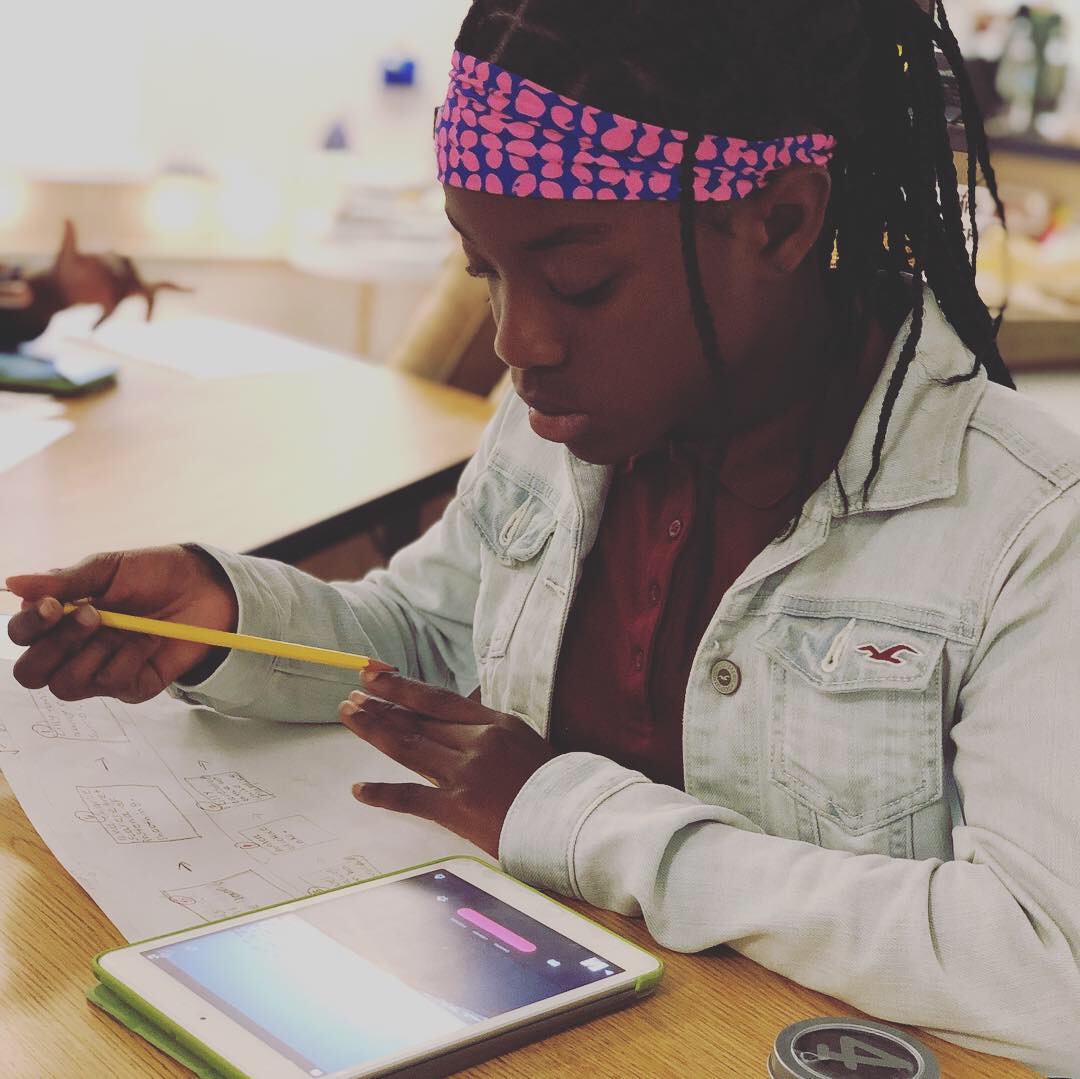
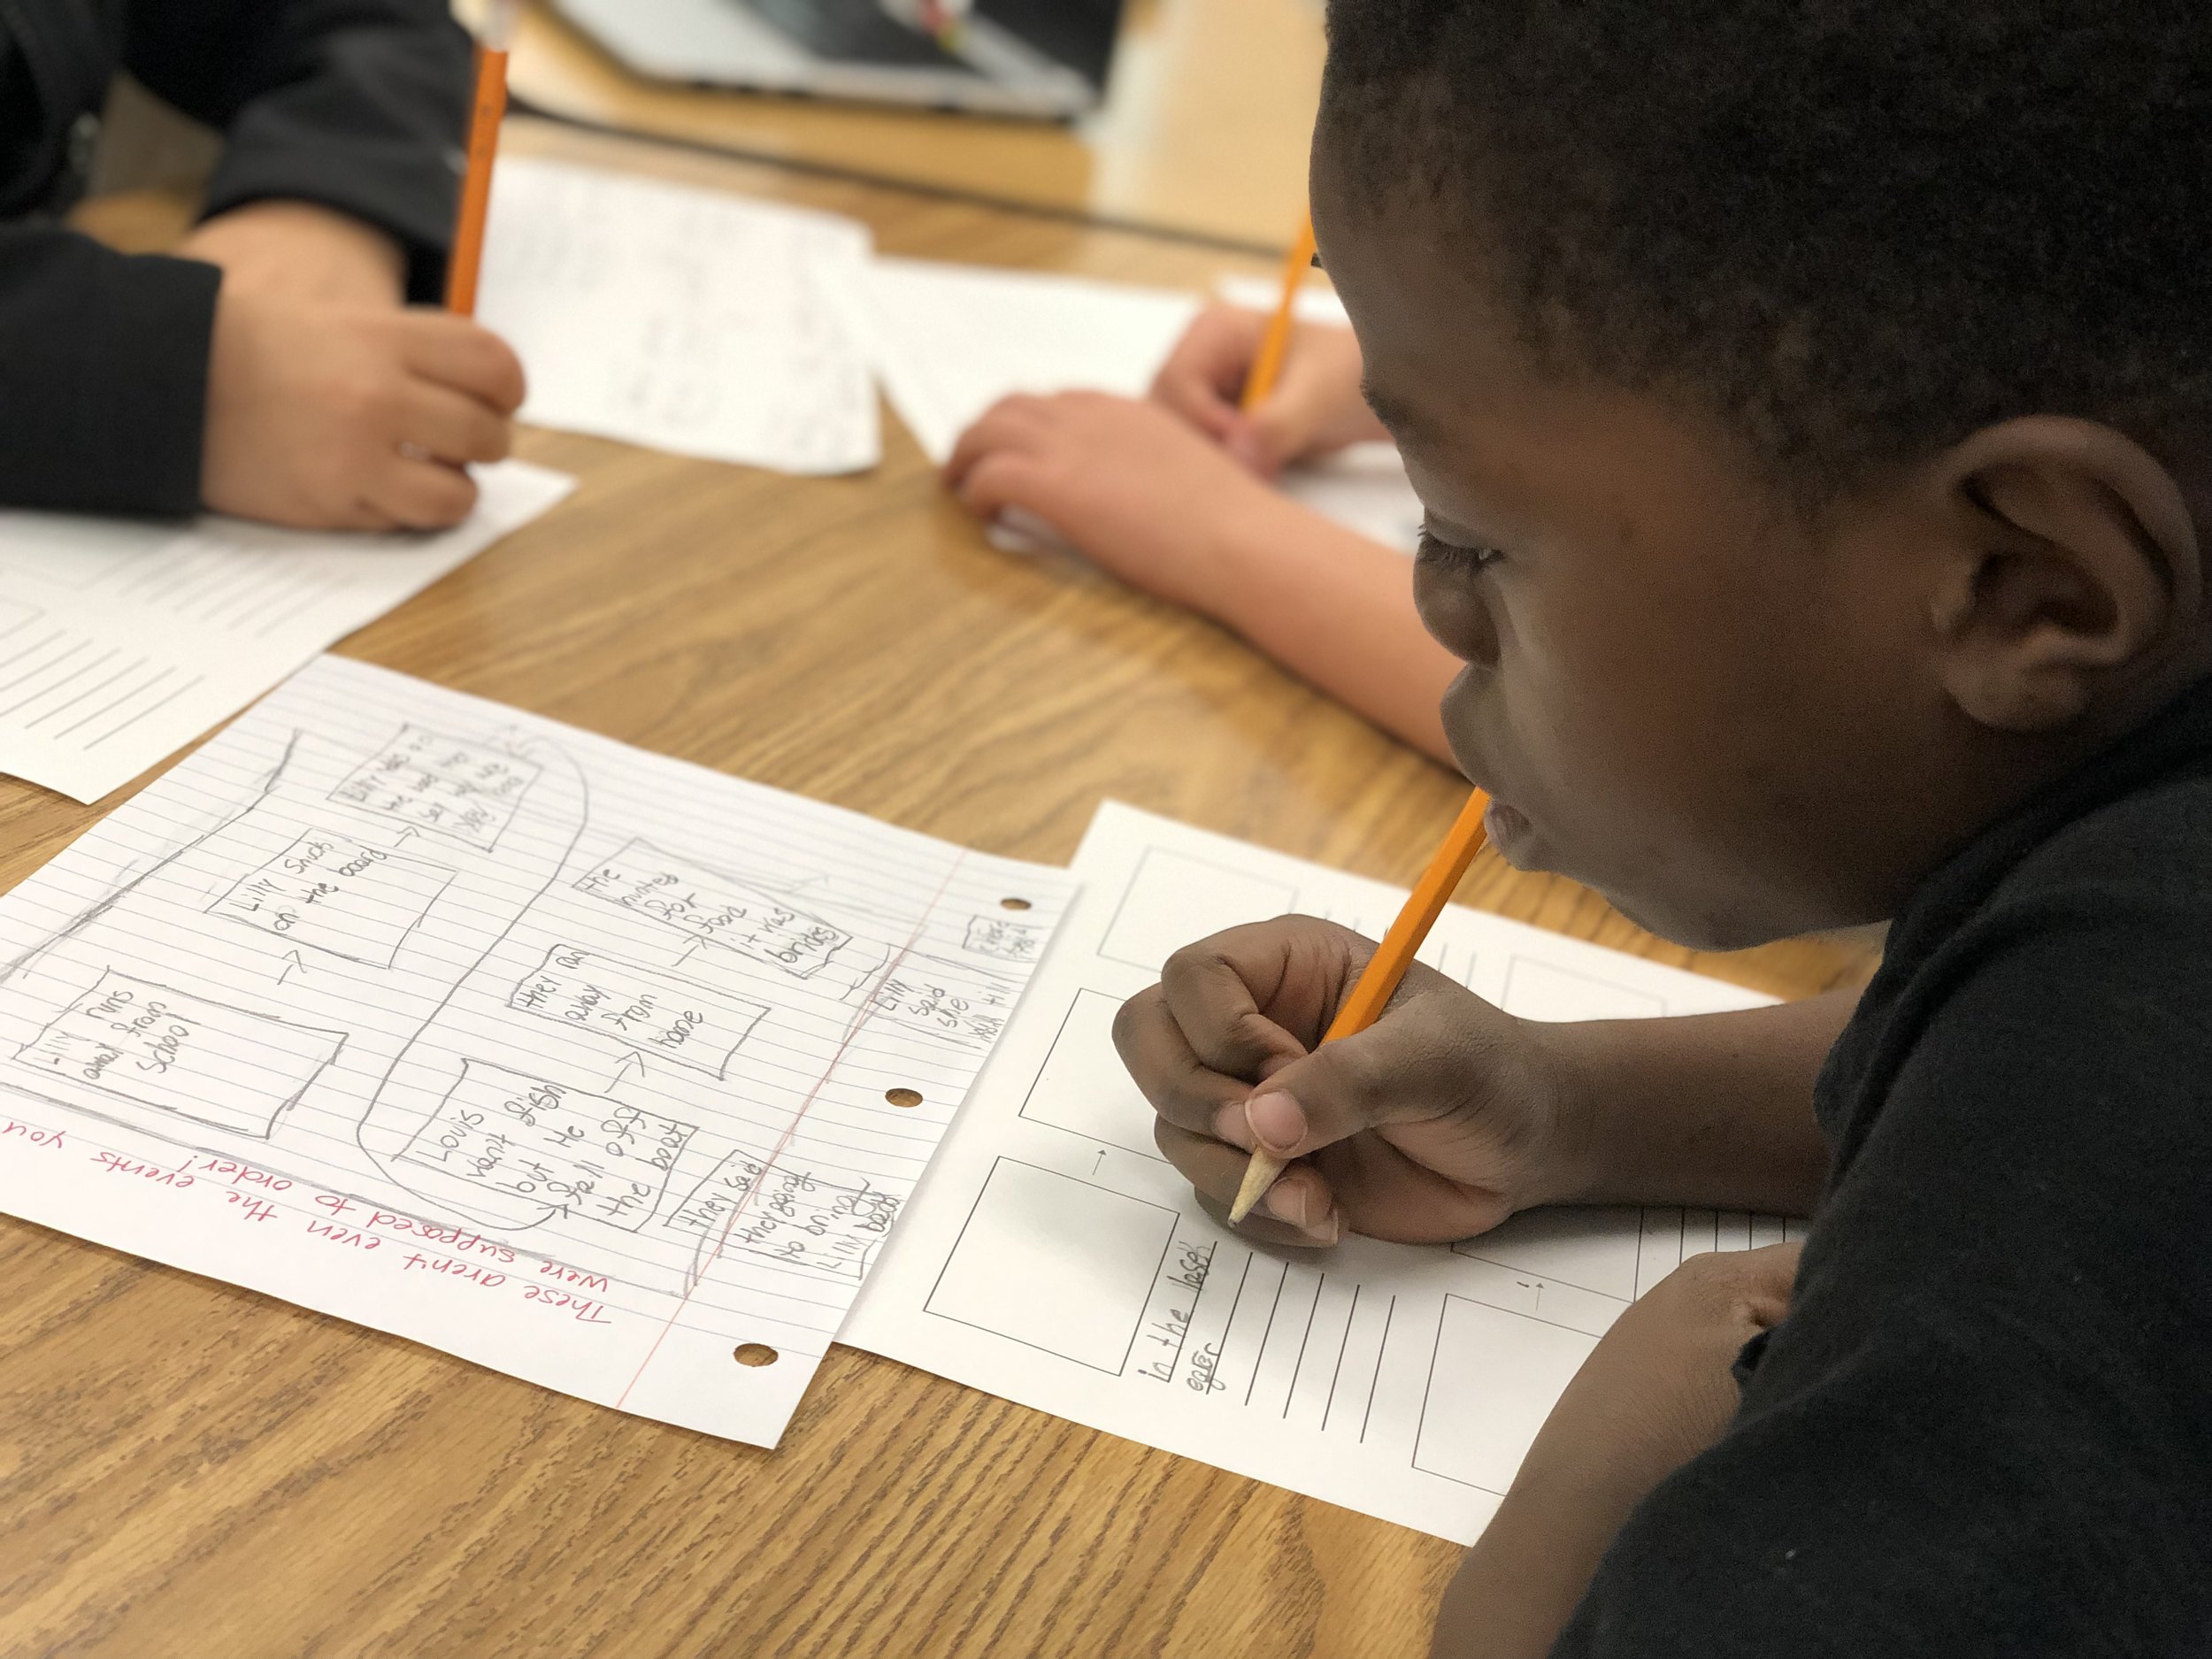
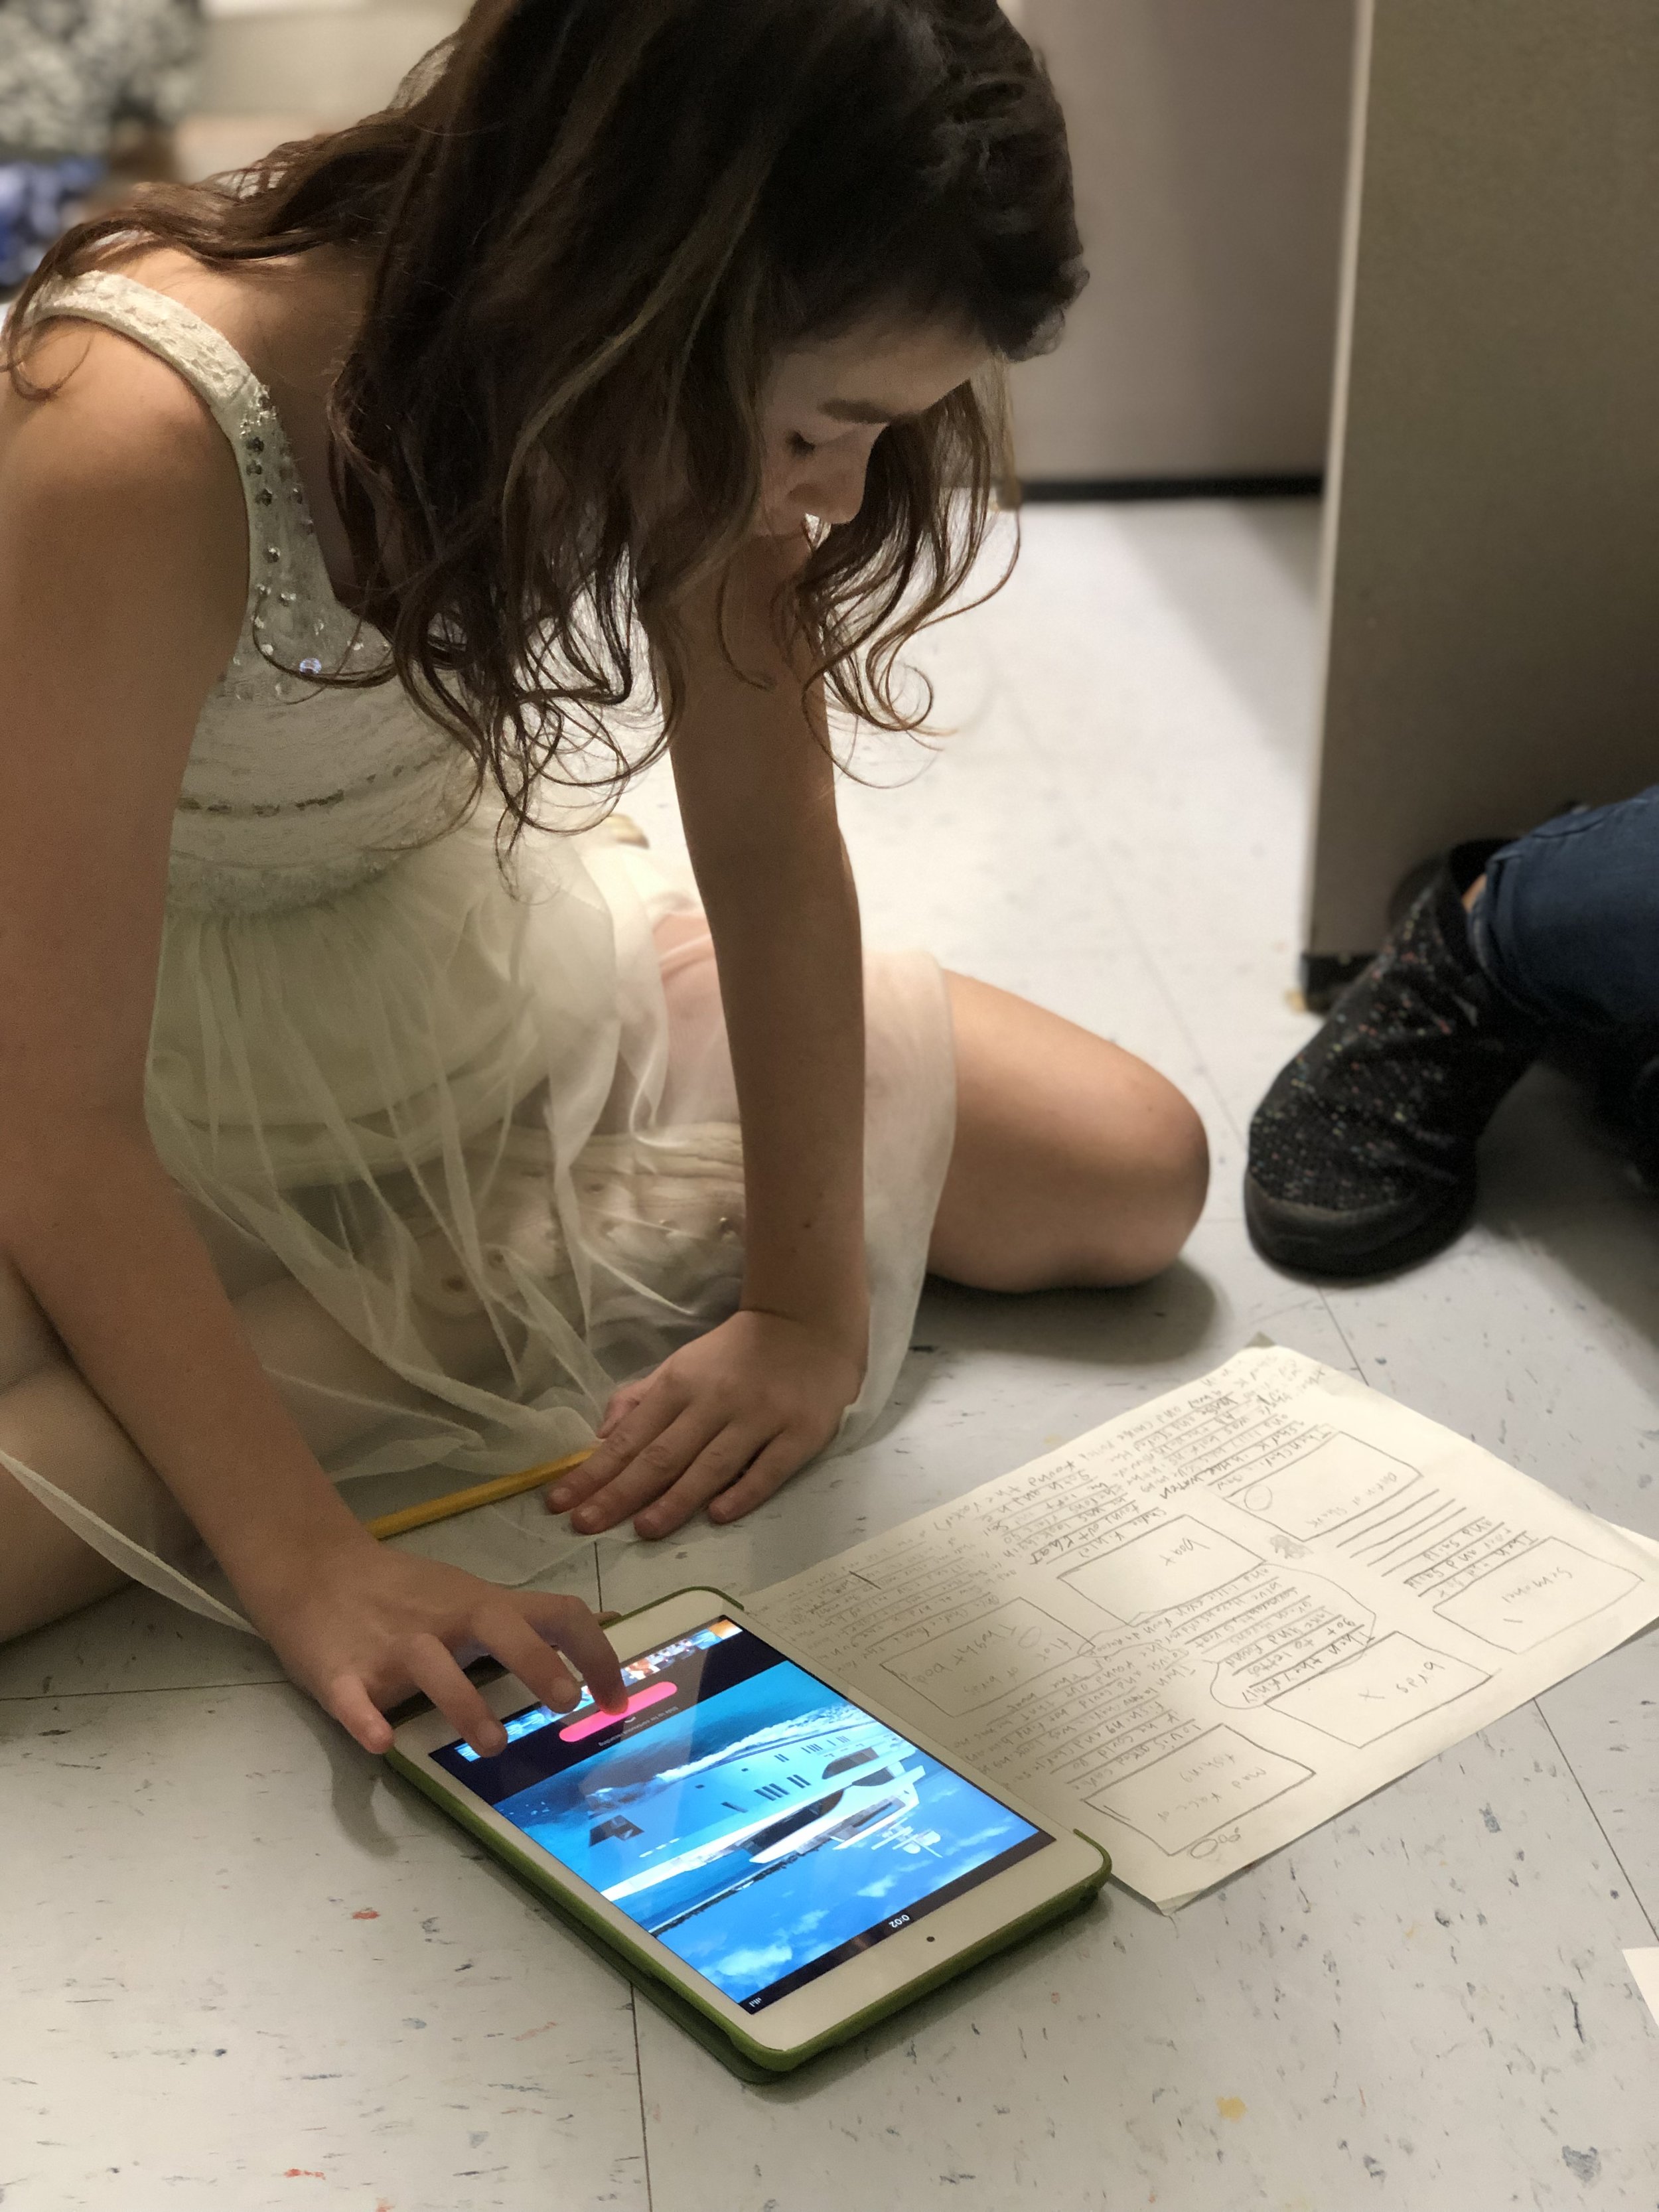
In the morning class we started out by brainstorming main events from the story and then they were given time to discuss the importance of each and to revise the list until only the most important, most relevant events remained. Students then took those main events and reordered them until they were in the correct chronological order creating if you will their own version of a “story board.” Next, students worked on finding visuals to correspond with each main event and for these Gen Z learners—-we chose emojis! When all the emojis were selected, the students smashed all their events, emojis and explanations together to create their own video summaries using Apple Clips.
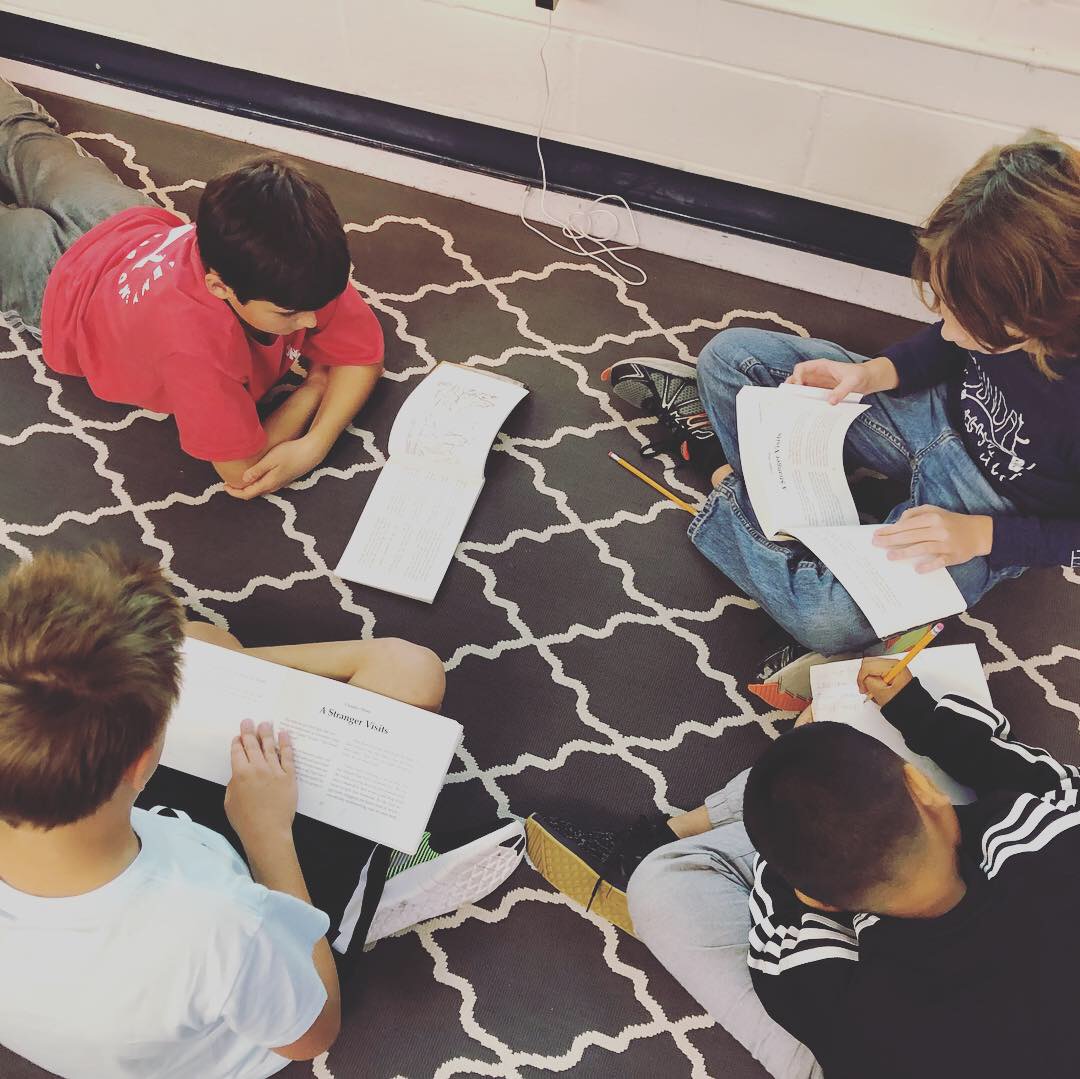
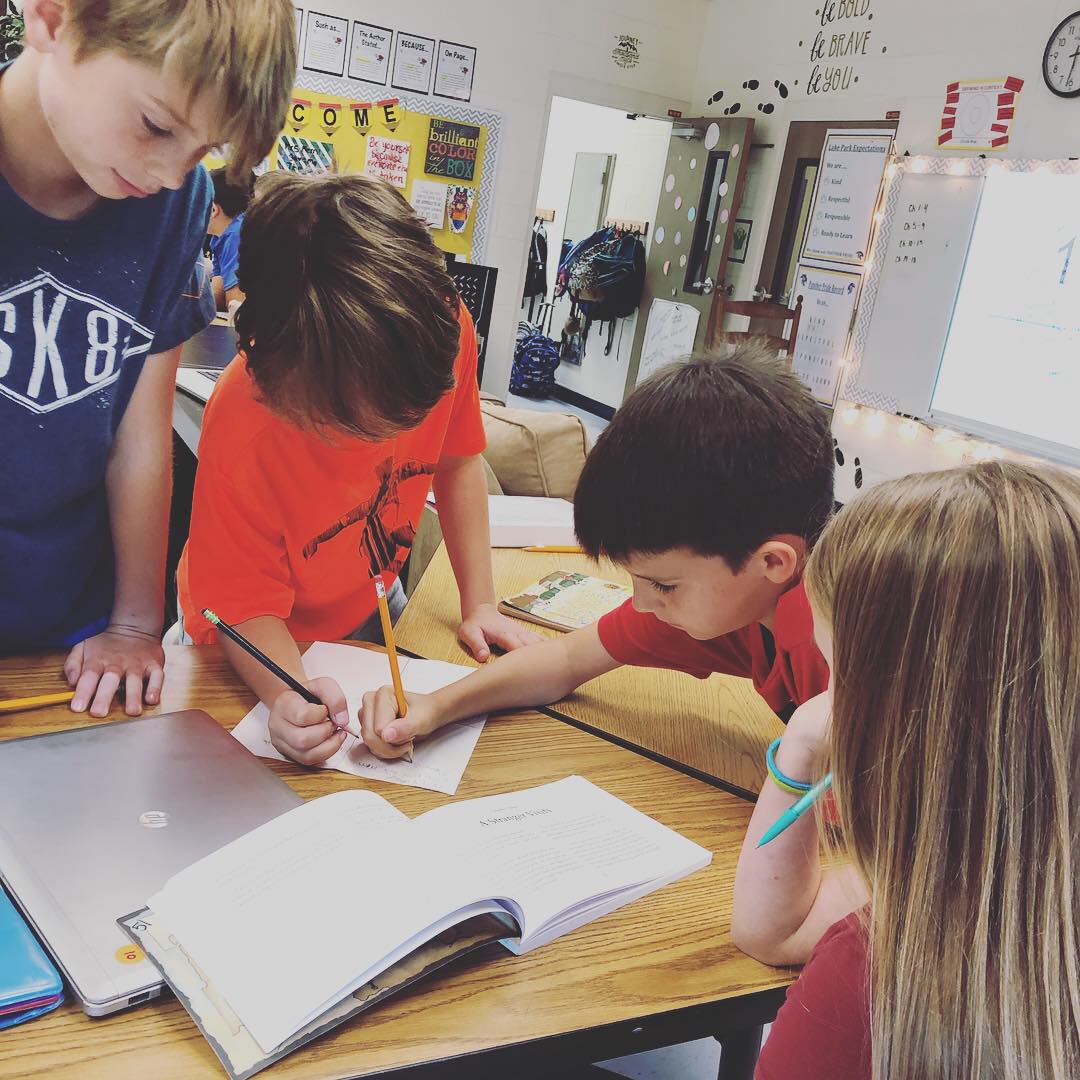
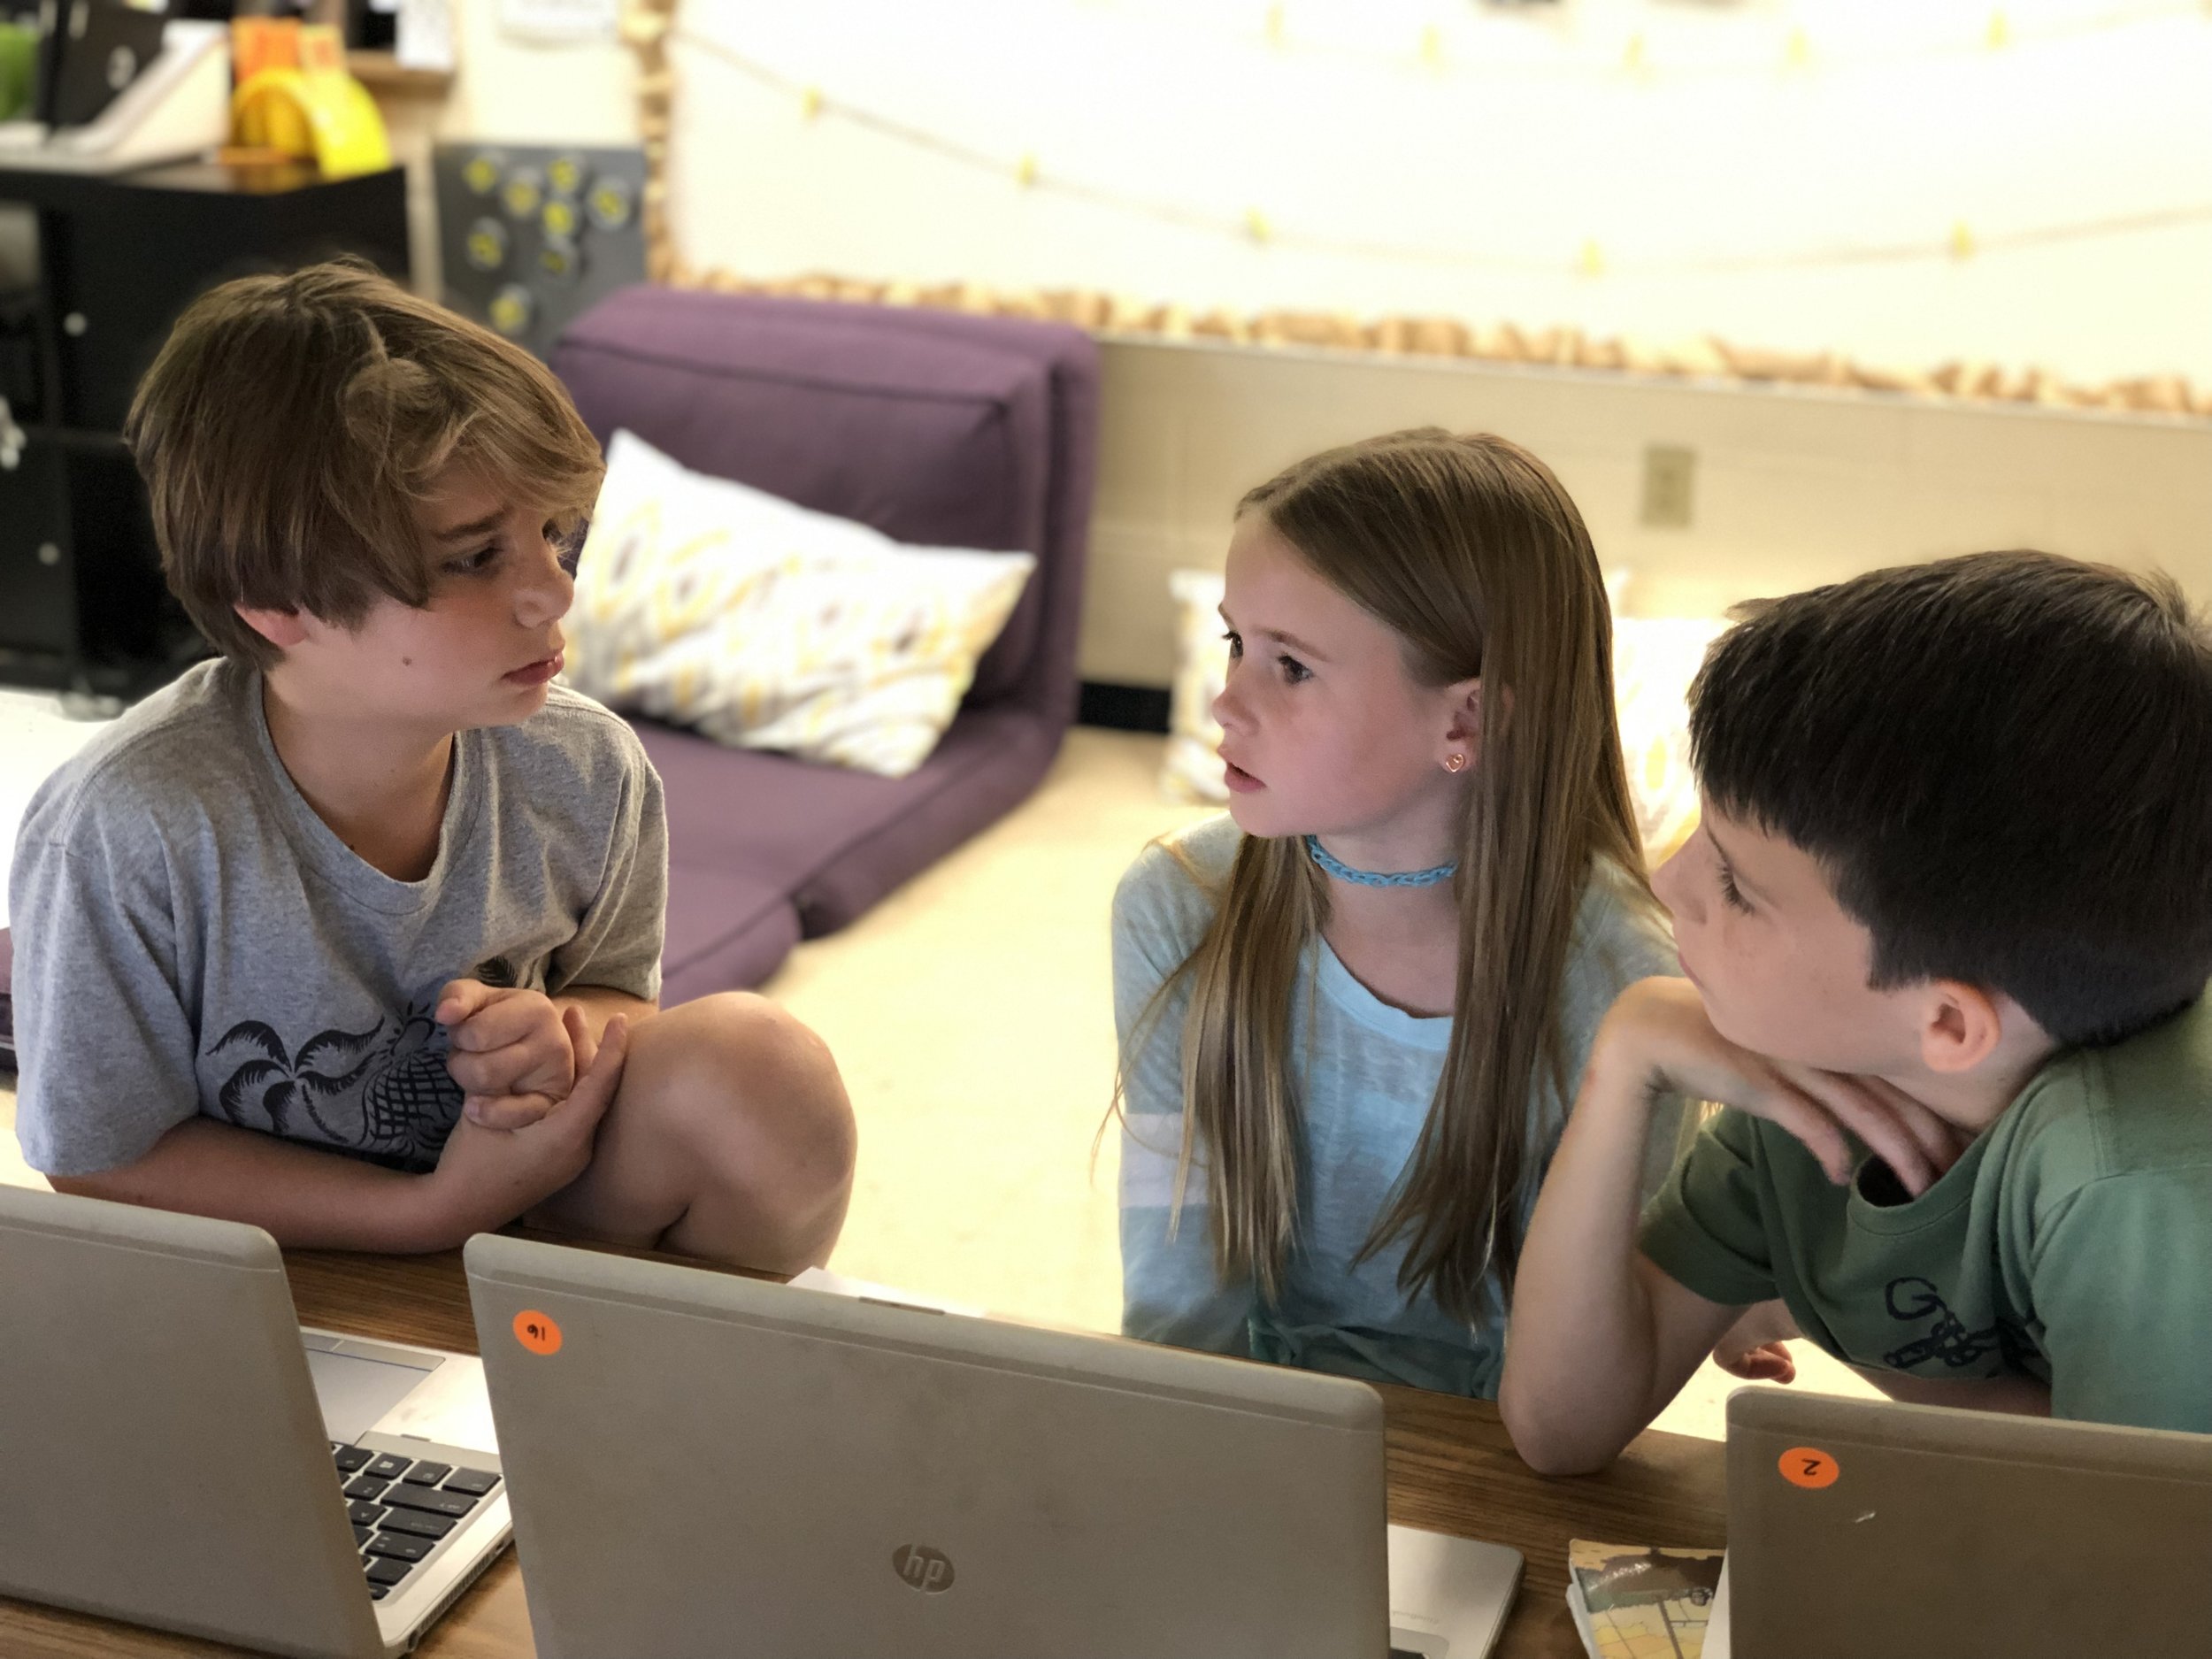
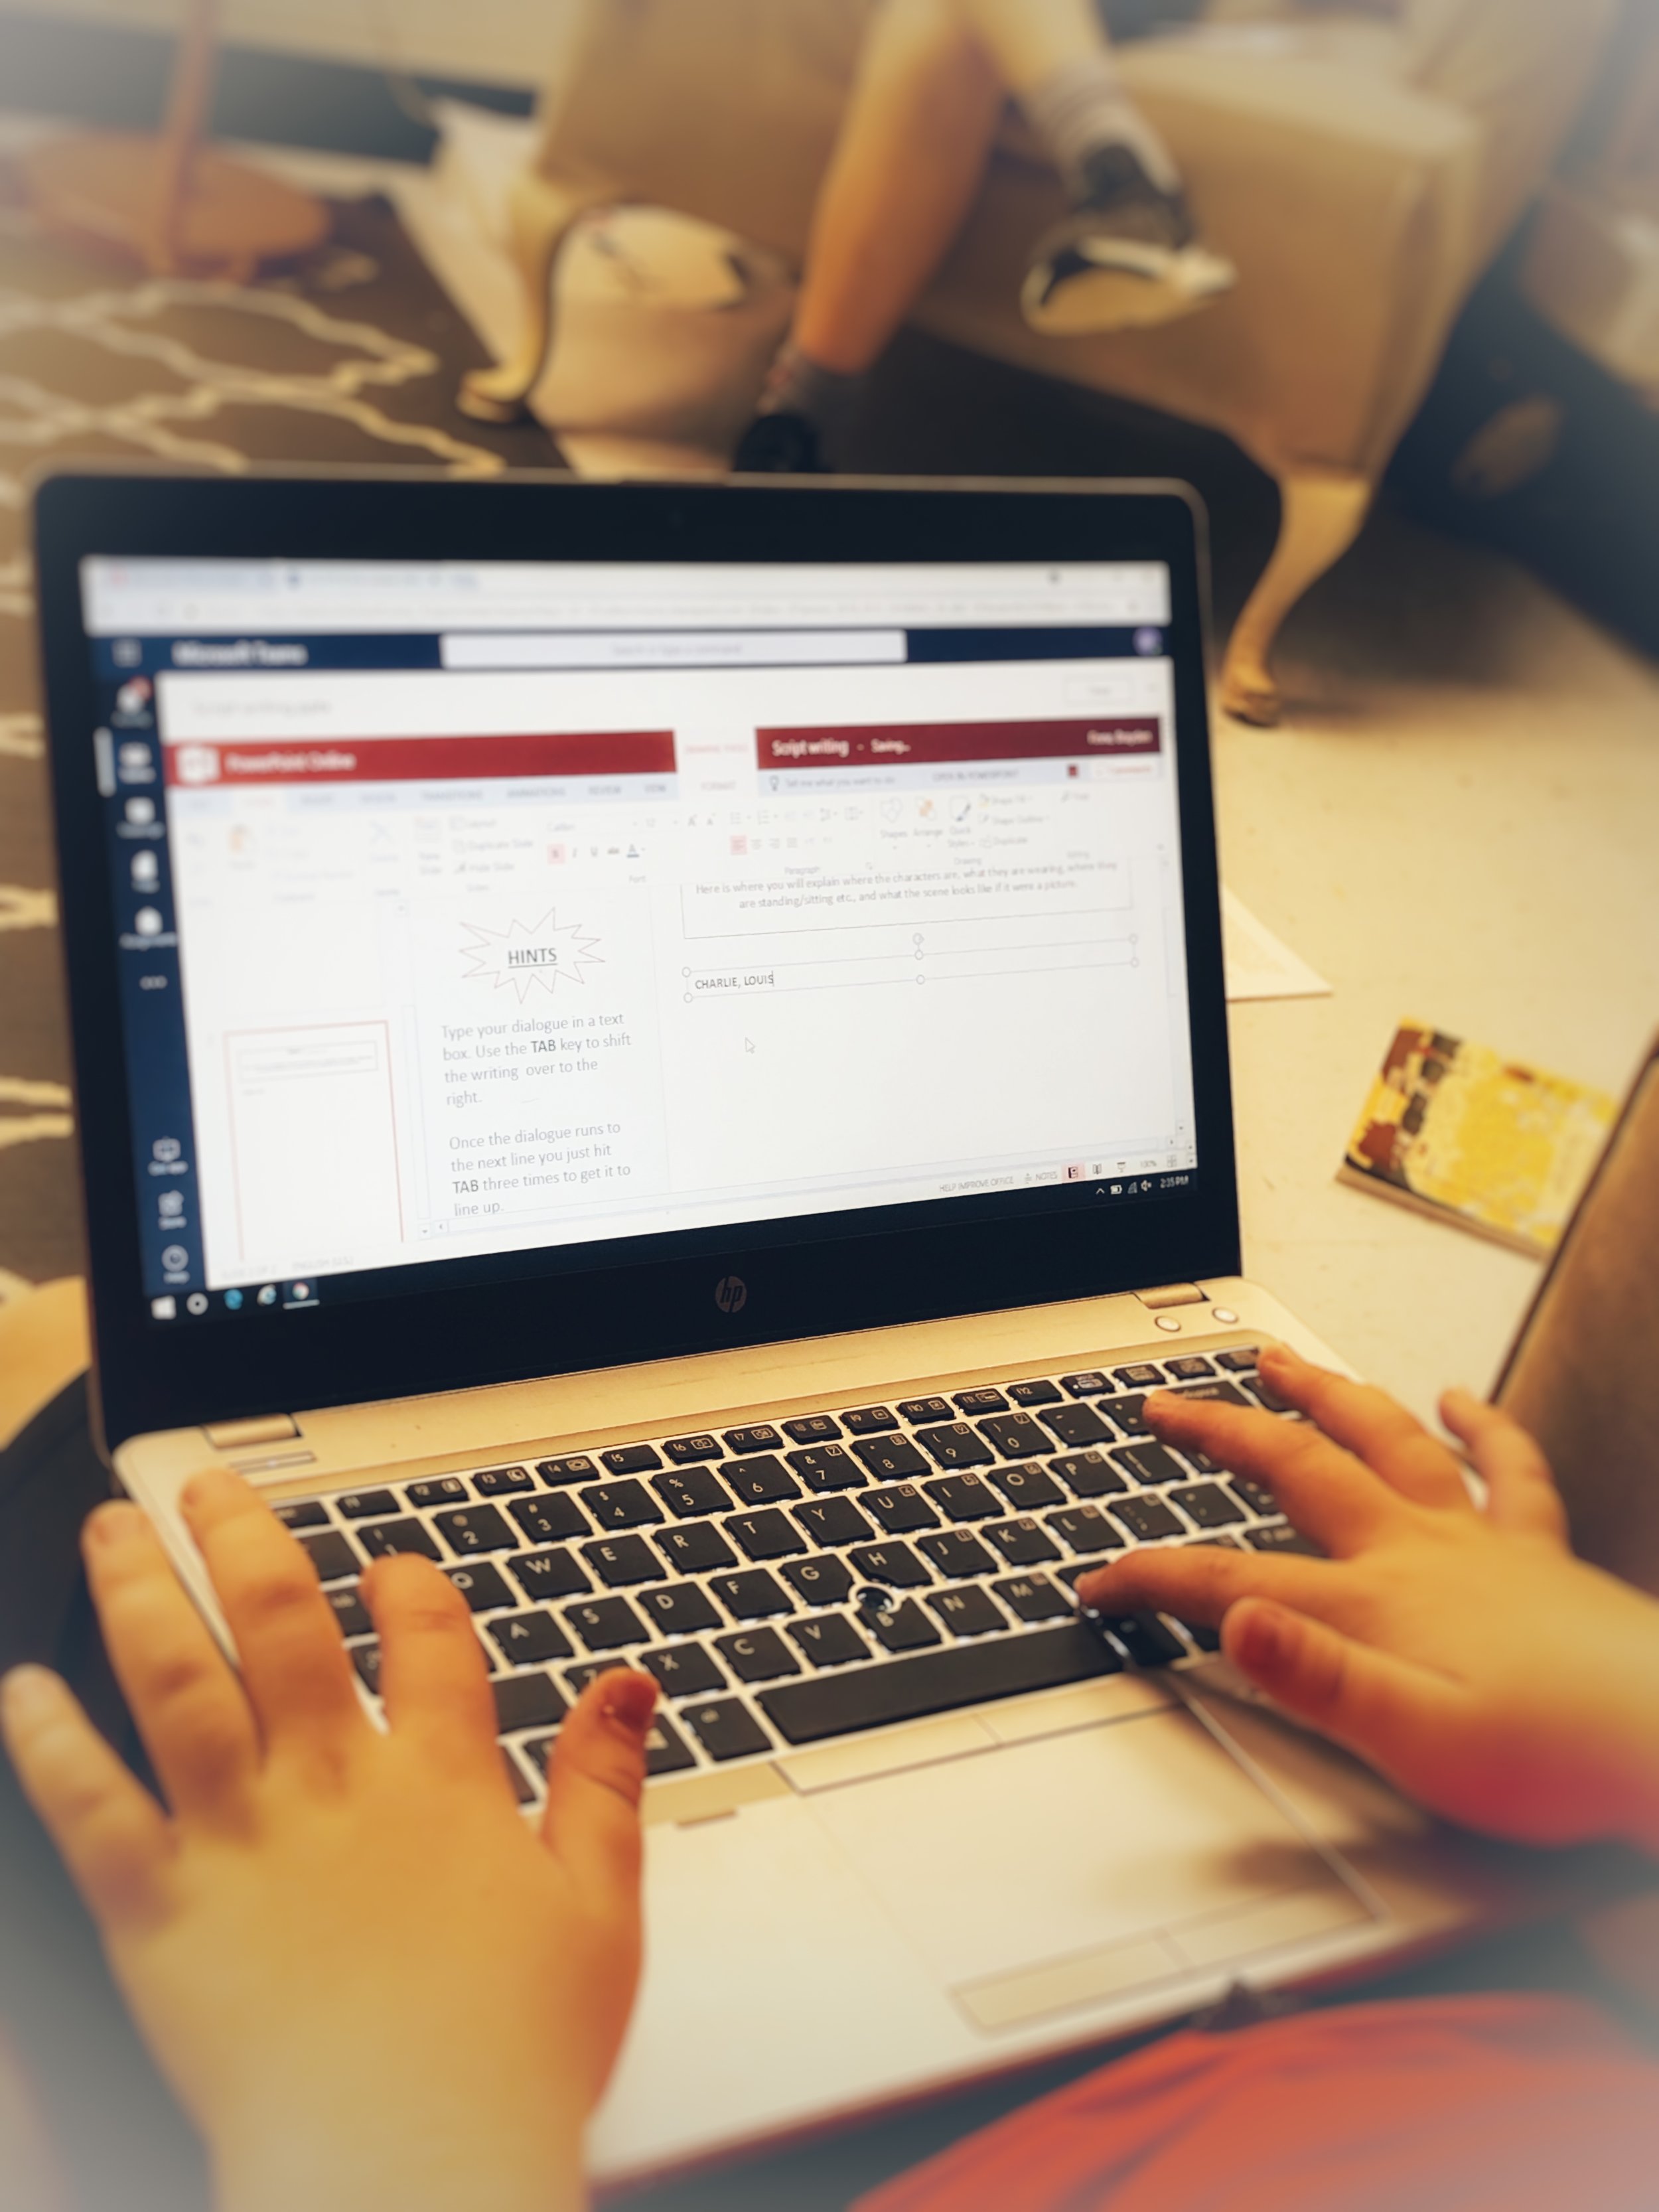
The second class I teach took a slightly different approach and instead of creating a summary in digital form, they created their summaries in a slightly more theatrical way. Students were placed in pairs, and then given the choice to group up with another set of two to create final groups of four. The novel was split into four sections (ex. Chapters 1-4, Chapters 5-10, etc.) with each student taking a different one. Students then were in charge of summarizing the main events that fell within their set of selected chapters by writing a script that the group would later act out. Students had to summarize though dialogue, descriptive language and stage directions. The groups edited and revised their plays as a whole—each helping their group members perfect their written sections before practicing. By the end of the week all groups had a fully written play that they then performed to the group.
“Creativity is seeing what everyone else has seen, and thinking what no one else has thought.””
By givings students an opportunity to creatively demonstrate their knowledge of summarization they all were able to cover the required standard while also strengthening additional skills such as video editing, public speaking and peer editing. The best part about these creative projects was that their creativity was never wasted—the more they used the more they had!
Stay creative friends! 👗-K