


How to Make a Custom Microsoft Teams Background
Microsoft Teams is constantly providing updates to its platform, but the latest is one that users have been begging for: the ability to upload your own backgrounds. Now, you can create a personalized scene and Teams will virtually place you directly into your image.
Microsoft Teams is constantly providing updates to its platform, but the latest is one that users have been begging for: the ability to upload your own backgrounds. Now, you can create a personalized scene and Teams will virtually place you directly into your image. In this blog post, you’ll learn:
What are some suggested apps you can use to design a custom Microsoft Teams background
How to upload your custom background to Microsoft Teams
Find free backgrounds to download and then upload to Microsoft Teams
Something to keep in mind when designing is that the resolution of your canvas should be 1920 x 1080, and the best format to save as are PNG files.
IMPORTANT: If you have text in your background, it will appear mirrored (or flipped) after you click “apply” in the final step below. But, it will not appear this way to others joining your meeting. It will display properly.
What are some suggested apps you can use to design a custom Microsoft Teams background?
There are a few different options when creating your background. Let’s look over a few of the most popular!
Adobe Spark:
Click here to access the Adobe Spark website
Cost: Free for educators (your IT department will have to set it up, though!)
Why use Spark?
Adobe Spark is easy to use and provides simple options when branding content. You can easily search for royalty free stock images - all safe for EDU environments, and even “remix” ideas from other users.

Buncee:
Click here to access the Buncee website
Cost: Free for the “Lite” version, additional options available
Why use Buncee?
Buncee is a user-friendly platform that’s a one stop shop. You can find everything that you’ll need to create without ever having to leave the app, including safe search / royalty free images.


PowerPoint:
Click here to access the Office 365 website
Cost: Free for the “A1” version (includes Word, PowerPoint, Excel, and more), additional options available
Why use PowerPoint?
PowerPoint is familiar for most, making it easy and comfortable to design in. You can also easily duplicate slides to design several backgrounds at once.

How to upload your custom background to Microsoft Teams
Now that you have your custom background created, follow these steps to upload it to Teams:
From your channel or chat, click the camera icon to start a new meeting.
After the new window opens, click on “Meet Now” to launch the meeting.
Once the meeting has started, click on “Show Background Effects.”
A window will open on the right side of the screen. Click on “Add New” on the top right .
Upload your file, then scroll down to find the image. Select the image, then click “Apply.”


(Note: If you have text in your background, it will appear mirrored (or backwards) on your side of the screen - but, Teams displays the background correctly to others who have joined your meeting)

Free Backgrounds to Download
Looking to save some time? We hear you. Here’s a few neat backgrounds that we found that you are free to download / upload on your own. To do so, simply right click then select save (remember to watch where you are saving the file so that you can find it later on!).
Please note: We did not create any of these, just found them being shared online. All of these images have been labeled for reuse.
Animal Crossing:
Source: Nintendo

The Big Bang Theory:
Source: TBS


Blue’s Clues:
Source: Nickelodeon

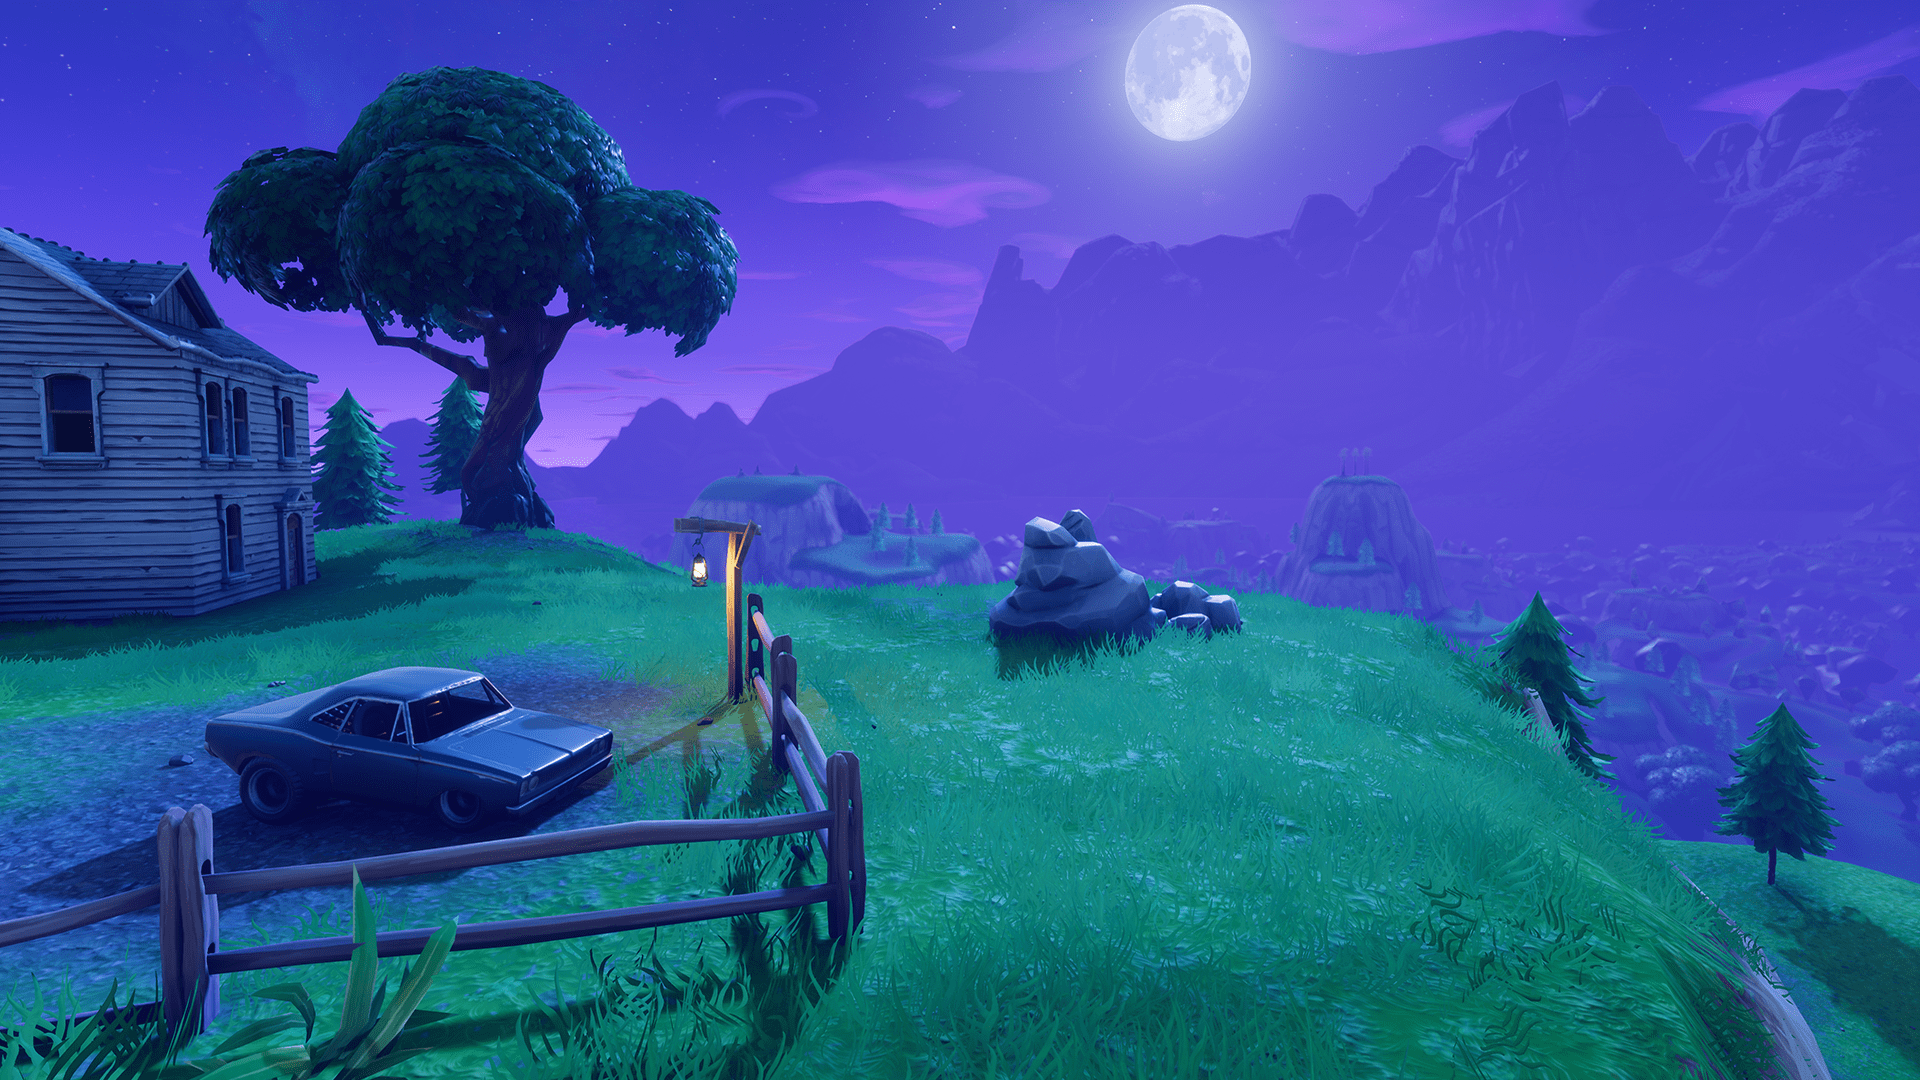
Fortnite:
Source: Epic Games


Friends:
Source: FOX


Game of Thrones:
Source: HBO

Jeopardy:
Source: NBC

The Last O.G.:
Source: TBS

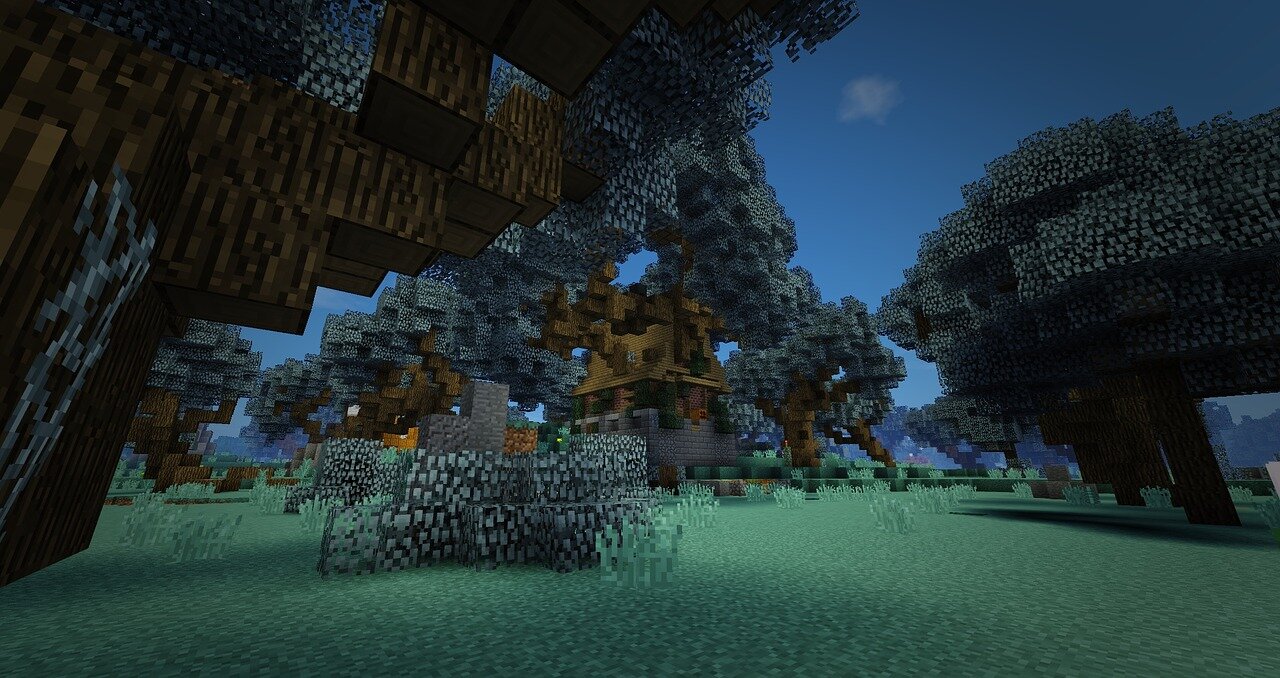
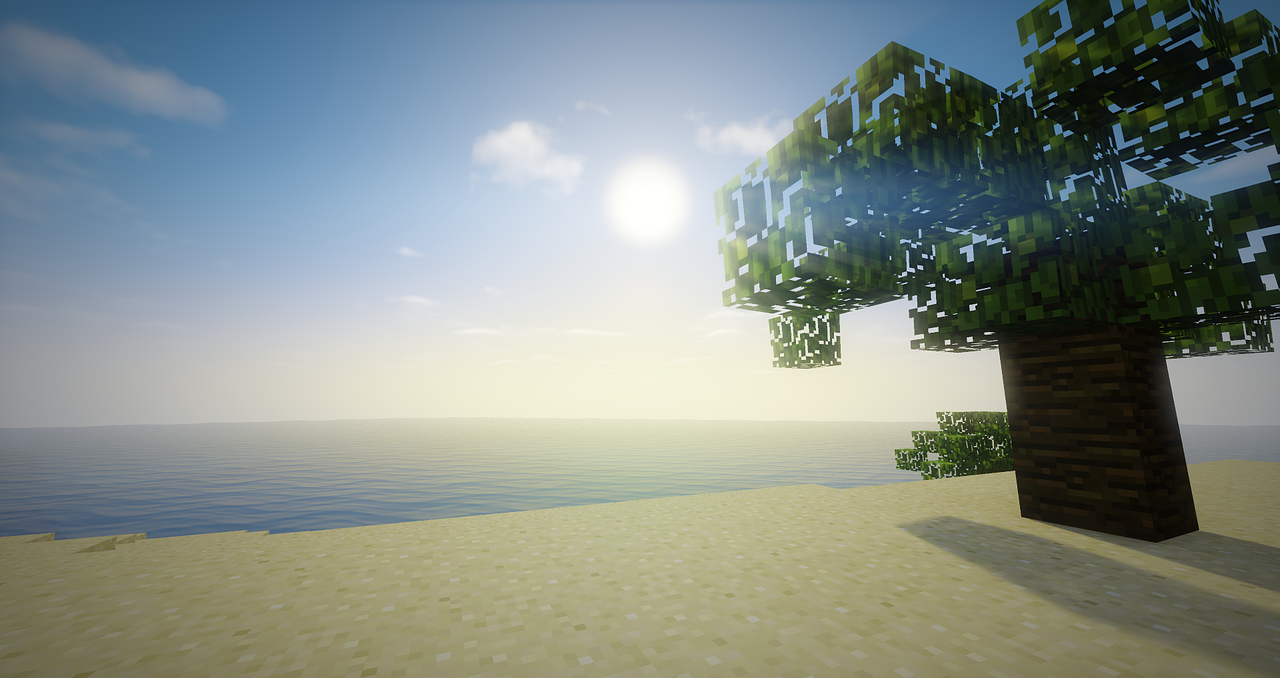
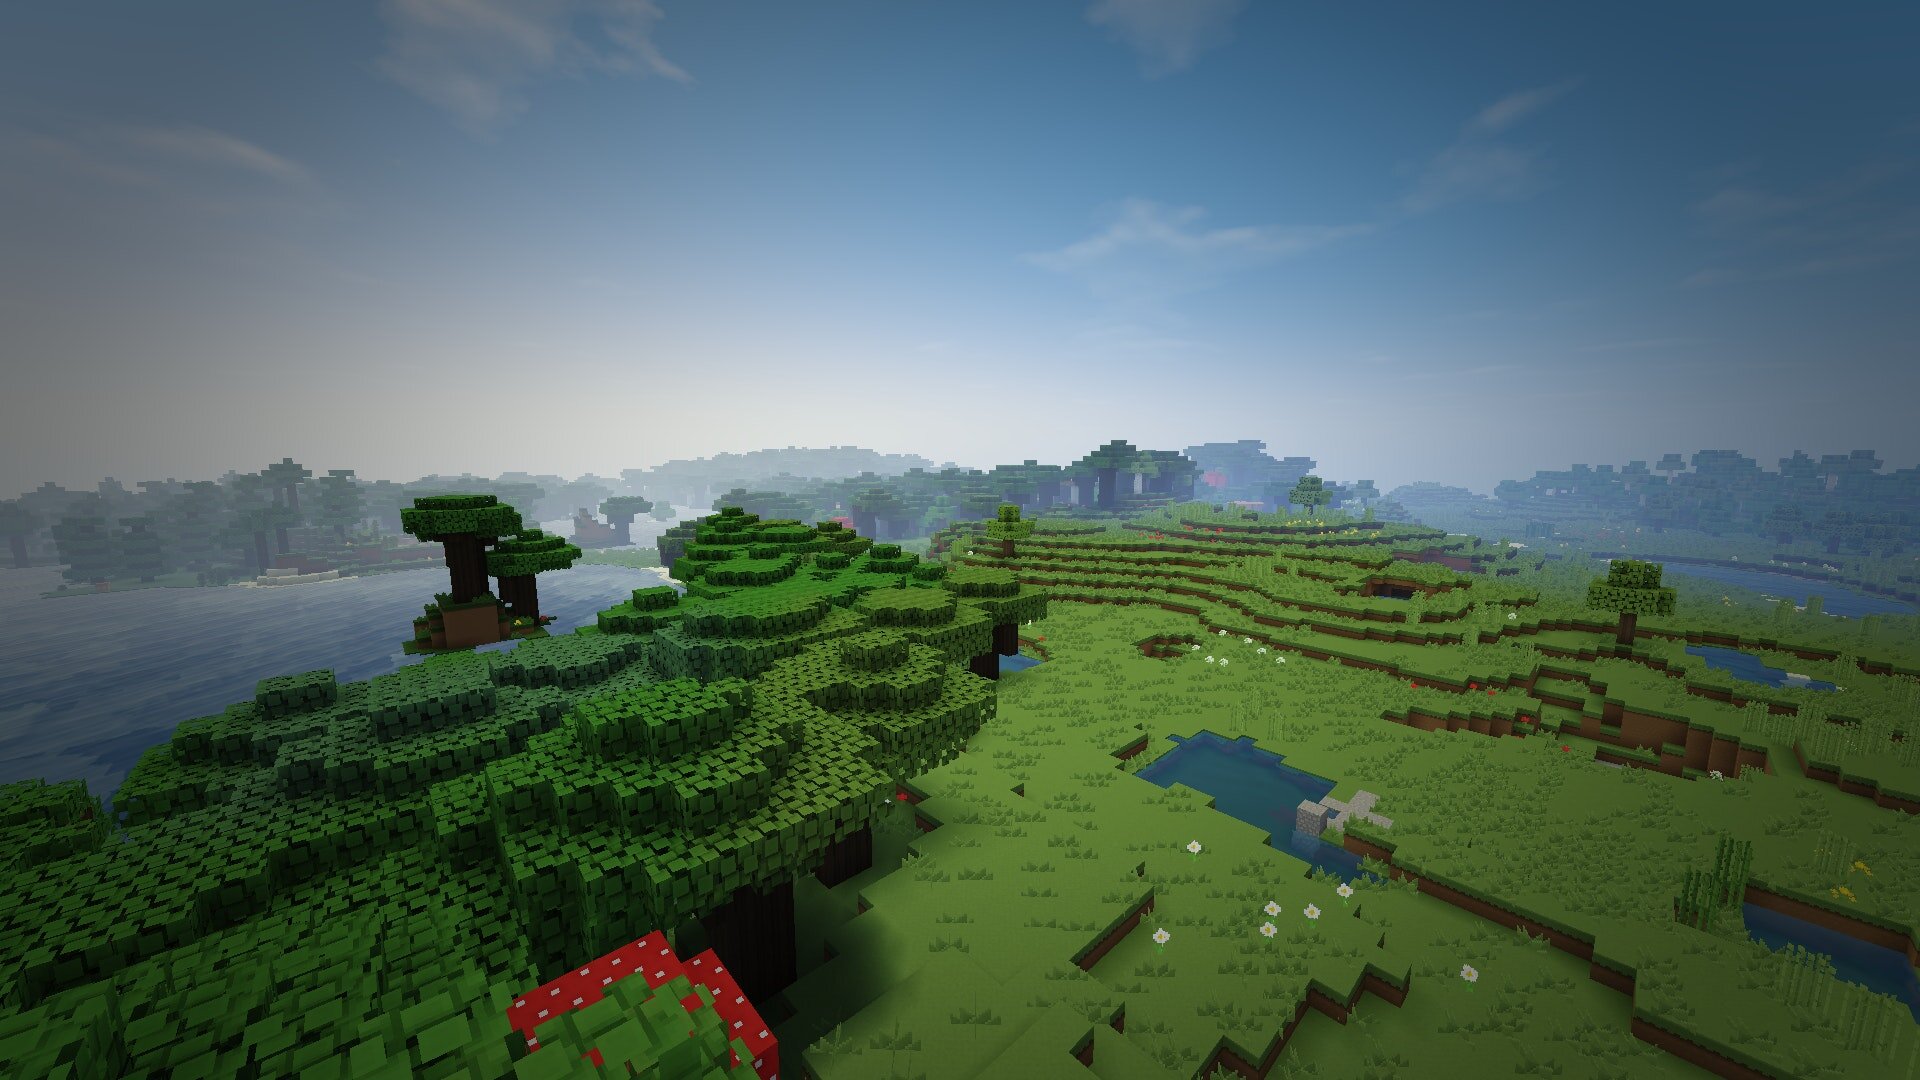
Minecraft:
Source: Microsoft
Parks and Recreation:
Source: NBC


Schitt’s Creek:
Source: Netflix


The Simpsons:
Source: Fox

Spongebob Squarepants:
Source: Nickelodeon

Star Wars:
Source: Star Wars / Disney


The Office:
Source: NBC

Today Show:
Source: NBC

Top Gun:
Source: Paramount


Toy Story:
Source: Pixar / Disney

Stay interACTIVE!
~👗➕👓
For more information on how you can make learning in the classroom more #interACTIVE, check out our books The InterACTIVE Class and Flipgrid in the InterACTIVE Class!


Creating Podcasts Using Flipgrid
Podcasting in Flipgrid? YES! It’s possible! Check out our step-by-step tutorial to help you get started with your very own #interactivePODclass! ✌🏻😉
What a whirlwind of a day we have had here at FETC! We are so thankful to have such an amazing PLN and we have continued to grow it through all of the amazing connections we continue to make. We had one big hit during our presentation this afternoon and we thought we’d post it up here on the blog to share with everyone who is #notatFETC.
Flipgrid Podcasts
One idea shared this afternoon during out InterACTIVE Class presentation was the idea of having students share their voice through podcasts. Now, with the new Flipgrid sticker feature this is easier than ever. Let’s share how easy it is for students to create their own podcasts.
1.) Choose a topic. This is where students decide what their podcast is going to be on. Maybe you guide the subject a bit to match up with a unit of study you are currently working on, or possibly students can have more freedom with their podcast topic and choose something that they are personally interested in.
2.) Develop branding and create a graphic. This can be as simple or as detailed as you make it. You can simply give students time to design in one of many creations tools—Canva, Adobe Spark, Google Sides—and allow them to design their own unique podcast image. If you choose to take a bit more time on this step, you could do some smaller lessons on branding with students and dig deep into the thought process put behind a logos, colors, fonts, etc. Either way, students leave with a branded image that they can save as a .jpeg image on to their device.
3.) Set up your space in Flipgrid. This is yet another way to differentiate according to your specific class make up and personal preferences. You could have a weekly topic where each student posts their most current “Episode” for classmates to enjoy. Or, maybe you create a class Podcasting Grid where every student gets their own Topic. Each time they create a new “episode” they could add it as a response on their own personal Topic thread.
4.) Record an episode. When students log in to record their episode, they will open up the recording window and using the sticker feature, choose their saved podcast image from file.

Students will then stretch the image until it is enlarged enough to cover the entire screen.

When they begin recording viewers will only see the still image just like we do when we listen to our own real podcasts!

Benefits of Podcasting
Through Flipgrid, giving students a platform to write, create, record and share their voice with classmates and those around them is truly exciting. They are SO many additional ways to take this simple activity and spark even more creativity and collaboration. Possibly try:
-allowing students to “interview” each other and get a chance to not only produce but also guest on a classmate’s podcast
-Create AR or QR codes and share various episodes around campus, in class newsletters or through a school email.
-Merge a class grid pal or Skype class with podcasts and give students a chance to share their podcasts with others outside the room. Enable the ability to reply to responses so listeners can leave their thoughts on the topic or ideas for a new episode.
InterACTIVE learning doesn’t have to be time consuming or require a lot of planning prior, but with the help of Flipgrid, sharing every student's’ voice is just one click away! If you try this with your students we’d love to hear their “episodes!” Tag @themerrillsEDU or #interACTIVE class so we can see the creativity firsthand!
For a quick tutorial on how make podcasts using Flipgrid, check out on of our TECHnically Speaking tutorials here!
Stay interACTIVE!
👓 + 👗
For more #interACTIVE lesson ideas using Flipgrid, check out our book The InterACTIVE Class on Amazon!

